MediaPack SIP User’s Manual 3. Installing the MediaPack
Version 4.6 31 June 2005
4. Use the screws found in the devices’ package to attach the short bracket to the side of the
device.
5. Remove the two screws on the other side of the device nearest the front panel.
6. Position the long bracket so that the holes in the bracket line up with the two empty screw
holes on the device.
7. Use the screws found in the device’s package to attach the long bracket to the side
of the
device.
8. Position the device in the rack and line up the bracket holes with the rack frame holes.
9. Use four standard rack screws to attach the device to the rack. These screws are not
provided with the device.
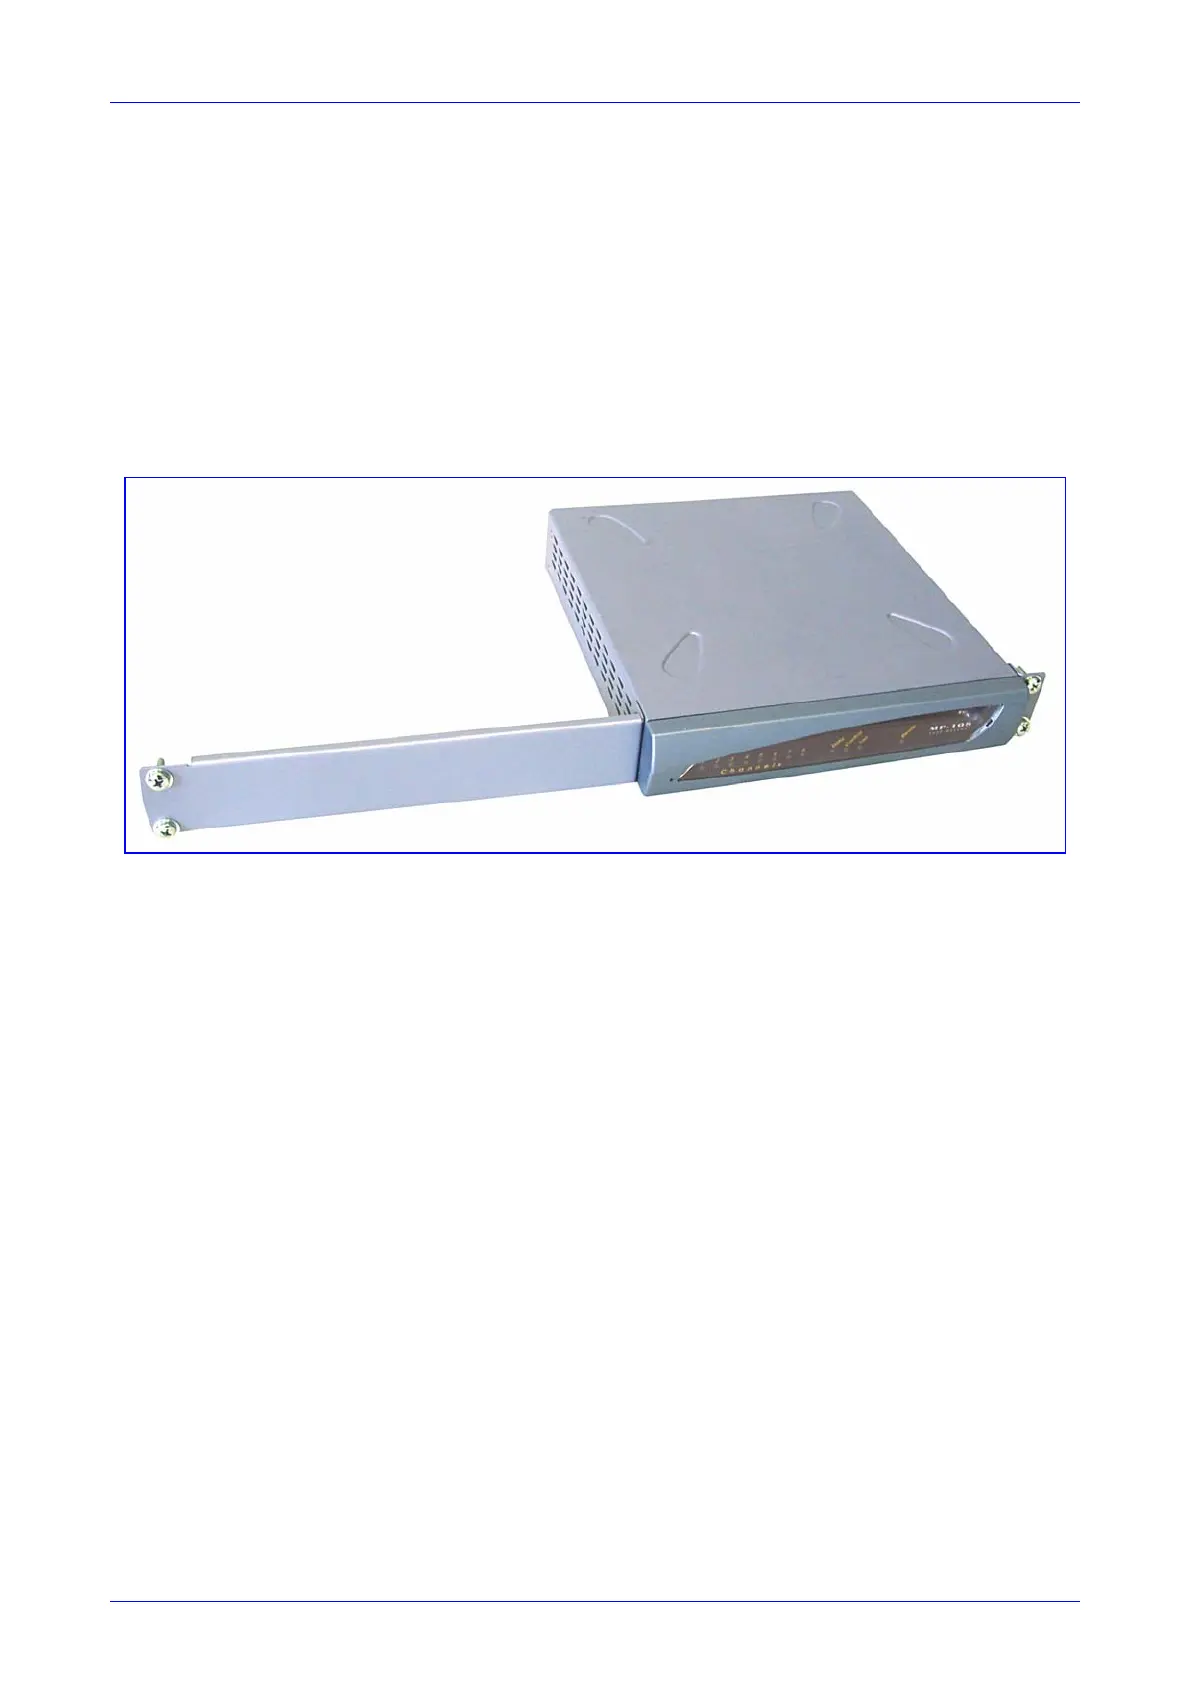
Figure
3-2: MP-108 with Brackets for Rack Installation
3.1.2.3 Installing the MP-124 in a 19-inch Rack
The MP-124 is installed into a standard 19-inch rack by the addition of two short (equal-length)
supplied brackets. The MP-124 with brackets for rack installation is shown in Figure
3-3.
¾ To install the MP-124 in a 19-inch rack, take these 7 steps:
1. Remove the two screws on one side of the device nearest the front panel.
2. Insert the peg on one of the brackets into the third air vent down on the column of air vents
nearest the front panel.
3. Swivel the bracket until the holes in the bracket line up with the two empty screw holes on
the device.
4. Use the screws found in the devices’ package to attach the bracket to the side of the device.
5. Repeat steps 1 to 4 to attach the second bracket to the other side of the device.
6. Position the device in the rack and line up the bracket holes with the rack frame holes.
7. Use four standard rack screws to attach the device to the rack. These screws are not
provided with the device.

 Loading...