4 - 16
Adjustment
Adjustment
Adjustment
Left straight stitch needle drop and
zigzag stitch maximum left needle drop position
[Standard]
The left needle drop position at pattern selecting dial [4] (zigzag stitch/stitch width:
maximum) and the needle drop position at pattern selecting dial [11] (straight stitch/left
base line) should be matched.
[Adjustment]
1. Turn off the power, and then remove the foot controller.
2. Remove the face plate assy and the pattern selecting dial, and remove the front cover
assy and the rear cover assy.
3. Attach the size 90/14 needle.
4. Attach the pattern selecting dial.
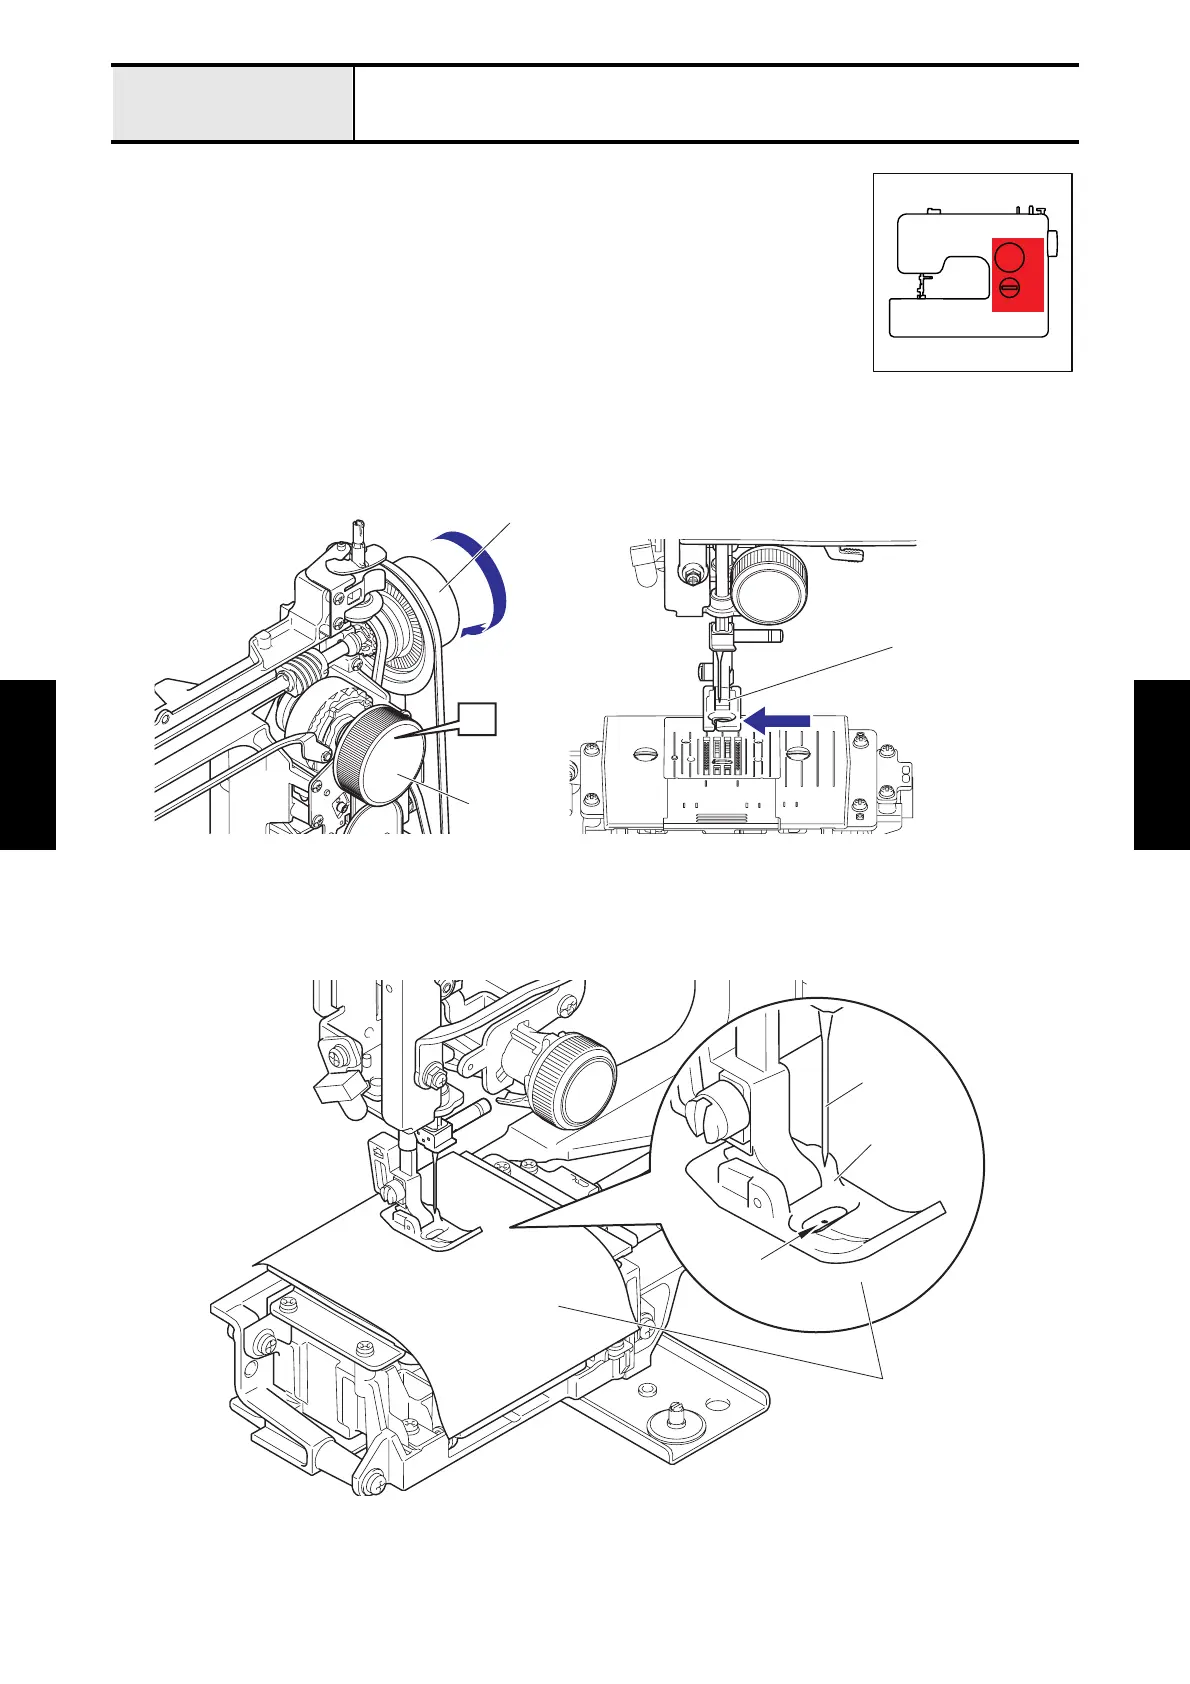
5. Turn the pattern selecting dial until the [4] is the topmost position.
6. Turn the pulley by hand and move the needle bar to its leftmost position.
7. Lay a paper on the needle plate, and lower the presser foot lifter to lower the presser foot. And make a pinhole
with needle point by turning the pulley by hand from the rear to the front, and then turn the pulley in the
reverse to raise the needle bar.
*Key point
• Keep a paper from moving by hand, after making a pinhole to the paper.
<To next page>
Pulley
Needle bar
4
Pattern
selecting dial
Needle
Presser foot
Pinhole
Paper
 Loading...