EasyManuals Logo
Home>D-Link>Network Hardware>ShareCenter Pulse DNS-320

D-Link ShareCenter Pulse DNS-320 User Manual

D-Link ShareCenter Pulse DNS-320
111 pages
To Next Page IconTo Next Page
To Previous Page IconTo Previous Page
Page #13 background imageLoading...
Page #13 background image
10D-Link ShareCenter Pulse DNS-320 User Manual
Section 3 - Installation
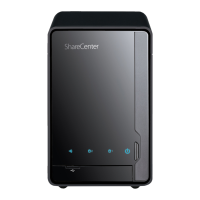
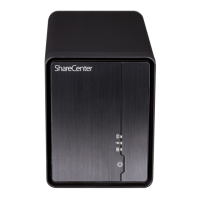
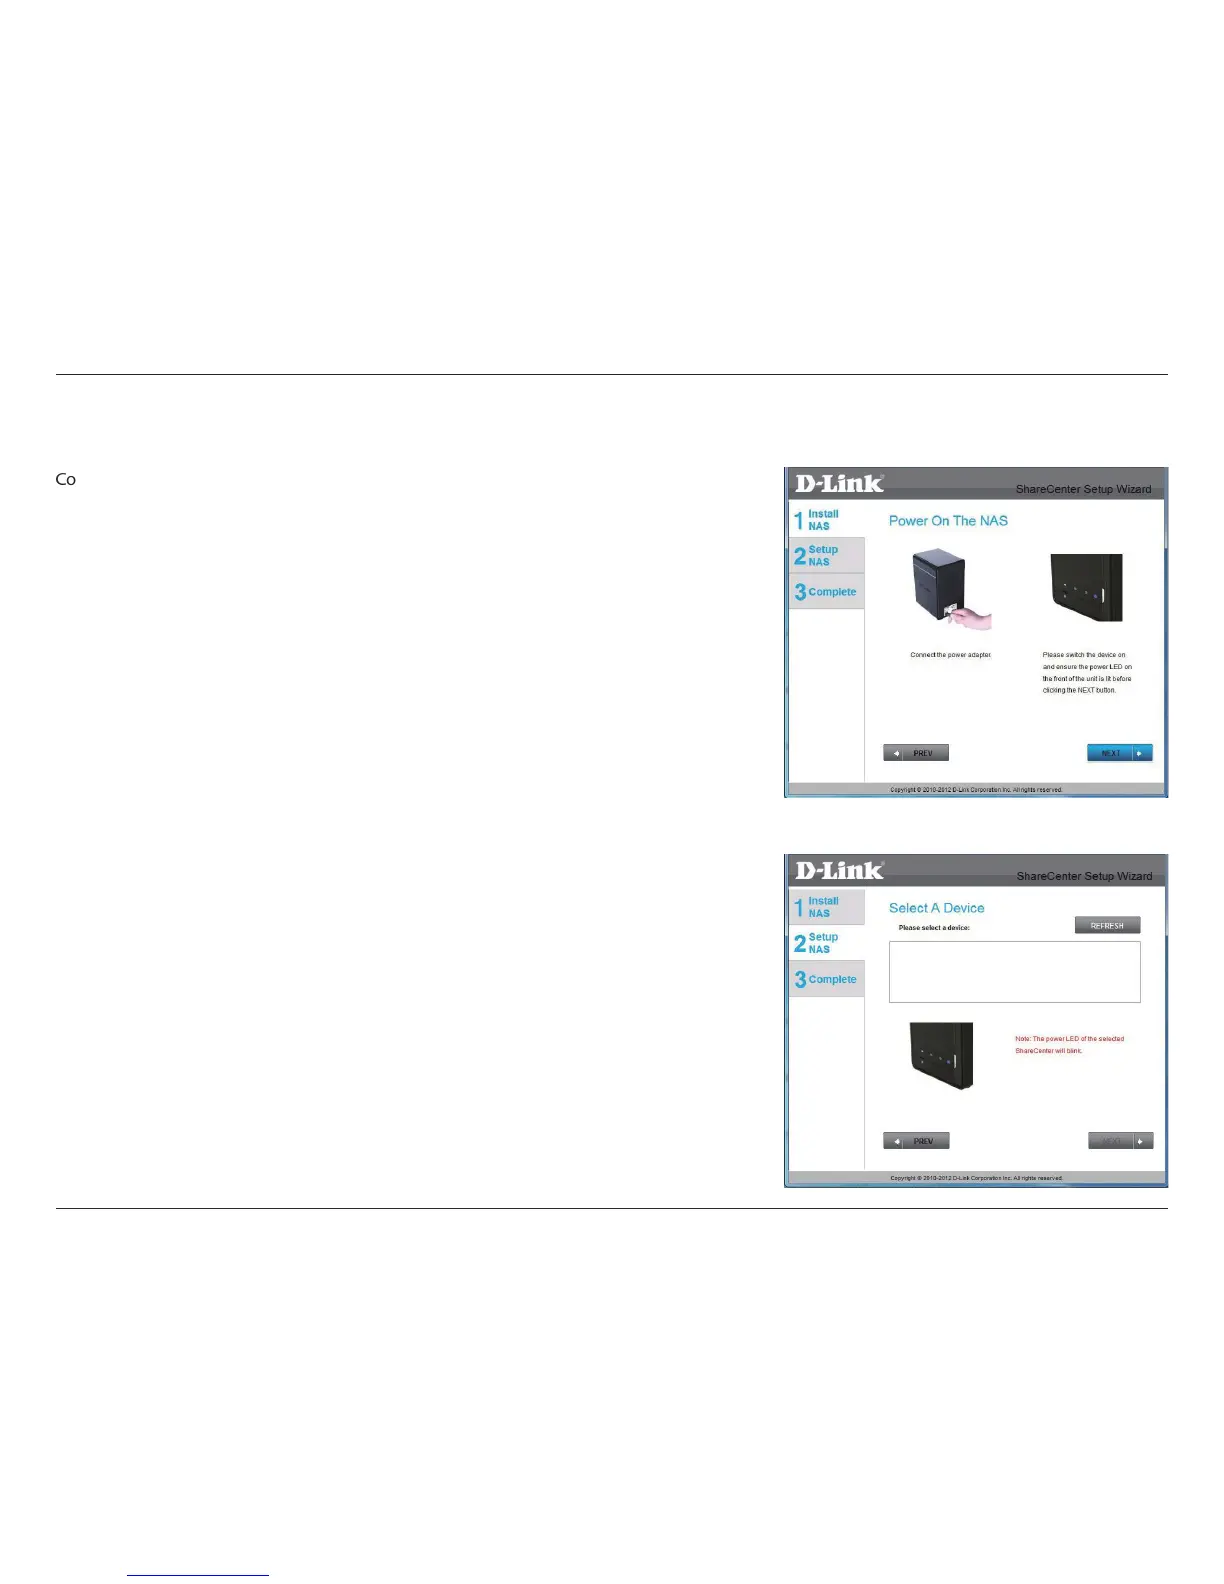
Power and Device Selection
onnect the power adapter to the power receptor on the back of the device. Press the
power button located under the faceplate LEDs to turn on the device. Click Next to
continue.
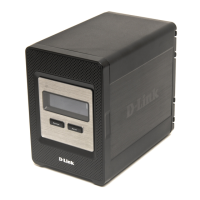
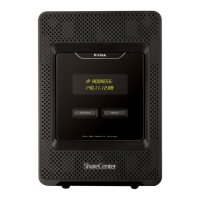
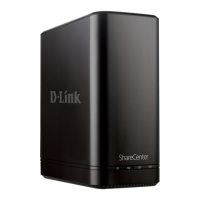
With the power on check that the Power LED is solid. If it is solid, answer Yes to the
conrmation window otherwise select No and wait for the power connection to the
ShareCenter Pulse. If the connection is good then check that the hard drives are installed
correctly and have no other issues. Click Next to continue.
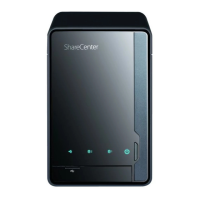
Note: When you select your device from the list, it will cause the LEDs to blink to conrm
the device selection.

Table of Contents

Other manuals for D-Link ShareCenter Pulse DNS-320

Questions and Answers:

Question and Answer IconNeed help?

Do you have a question about the D-Link ShareCenter Pulse DNS-320 and is the answer not in the manual?

D-Link ShareCenter Pulse DNS-320 Specifications

Power IconPower
power supplyExternal Power Supply
power consumption (normal mode)15.7 W
power consumption (sleep mode)8.2 W
Operating Environment IconOperating Environment
operating temperature0˚ to 40˚ C (32˚ to 104˚ F)
storage temperature-20˚ to 70˚ C (-4˚ to 158˚ F)
operating humidity5% to 90% (Non-condensing)
Ports & Interfaces IconPorts & Interfaces
ethernet port10/100/1000 Gigabit Ethernet Port
usb port1 USB 2.0 Port
supported hard drive type3.5” Internal SATA (Maximum HDD Capacity: 2 TB for each drive)
Weight and Dimensions IconWeight and Dimensions
dimensions146.4 x 115 x 178.5 mm (5.8 x 4.5 x 7.0 inches)
weight0.85 kg (1.87 lbs)

Related product manuals