Steps
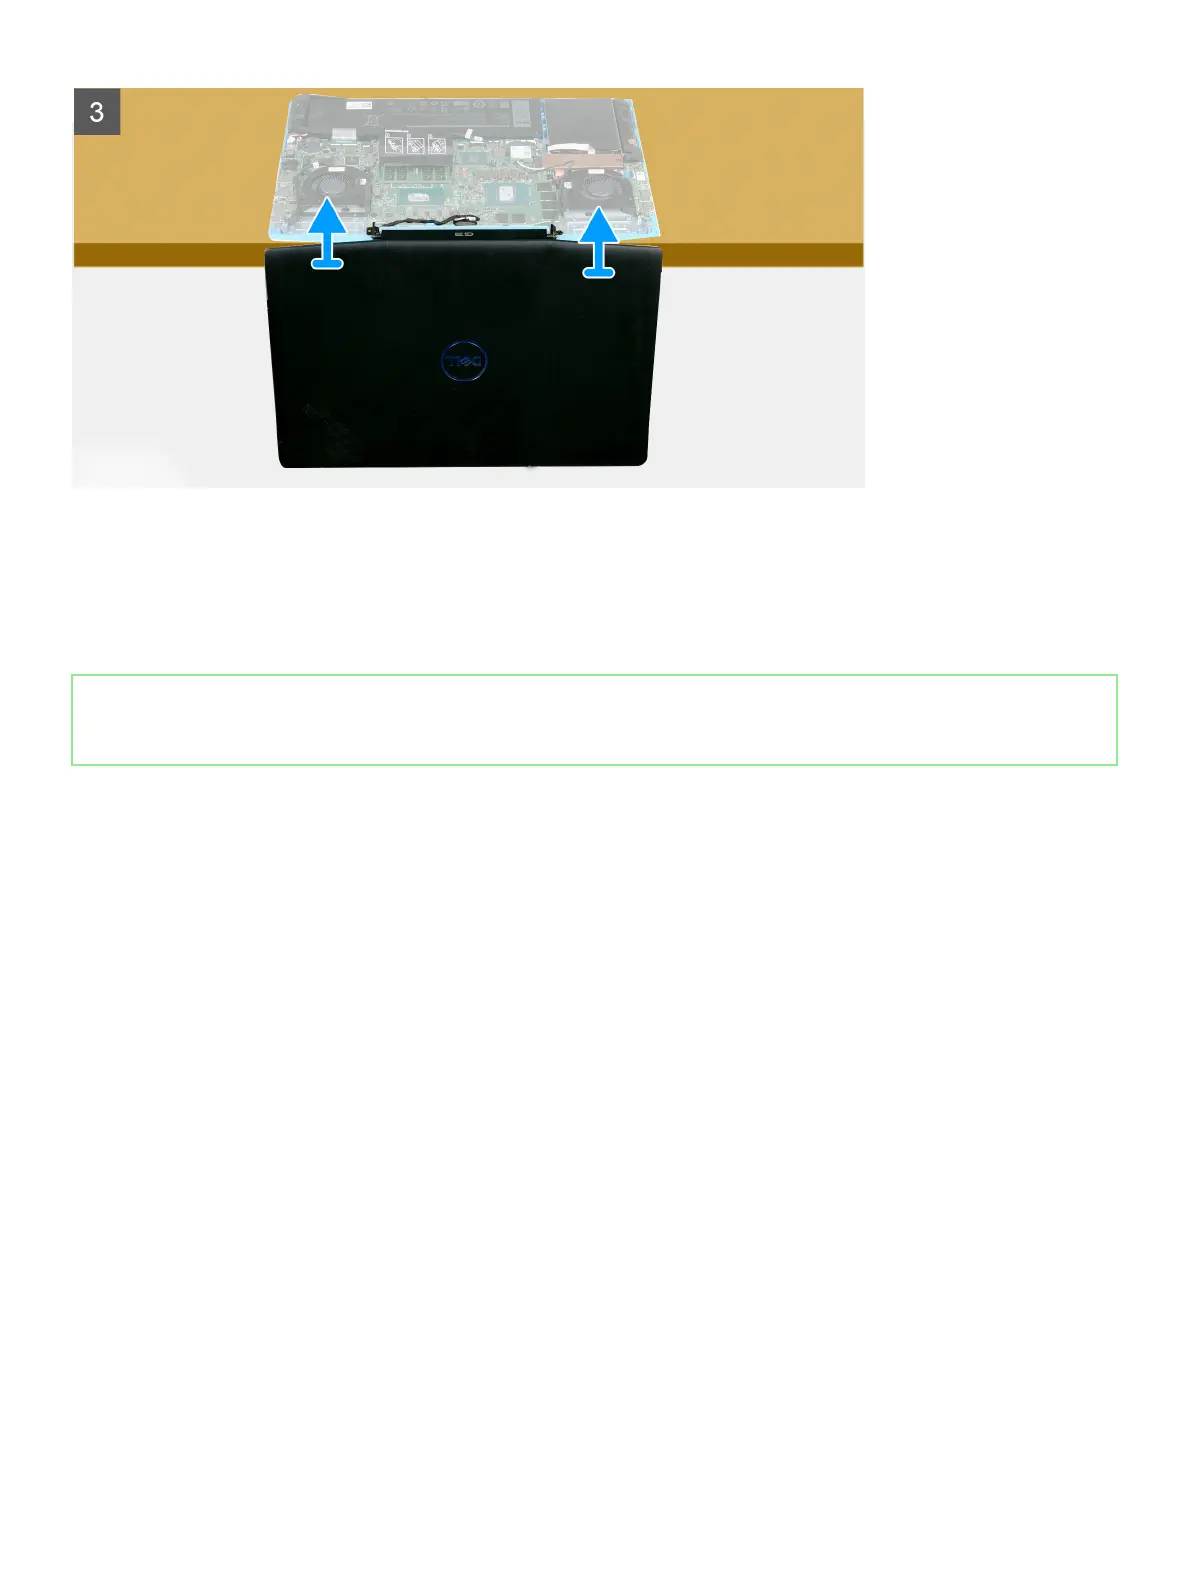
1 Place the computer on a at surface near the edge with its display assembly perpendicular to the palm-rest and keyboard assembly.
2 Using the pull tab, disconnect the display cable from the system board.
3 Remove the four screws (M2.5x5) that secure the display hinges to the system board.
4 Lift the display assembly upwards to separate it from the palm-rest and keyboard assembly.
Identifier GUID-B54075E8-1018-43E0-8F29-B8E2B972A5B6
Status Released
Installing the display assembly
Prerequisite
If you are replacing a component, remove the existing component before performing the installation procedure.
About this task
The following image indicates the location of the display assembly and provides a visual representation of the installation procedure.
44
Removing and installing components
 Loading...