FAULT FINDING AND REPAIR
4-10 20509 Issue 7 Jan 2018
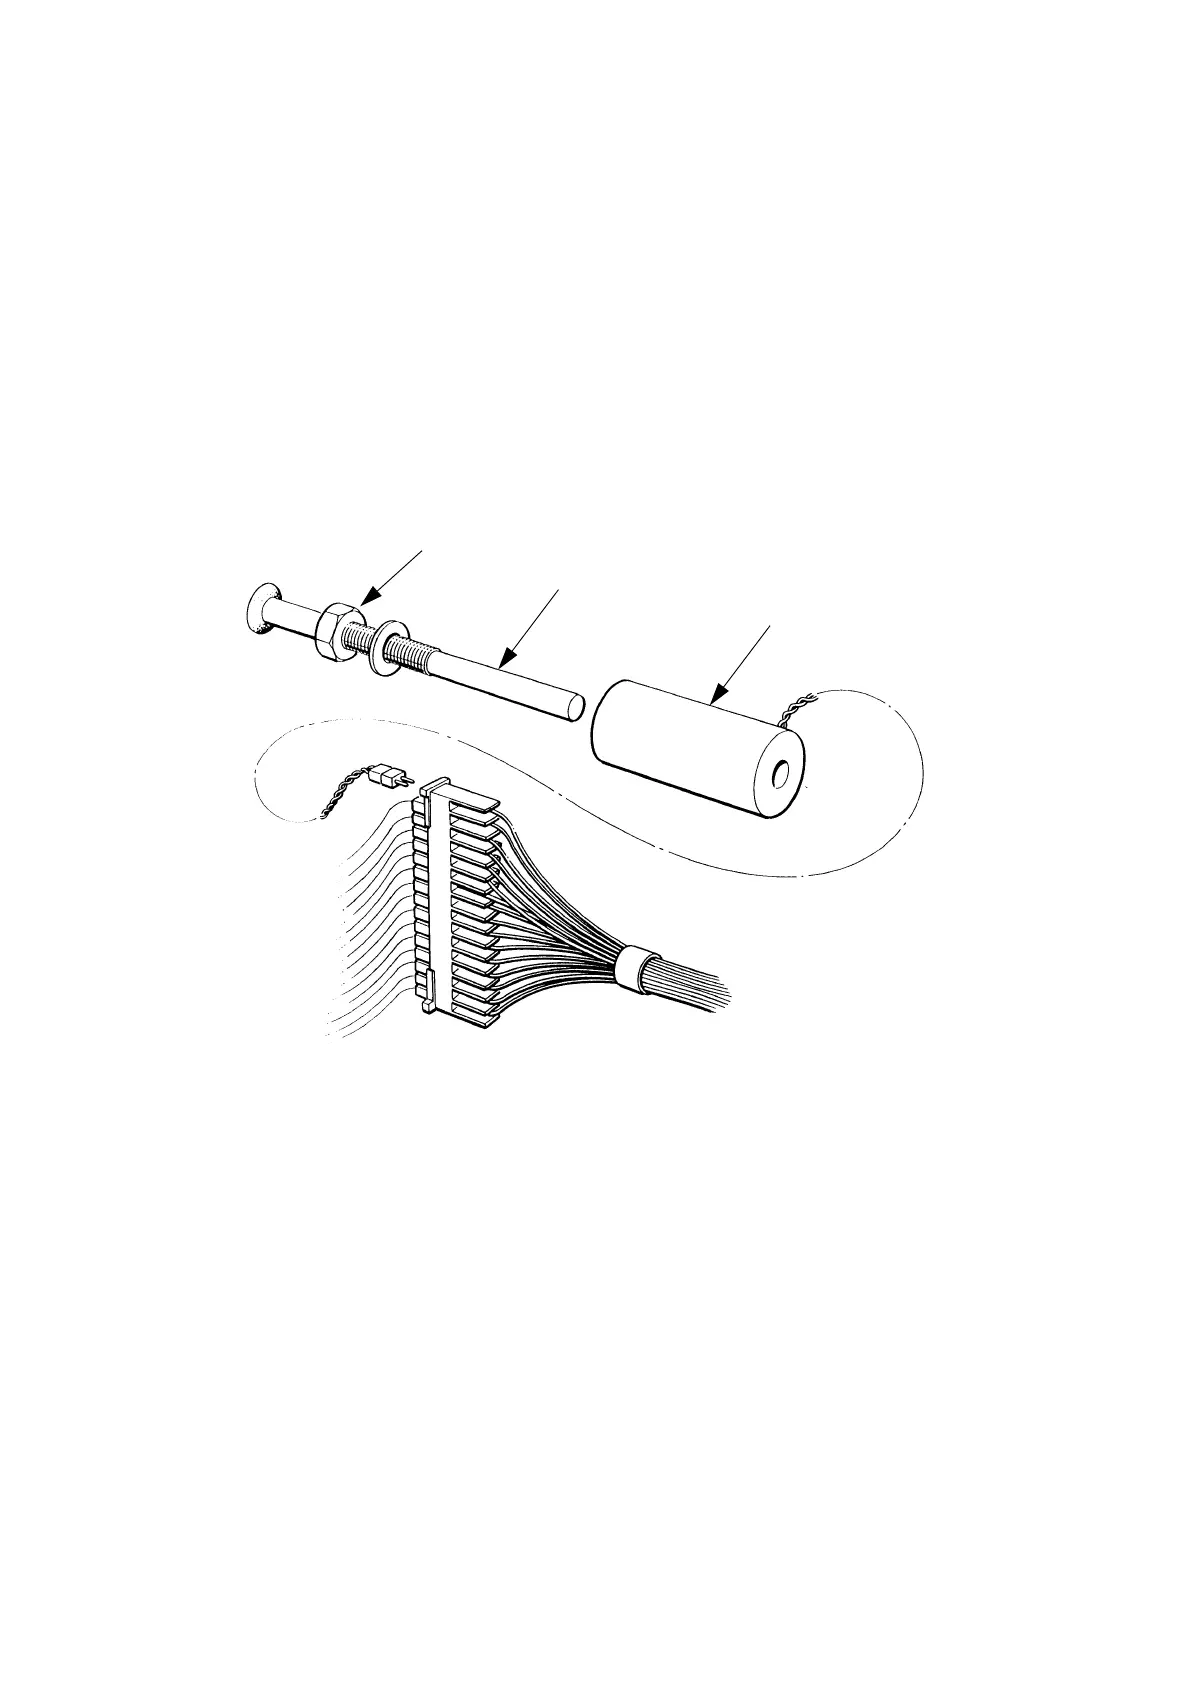
Testing a Solenoid
The solenoids operate the print valves by pulling a slug into their centre.
This pull must therefore be correct as part of producing the correct drop
size.
The printer should be switched on. Arrange a container to catch ink from
the head during step(
5)
(1) Disconnect the solenoid wiring from the connector.
(2) Loosen the locknut sufficiently to release the solenoid.
(3) Unscrew and remove the solenoid from the mounting tube. Leave the
locknut to mark the position of the solenoid.
(4) Reconnect the solenoid wiring to connector.
(5) Insert a small screwdriver into the solenoid and operate the purge
switch on the print head.
(6) The solenoid should now be exerting a magnetic pull on the
screwdriver. No pull indicates either open circuit solenoid or a bad
connection. Check the connections at print head 16
way connector
and 37
way "D" type connector in cabinet.
(7) If the solenoid is faulty, it must be replaced, see below.
(8) When the solenoid is satisfactory, replace it on the mounting tube,
secure it with the locknut and check the drop size (see
page 3-9).
TP3372-1
Locknut
Mounting Tube
Solenoid
 Loading...