FAULT FINDING AND REPAIR
20509 Issue 7 Jan 2018 4-11
Replacing a Solenoid
The printer should be switched off and the print head cover removed.
(1) Disconnect the solenoid wiring from the connector.
(2) Loosen the locknut sufficiently to release the solenoid.
(3) Unscrew the solenoid and pull it off the mounting tube, leaving the
locknut to mark the original solenoid position.
(4) Screw the new solenoid onto the mounting tube up to the locknut.
(5) Tighten the locknut.
(6) Connect the solenoid wiring.
(7) Check and if necessary adjust drop size (see page -9).
Print Head Plunger Slug Replacement
Nozzles can occasionally leak due to worn plunger slugs. However, first
clean the nozzle plate to make sure the leakage is not caused by dirt. While
the nozzle plate is removed, check:
• Condition of plunger slugs
• That the jewels forming the nozzles in the plate are not damaged or
displaced.
Note: An insertion tool, 33574, is required to replace a damaged
plunger slug.
Having identified the faulty plunger slug proceed as follows:
(1) Close the print head valve. Remove the head from its normal
mounting and support it, preferably in the vertical position.
(2) Remove the nozzle plate
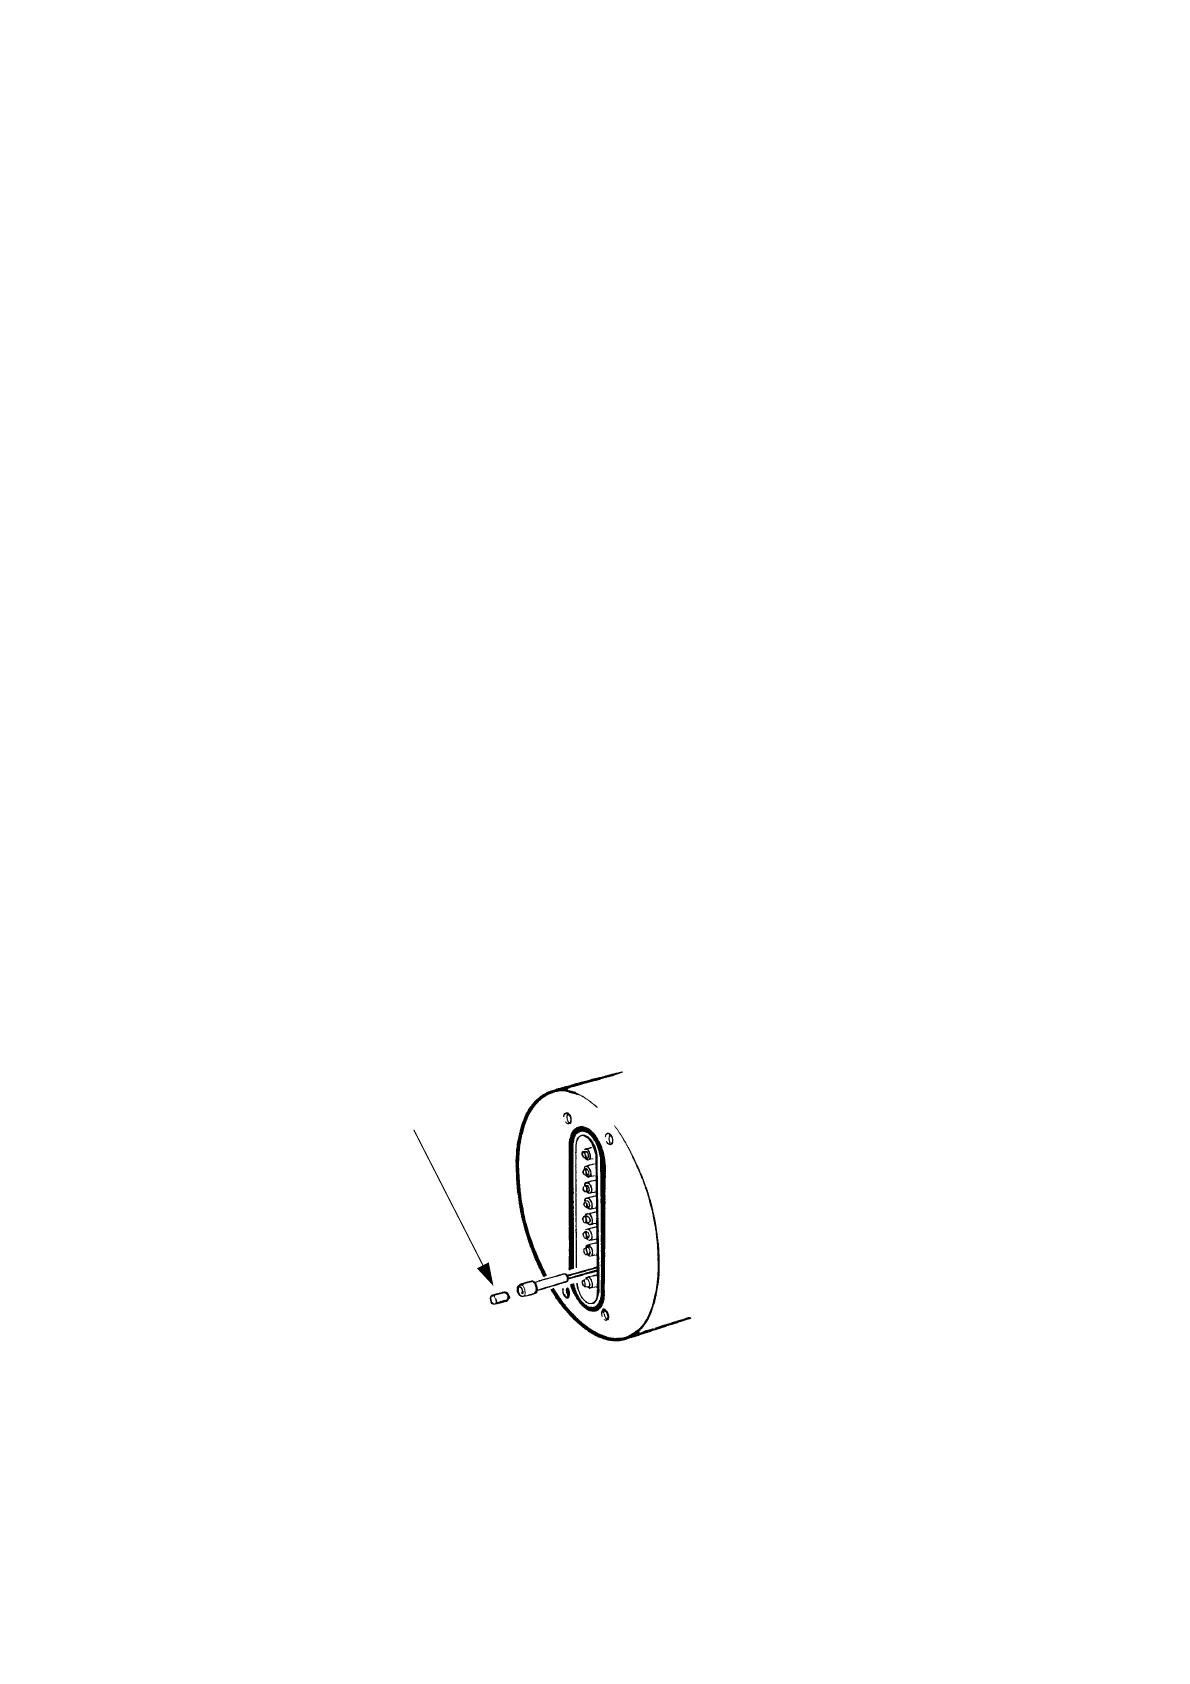
(3) Carefully pull the plunger out from the print head manifold block.
(4) Remove the damaged plunger slug. Make sure the recess for the
plunger slug is clean.
Note: The insertion tool consists of a barrel, sleeve and insertion pin.
The sleeve should be prepared by inserting silicone grease
(MS4) and pushing a plunger slug through several times with the
insertion pin. Wipe away excess grease and discard the slug.
 Loading...