Scanning from the Control Panel
Note:
To use this feature, make sure the following applications are installed on your computer.
❏ Epson ScanSmart (Windows 7 or later, or OS X El Capitan or later)
❏ Epson Event Manager (Windows Vista/Windows XP, or OS X Yosemite/OS X Mavericks/OS X Mountain Lion/Mac OS
X v10.7.x/Mac OS X v10.6.8)
❏ Epson Scan 2 (application required to use the scanner feature)
See the following to check for installed applications.
Windows 10: Click the start button, and then check the Epson Soware folder > Epson ScanSmart, and the EPSON folder
> Epson Scan 2.
Windows 8.1/Windows 8: Enter the application name in the search charm, and then check the displayed icon.
Windows 7: Click the start button, and then select All Programs. Next, check the Epson Soware folder > Epson
ScanSmart, and the EPSON folder > Epson Scan 2.
Windows Vista/Windows XP: Click the start button, and then select All Programs or Programs. Next, check the Epson
Soware folder > Epson Event Manager, and the EPSON folder > Epson Scan 2.
Mac OS: Select Go > Applications > Epson Soware.
1.
Place the originals.
“Placing Originals on the Scanner Glass” on page 36
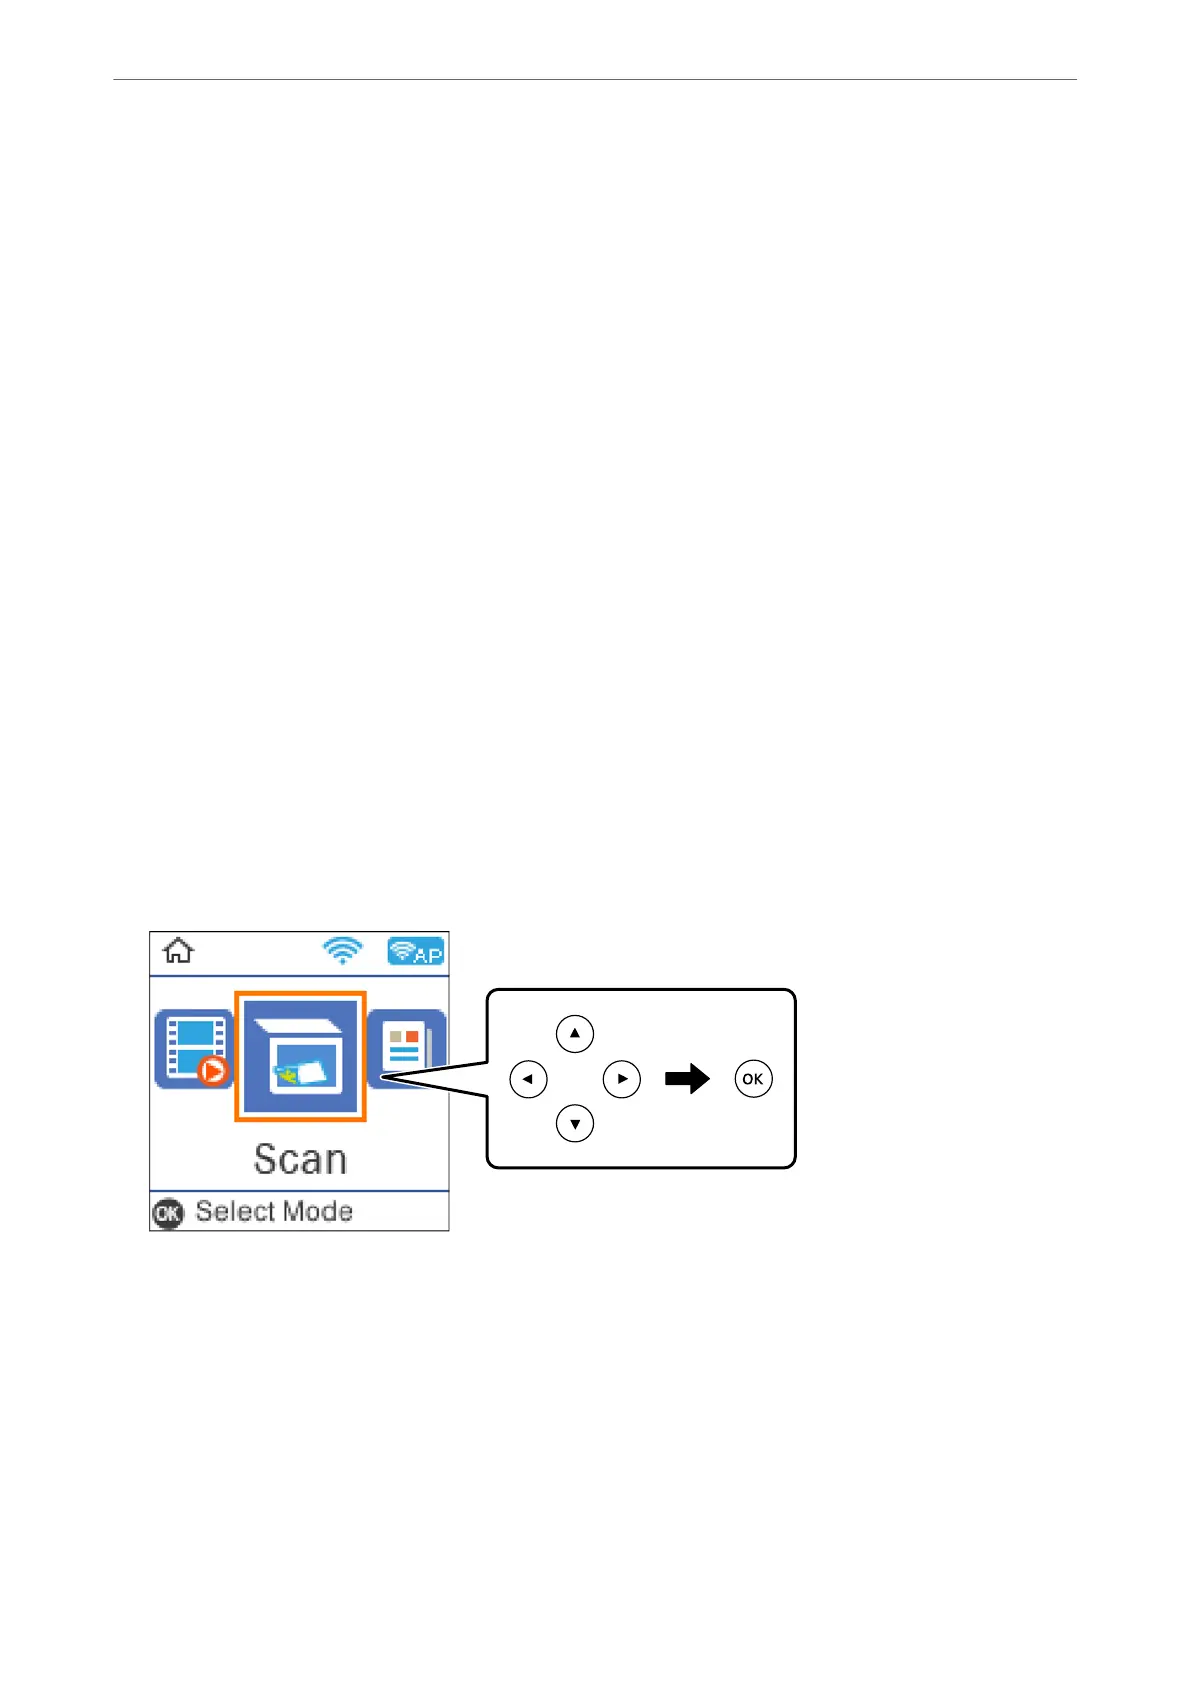
2.
Select Scan on the control panel.
To select an item, use the
u
d
l
r
buttons, and then press the OK button.
3.
Select how to save the scanned image to a computer.
❏ Preview on Computer (Windows 7 or later, or OS X El Capitan or later): Previews the scanned image on a
computer before saving images.
❏ To Computer (JPEG): Saves the scanned image in JPEG format.
❏ To Computer (PDF): Saves the scanned image in PDF format.
4.
Select a computer on which to save the scanned images.
Scanning
>
Scanning Originals to a Computer
>
Scanning from the Control Panel
82
 Loading...