Maintenance 6. Arm #2
LS20 Rev.4 101
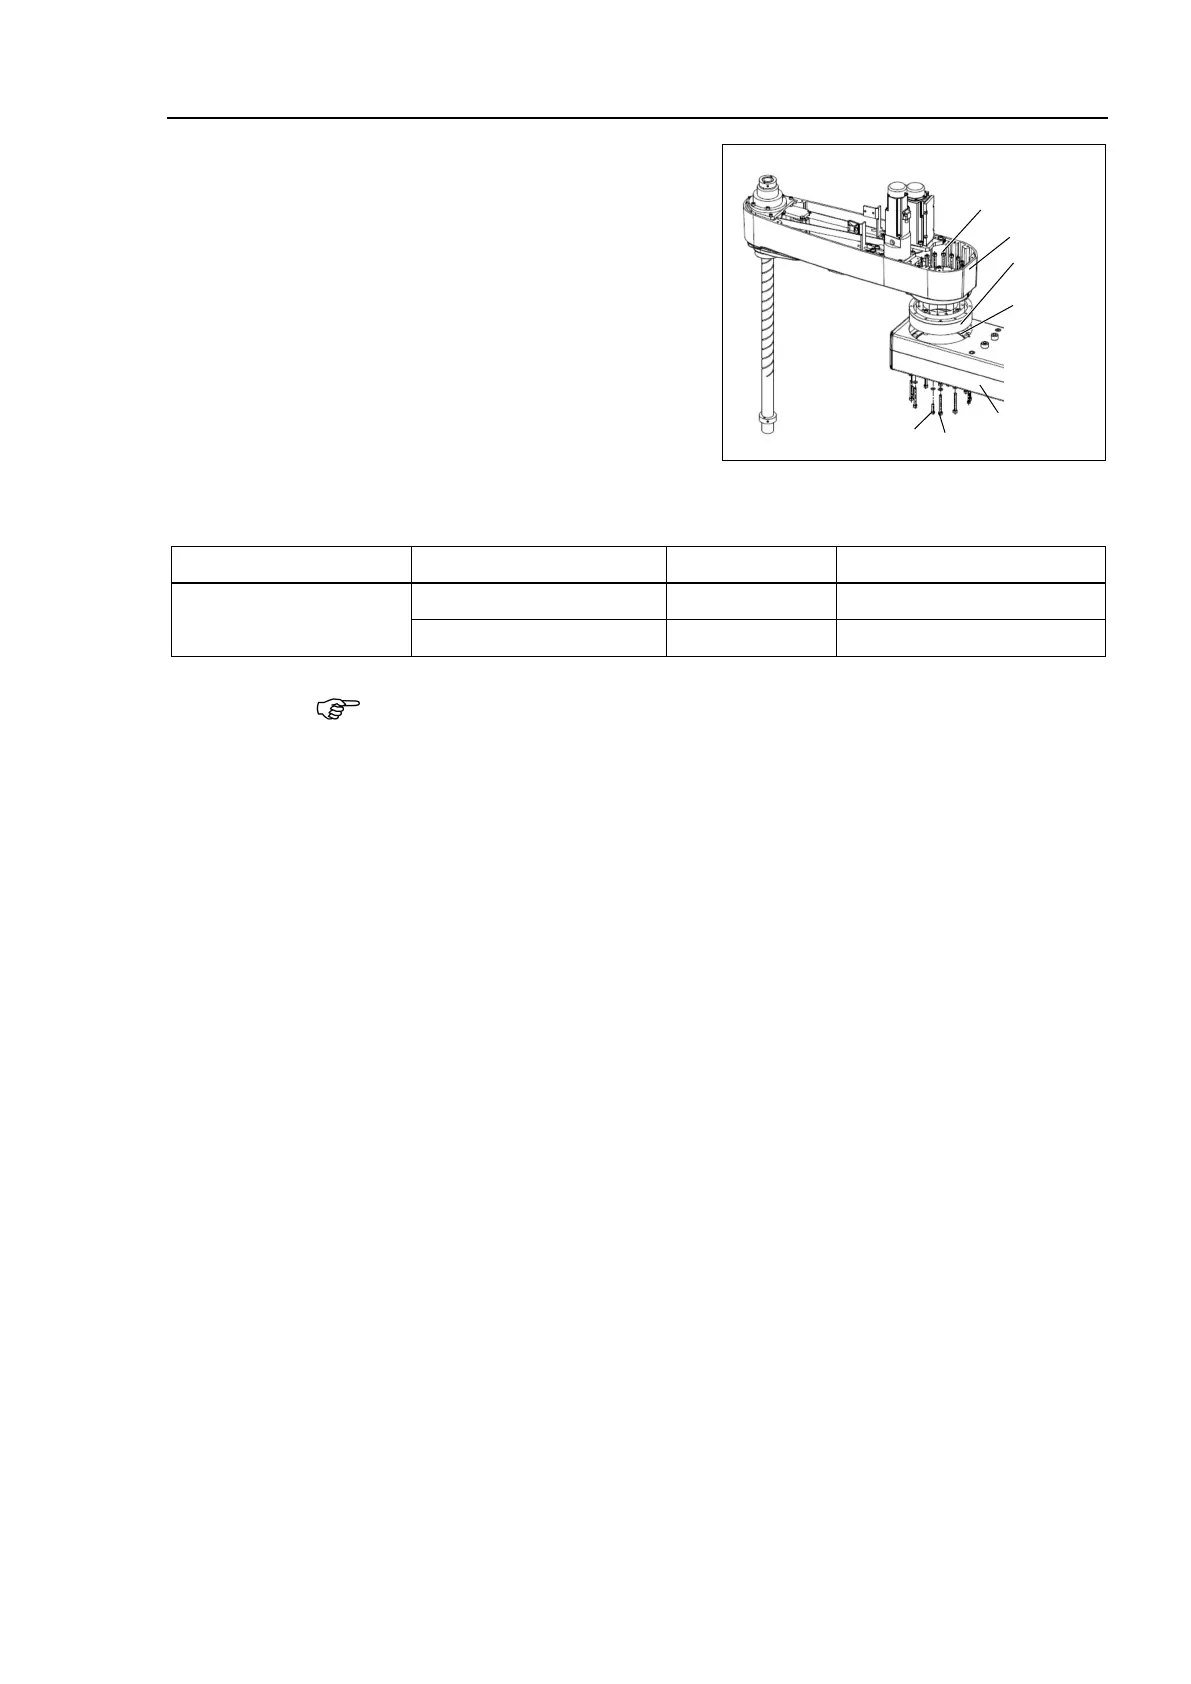
Set the O-ring removed in the removal
step (6) into the O-ring groove of the
Arm #1 and install the flexspline on
the Arm #1.
A: 16-M5×30
B: 8-M5×45+8-M5 plain washer
C: 4-M4×20+4-M4 plain washer
Loosely secure all bolts in a crisscross
pattern so that the bolts will be
secured evenly. Then, using a torque
wrench, tighten each bolt securely in a
crisscross pattern at the torque
specified in the table below.
Item Bolt type Qty. Tightening torque
Joint #2
reduction gear unit
M4 4 5.5 N⋅m (56.1 kgf⋅cm)
M5 8 10.0 N⋅m (102 kgf⋅cm)
Be careful not to apply too much force since it may damage the parts
Apply grease between the motor flange and waveform generator and next inside
the
Between the motor flange and waveform generator
Grease volume: 38 g (SK-1A)
Inside the flexspline
Grease volume: 90 g (SK-1A)
Set the attached O-ring into the O-ring groove of the circular spline.
Secure the Arm #2 on the circular spline.
Hexagon socket head cap bolts: 16-M5×30
Tightening torque : 10.0 N⋅m (102 kgf⋅cm)
and Joint #2 motor.
Follow the installation steps in
Maintenance: 6.1 Replacing Joint #2 Motor.
 Loading...


