Maintenance 8. Arm #4
126 LS20 Rev.4
8.4 Replacing the Reduction Gear Unit
Reduction Gear Unit 1 1493783
Tools
Hexagonal wrench
Spanner width across flats: 7 mm 2
For M4
hexagon head bolt
and M4 hexagon nut
Cross-point screwdriver (#2)
The brakes are mounted on the Joints #3 and #4 to prevent the shaft from moving down
due to the weight of the end effector while the power to the Controller is OFF or while the
motor is in OFF status (MOTOR OFF).
Move the shaft down to its lower limit before the replacement procedure following the
removal steps.
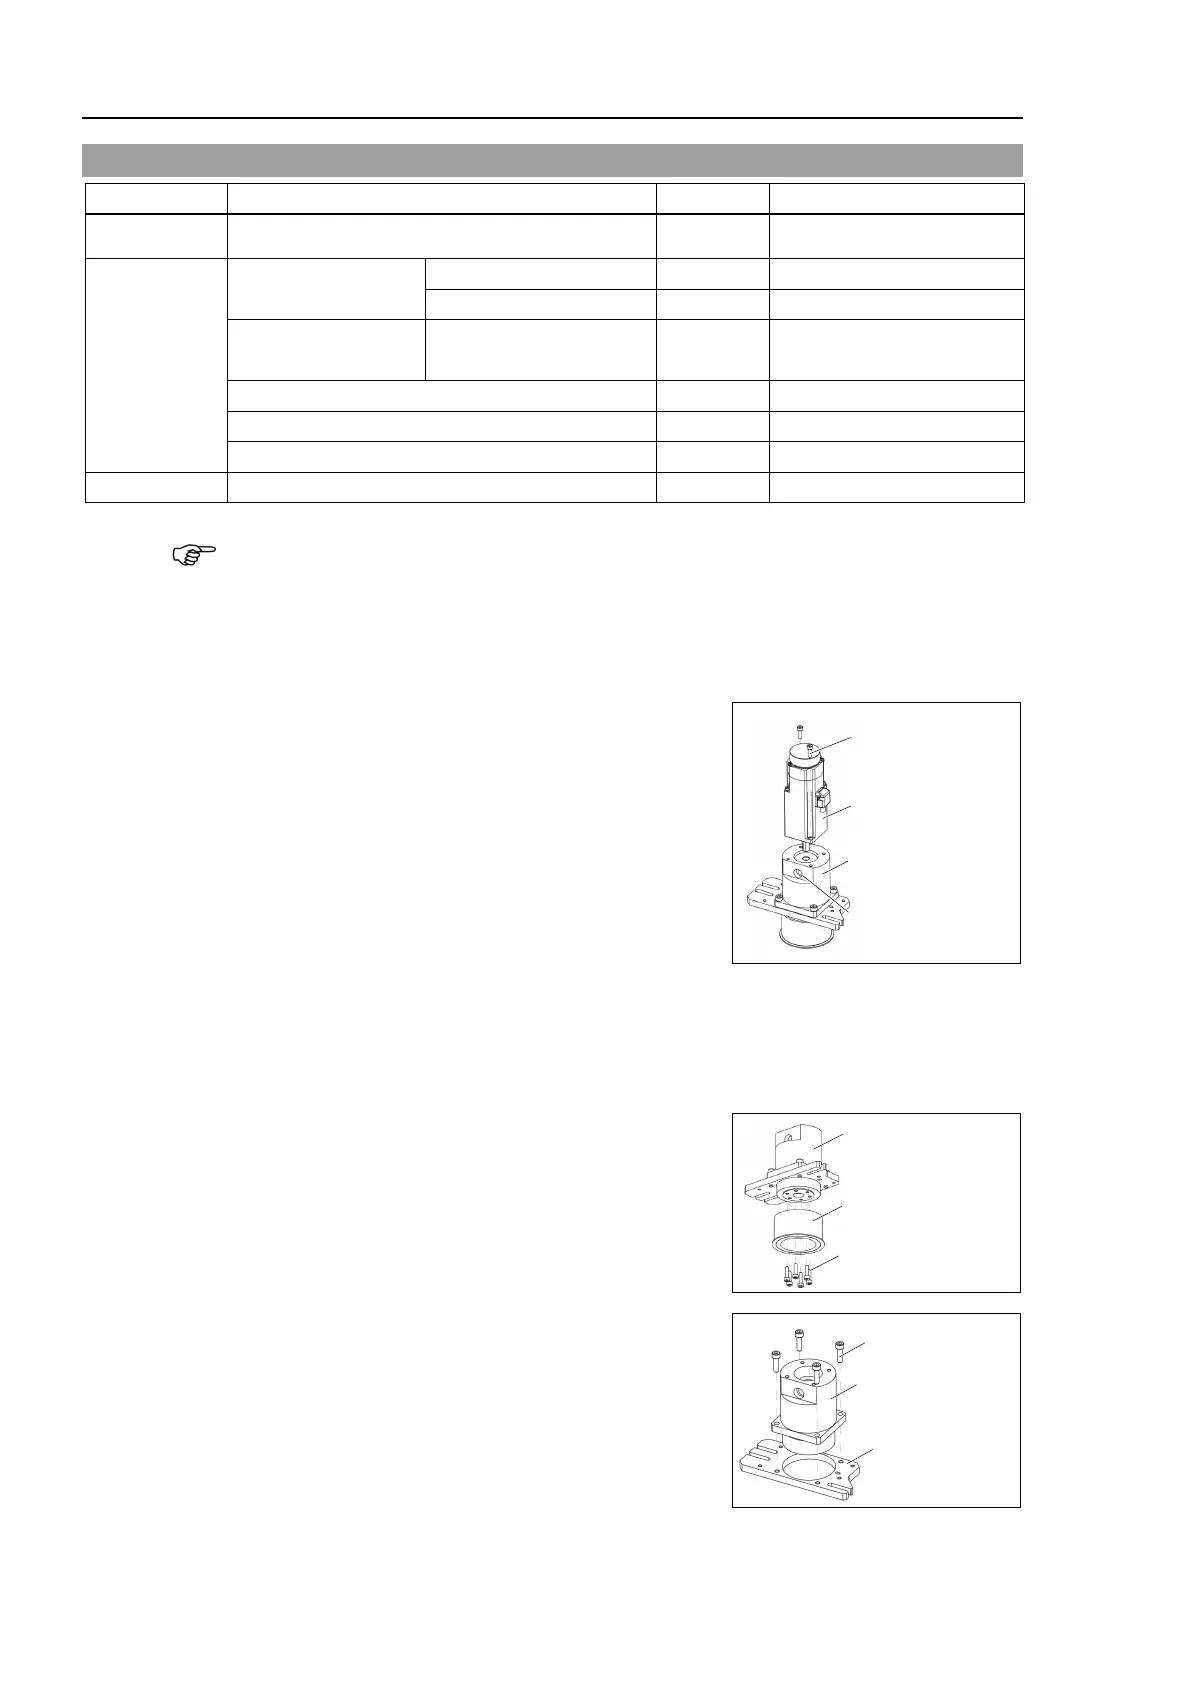
Joint #4
Reduction Gear
Unit
Remove the Joint #4 motor unit from the Arm #
2.
For details, refer to the Installation steps in
Maintenance: 8.2 Replacing the Timing Belt.
Joint #4
Reduction Gear Unit
Screw hole for fixing
the motor shaft
Remove the Joint #4 motor from the reduction
gear unit.
screws securing the Joint #4 motor
the reduction gear unit.
the cover of the hole for fixing the motor shaft on the side of the reduction
and loosen the screw. If the screw position does not match, turn the motor
slightly and move until the screw fixing the motor shaft can be seen.
loosening the screw, mount the cover to the hole. Pull the motor upward to
Joint #4
Reduction Gear Unit
Joint #4
Reduction gear Unit
 Loading...


