SC-F2000 Revision C
DISASSEMBLY & ASSEMBLY Disassembly and Assembly Procedure 91
Confidential
3.4.3.17 RIGHT IC COVER SENSOR
1. Open the RIGHT IC COVER.
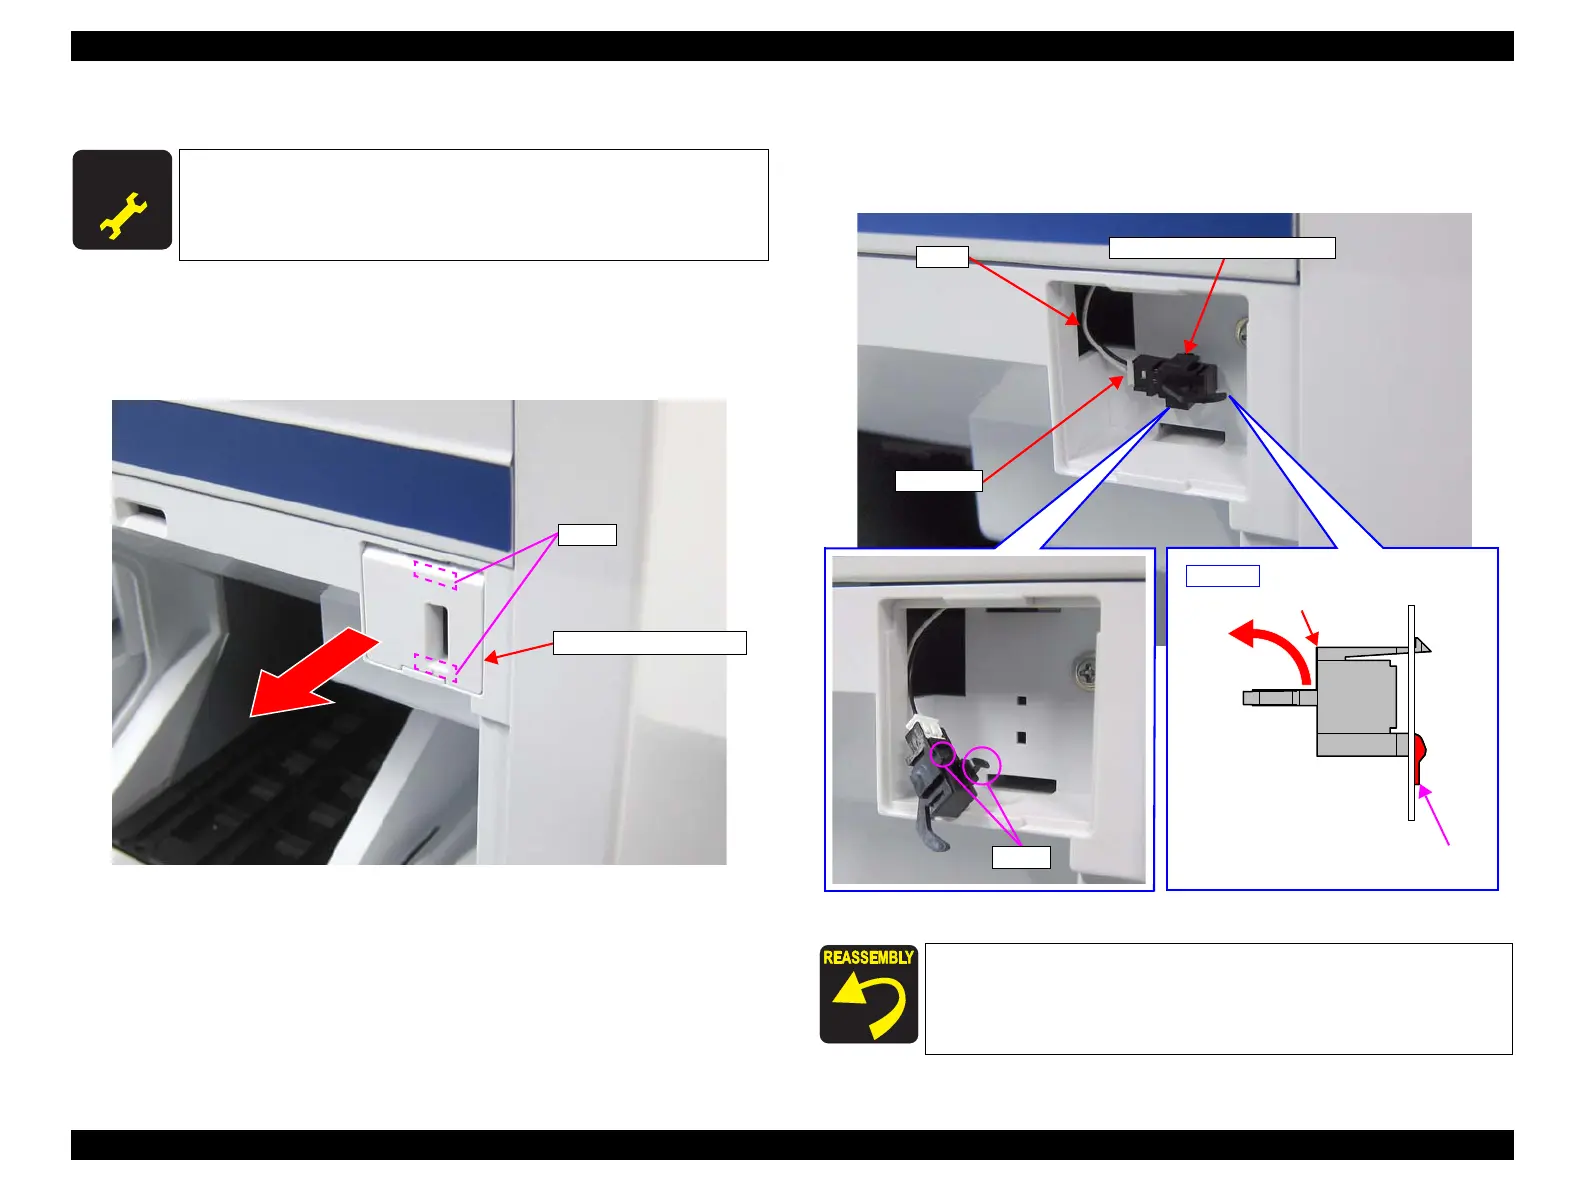
2. Disengage the two hooks using flat-blade screwdriver or a similar tool, and
remove the RIGHT SENSOR COVER.
Figure 3-35. Removing the RIGHT SENSOR COVER
3. Disengage the two hooks, and remove the RIGHT IC COVER SENSOR in the
direction of the arrow.
4. Disconnect the cable from the connector of the sensor.
Figure 3-36. Removing the RIGHT IC COVER SENSOR
A D J U S T M E N T
R E Q U I R E D
When replacing/removing this part, refer to “4.1.2 Adjustment
Items and the Order by Repaired Part” (p194) and make sure to
perform the specified operations including required adjustment.
Engage the lower hook first when attaching the RIGHT IC
COVER SENSOR
(See Figure 3-36).
RIGHT IC COVER SENSOR
Cable
Connector
Side view
Hook (lower)
RIGHT IC COVER SENSOR