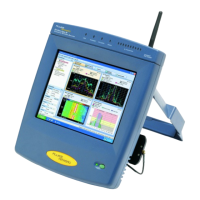
OptiView
TM
Series III
Getting Started Guide
8
Using the Analyzer
Peripheral Support
The analyzer provides the following external accessory connectors:
PC Card (multi bus PCMCIA)
Three USB ports
VGA-out DB-15 (see Using the VGA Out Port, later in this manual, for
specific information)
Registering the OptiView
TM
Analyzer
Please take the time to register your analyzer. A registration card is supplied in the
shipping box. You can also register at www.flukenetworks.com
.
Powering the Analyzer On and Off
Note
To properly condition the battery(s), a new analyzer must be initially
charged for 8 hours.
Powering the Analyzer On
Simply press the green On/Off button on the front of the analyzer. When the
analyzer is first powered on, it goes through a complete power-up sequence which
includes initializing the processor, memory, performing a self test, loading the
operating system, loading the analyzer user interface, and displaying the analyzer
Front Page screen as shown in Figure 2.
Powering the Analyzer Off
Standby - With the analyzer powered on, press the green On/Off button on the
front of the analyzer for one second. This places the analyzer in a standby state
(suspend to RAM), and the LED turns amber. This is used in normal day to day
operation to power the analyzer off. The analyzer can remain in the standby state
for two days without the battery needing to be recharged, and longer if the
analyzer also has an external battery attached.
Touching the On/Off button again will take the analyzer out of the standby state.
Allow about one minute to resume normal operation (Statistics and other real-time
measurement information will be reset).

 Loading...