GE MEDICAL SYSTEMS
DIRECTION 2317229, REVISION 3 LOGIQ™ 180 BASIC SERVICE MANUAL
7 - 2 Section 7-2 - Power On Diagnostics
Section 7-2
Power On Diagnostics
The power on diagnostics or self tests are run every time the system is booted. This self tests include
testing the validity of the system software through EPROM checksum test and testing the system RAM.
It checks whether the keyboard and the trackball are properly interfaced to the system. It also initiates
the self test of analog subsystem. The two LED's on the keyboard (Freeze & Ext. Video) and the beeper
are used to indicate error conditions.
NOTE: Power on Diagnostics works only when the system is in application (imaging) mode and not while on
service diagnostics. The application mode is controlled by DIP Switch SW1/SW3* - 6,7,8 on the CPU
which is set to ON,OFF,OFF respectively which is the normal setting. For more details refer section
section 5-2-2-2 on page 6.
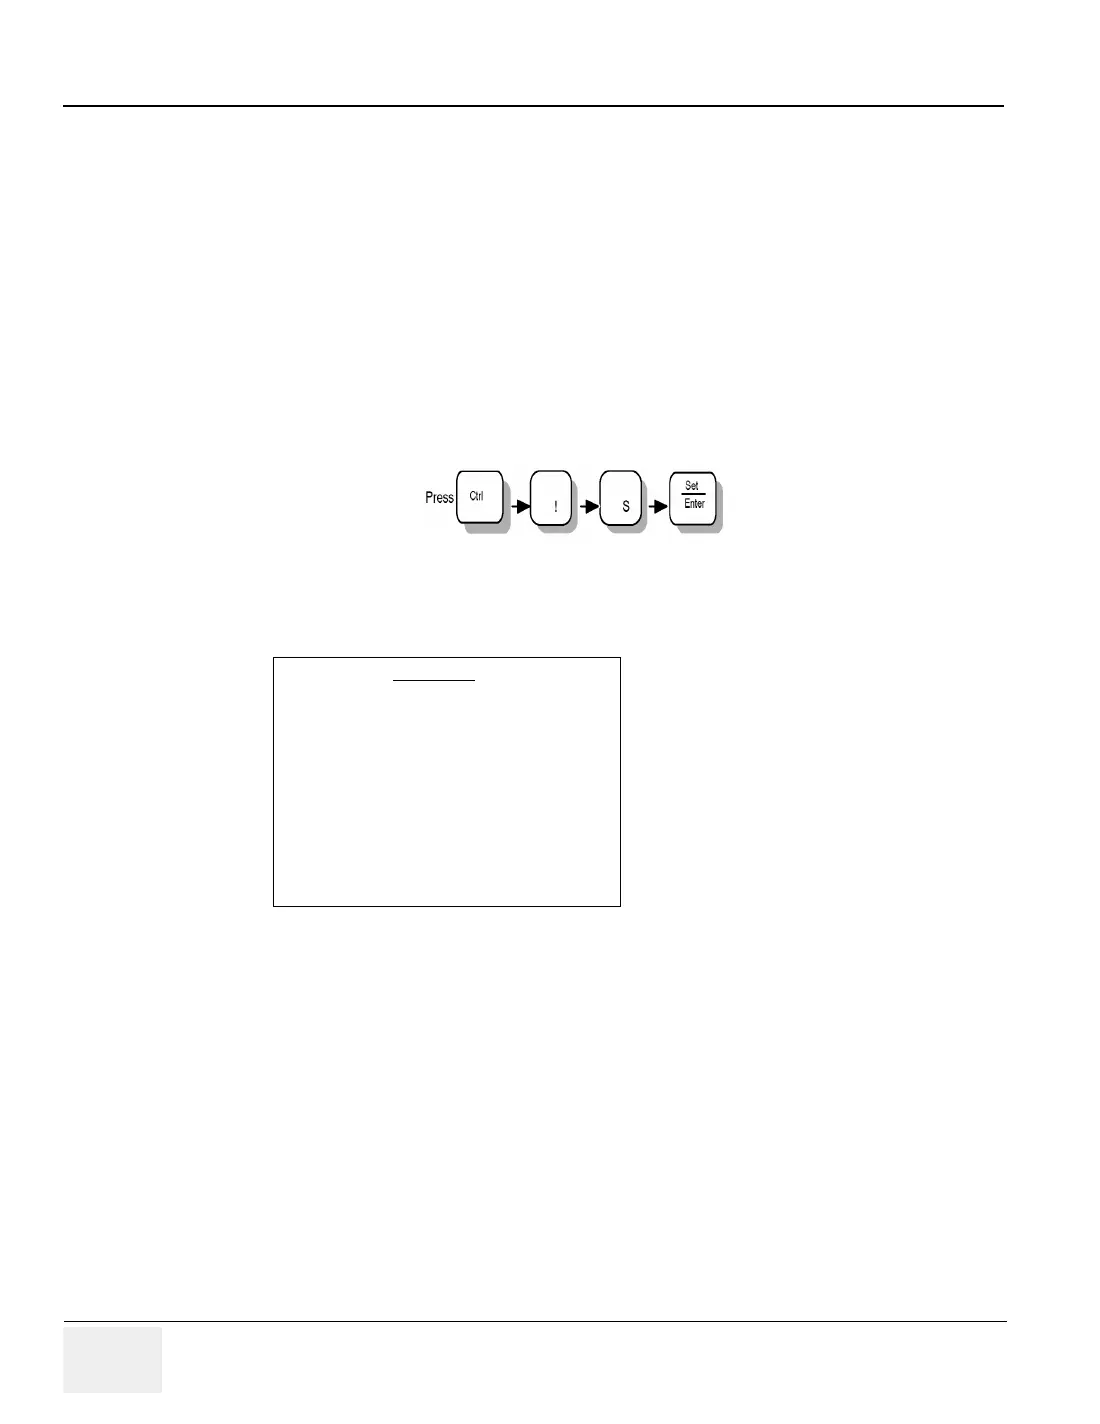
7-2-1 Service Diagnostics
Press (CTRL +! + S + Enter) keys on the keyboard to enter the
service diagnostics. In response, a pop-up menu appears as shown in Ta b l e 7 - 4 2
NOTE: Option Q (Quit) can be used to come out of the diagnostic and enter the application mode.
Figure 7-42 Main Menu For LOGIQ™ 180 V7.0HC
1. CPU BOARD TESTS
2. DSC BOARD TESTS
3. FRONT END BOARD TEST
4. KEYBOARD TESTS
5. MONITOR TEST
6. KEYBOARD OPERATION HISTORY
Q. QUIT
ENTER THE CHOICE:
MAIN MENU
For LOGIQ™ 180 V7.0HC
 Loading...


