GE MEDICAL SYSTEMS
DIRECTION 2317229, REVISION 3 LOGIQ™ 180 BASIC SERVICE MANUAL
4 - 10 Section 4-5 - Software Configuration Checks
Section 4-5
Software Configuration Checks
Section 4-6
Peripheral Checks
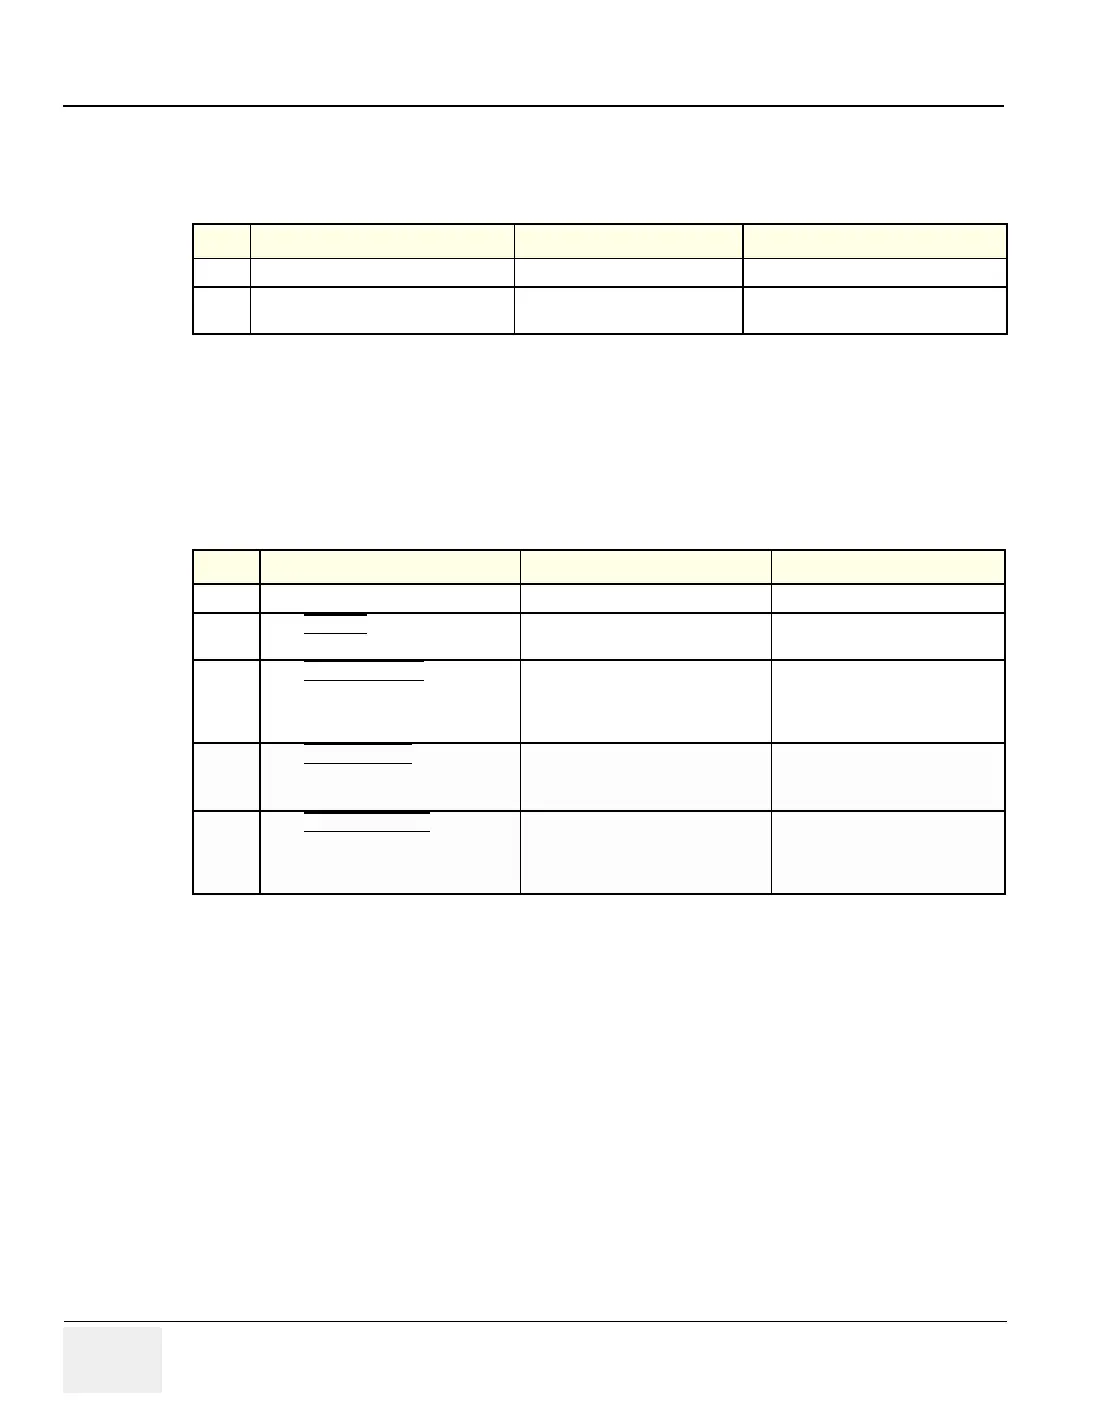
Check that peripherals work as described below:.
Table 4-10 Software Configuration Checks
Step Check Expected Result(s) If Not Remedy
1. Check Date and Time setting Date and Time are correct Adjust the Date and Time setting
2. Check that Location (Hospital Name) is
correct
Location Name is correct Re-enter the correct Location Name
Table 4-11 Peripheral checks
Step Check Expected Result(s) If Not Remedy
1. Press Freeze Key to stop image acquisition.
2. Press RECORD Key on the Control
panel
The image displayed on the screen is
printed on B&W Video Graphic Printer
3. Press SHIFT + RECORD Key on the
Control Panel.
To image or report page displayed on
the screen is printed on the Parallel
Printer connected to the Parallel Port
of the System
4. Press SHIFT + STORE Key on the
Control Panel.
To start the Image Transfer Operation
5. Press EXTERNAL VIDEO Key on the
Control Panel
Enables an External Video Input
Playback on the LOGIQ™ 180
monitor. Press once again to return to
the scan mode
 Loading...


