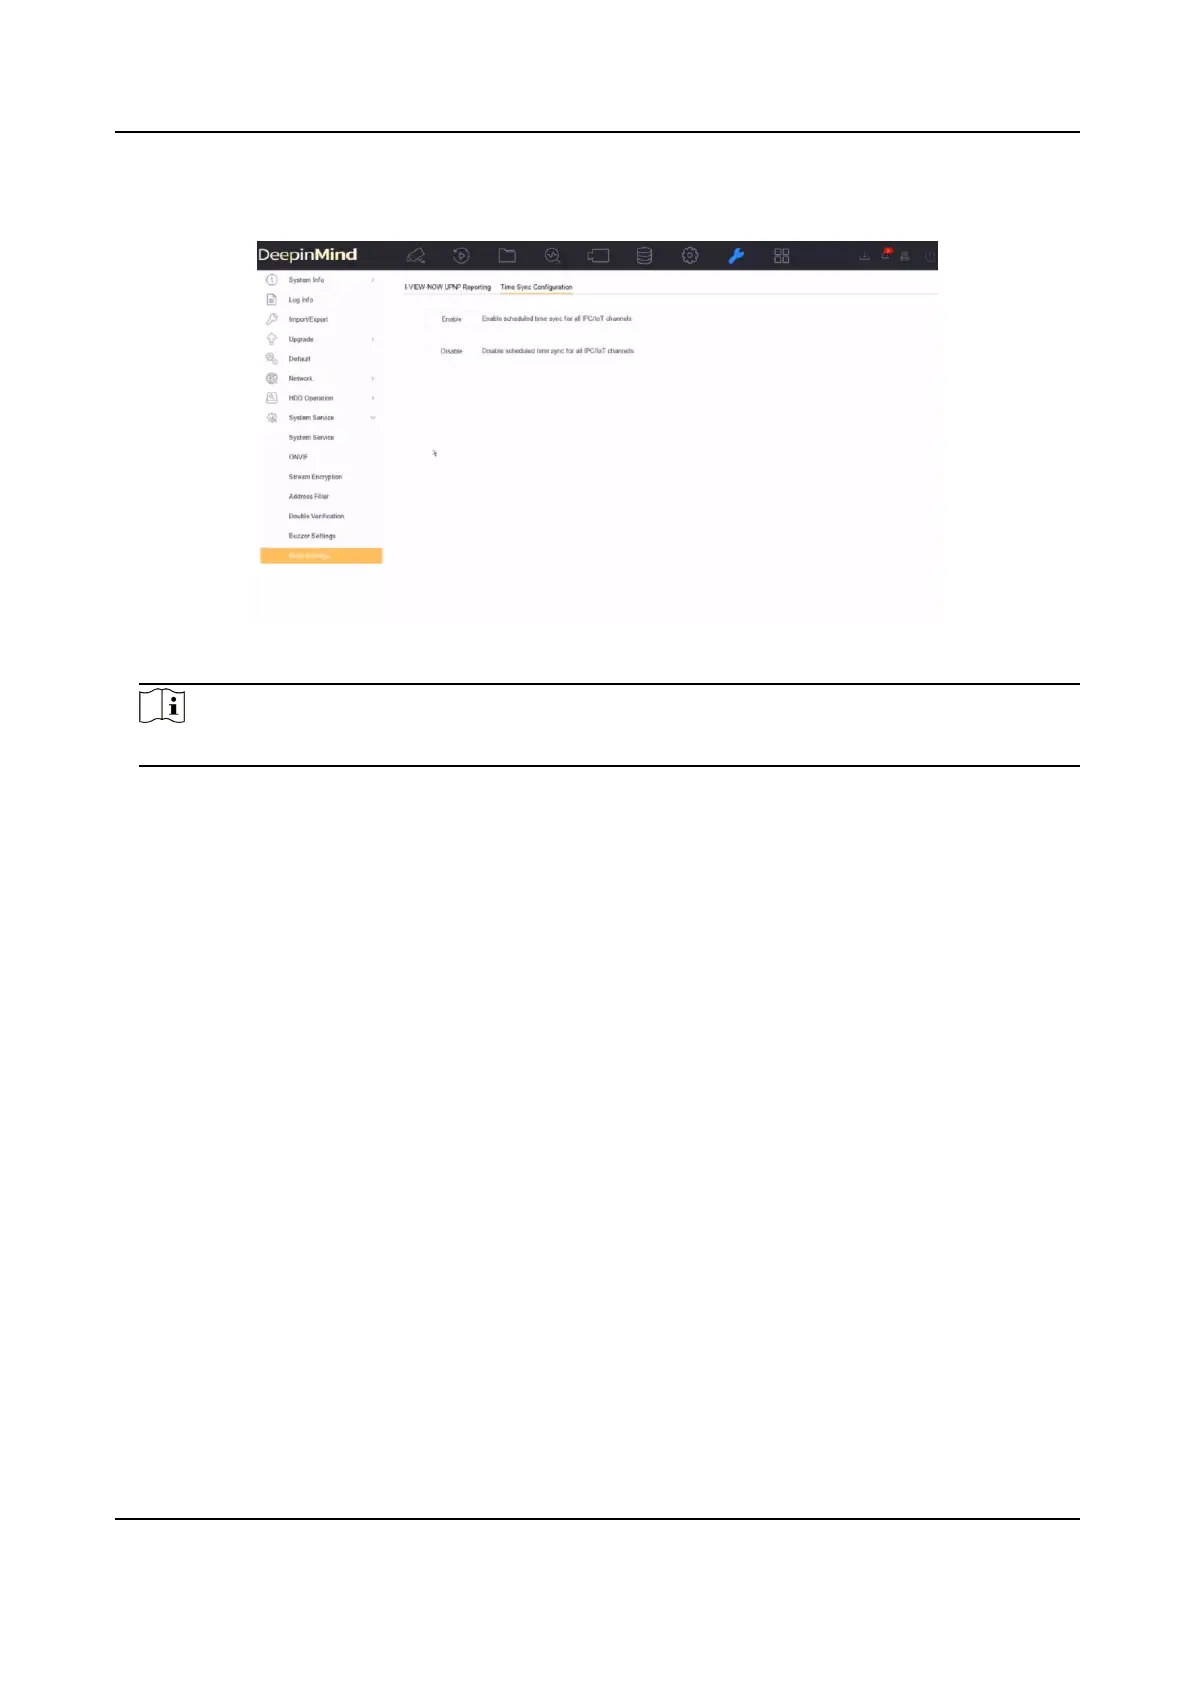
2) Click Time Sync Conguraon, select Enable IPC Time Sync or Disable IPC Time Sync to
enable/disable scheduled me sync for all IPC/IoT channels.
Figure 2-3 IP Camera Time Sync
Note
This funcon is only available for the admin user.
2.6 Import Network Camera Cercate
Import the network camera cercate to the video recorder.
Steps
1. Log in the network camera via web browser.
2. Go to
Conguraon → Network → Advanced Sengs → HTTPS on the web browser to export
its cercate.
3. Click Export at Export Cercate to save the cercate.
4. Log in the video recorder by web browser.
5. Go to Conguraon → System → Security → Trusted Root Cercaon Authories → Import .
6. Click Import to import the network camera
cercate.
2.7 Import/Export IP Camera
Conguraon Files
The IP camera informaon, including the IP address, manage port, password of admin, etc., can be
saved in Microso Excel format and backed up to the local device. The exported le can be edited
on a PC, including adding or
deleng the content, and copying the seng to other devices by
imporng the Excel le to it.
Network Video Recorder User Manual
20
 Loading...