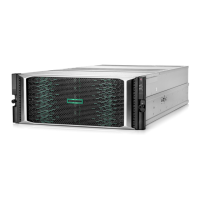
HP
Series
6000
Hardware
Installation
Manual
Adding
a
Second
3.5-inch
Hard
Disk
Drive
Note
Only the front slots can contain two 3.5-inch
hard
disk drives.
Since
the
rear
slot (slot
2)
has only one
SCSI
connector, only one
device can be installed in this slot.
If
you are adding a second 3.5-inch
hard
disk drive into an existing bracket, first
remove
the
existing hard disk drive and bracket as follows:
1.
Disconnect the dc power cable.
2.
Disconnect the address cable from the drive.
3. Disconnect the
SCSI
cable.
4. Remove
the
T25
bracket screw from
the
chassis front panel,
then
remove
the
drive and bracket from
the
mass storage system.
N ow
add
the
new
drive to the existing bracket:
1.
Remove
the
TI0
bracket screws from
the
new
drive
and
bracket
you
received in the new upgrade kit.
2.
Remove
the
new
drive from the mounting bracket.
3. Remove
th
RFI
baffle from the mounting bracket.
4. Install
the
new
drive into
the
open slot of
the
mounting bracket.
5. Secure
the
drive in the mounting bracket with the
TI0
bracket
screws (see
Figure 3-3).
If
you are installing two drives at
the
same time (from two upgrade kits),
perform
the
following steps:
1.
Remove the TIO bracket screws from one of the drives, and remove
the
drive
from
the
mounting bracket.
2.
Remove
th
RFI
baffle from the mounting bracket.
3. Install
the
drive
that
was
just
removed into
the
open slot of
the
mounting
bracket
you received in the other upgrade kit.
4. Secure
the
drive in the mounting bracket with the
TI0
bracket
screws (see
Figure 3-3).
3.5·inch
Hard
Disk
Drive
Installation
3·5
 Loading...