6-13
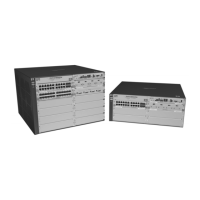
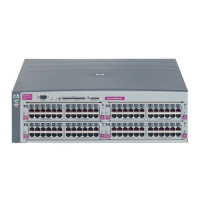
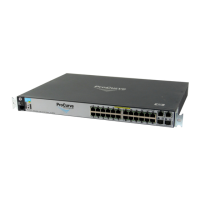
Stack Management for the 3500, 3500yl, 6200yl and 6600 Switches
Configuring Stack Management
Using the Menu To Manage a Candidate Switch
Using the menu interface, you can perform these actions on a Candidate
switch:
■ Add (“push”) the Candidate into an existing stack
■ Modify the Candidate’s stacking configuration (Auto Join and Transmission
Interval
)
■ Convert the Candidate to a Commander
■ Disable stacking on the Candidate so that it operates as a standalone
switch
In its default stacking configuration, a Candidate switch can either automati-
cally join a stack or be manually added (“pulled”) into a stack by a Commander,
depending on the Commander’s Auto Grab setting. The following table lists the
Candidate’s configuration options:
Table 6-4. Candidate Configuration Options in the Menu Interface
Using the Menu To “Push” a Switch Into a Stack, Modify the Switch’s
Configuration, or Disable Stacking on the Switch. Use Telnet or the
WebAgent to access the Candidate if it has an IP address. Otherwise, use a
direct connection from a terminal device to the switch’s console port. (For
information on how to use the WebAgent, see the online Help by clicking on
the “?” in the WebAgent screen.)
1. Display the Stacking Menu by selecting Stacking in the console Main
Menu.
2. Display the Stack Configuration menu by pressing
[3] to select Stack
Configuration.
Parameter Default Setting Other Settings
Stack State
Candidate Commander, Member, or Disabled
Auto Join
Yes No
Transmission
Interval
60 Seconds Range: 1 to 300 seconds
 Loading...