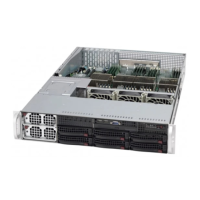
Step 5 Remove the RH2288 V3 and put it on an ESD desktop. For details, see 3.6 Removing the
Server.
Step 6 Remove the chassis cover. For details, see 7.11 Removing the Chassis Cover.
Step 7 Remove full-height full-length riser cards if they are installed. For details, see 7.19 Removing
the Riser Card.
Step 8 (Optional) Open the two latches on the supercapacitor tray in their respective directions, and
remove the supercapacitor tray. See steps (1) and (2) in Figure 7-23.
Figure 7-23 Removing the supercapacitor tray
Step 9 Lift the air duct. See Figure 7-24.
Figure 7-24 Removing the air duct
----End
7.14 Installing the Air Duct
Install an air duct to replace the original one or after replacing a CPU, DIMM, or
supercapacitor.
RH2288 V3 Server
User Guide
7 Replacing Parts
Issue 32 (2019-03-28) Copyright © Huawei Technologies Co., Ltd. 150
 Loading...


