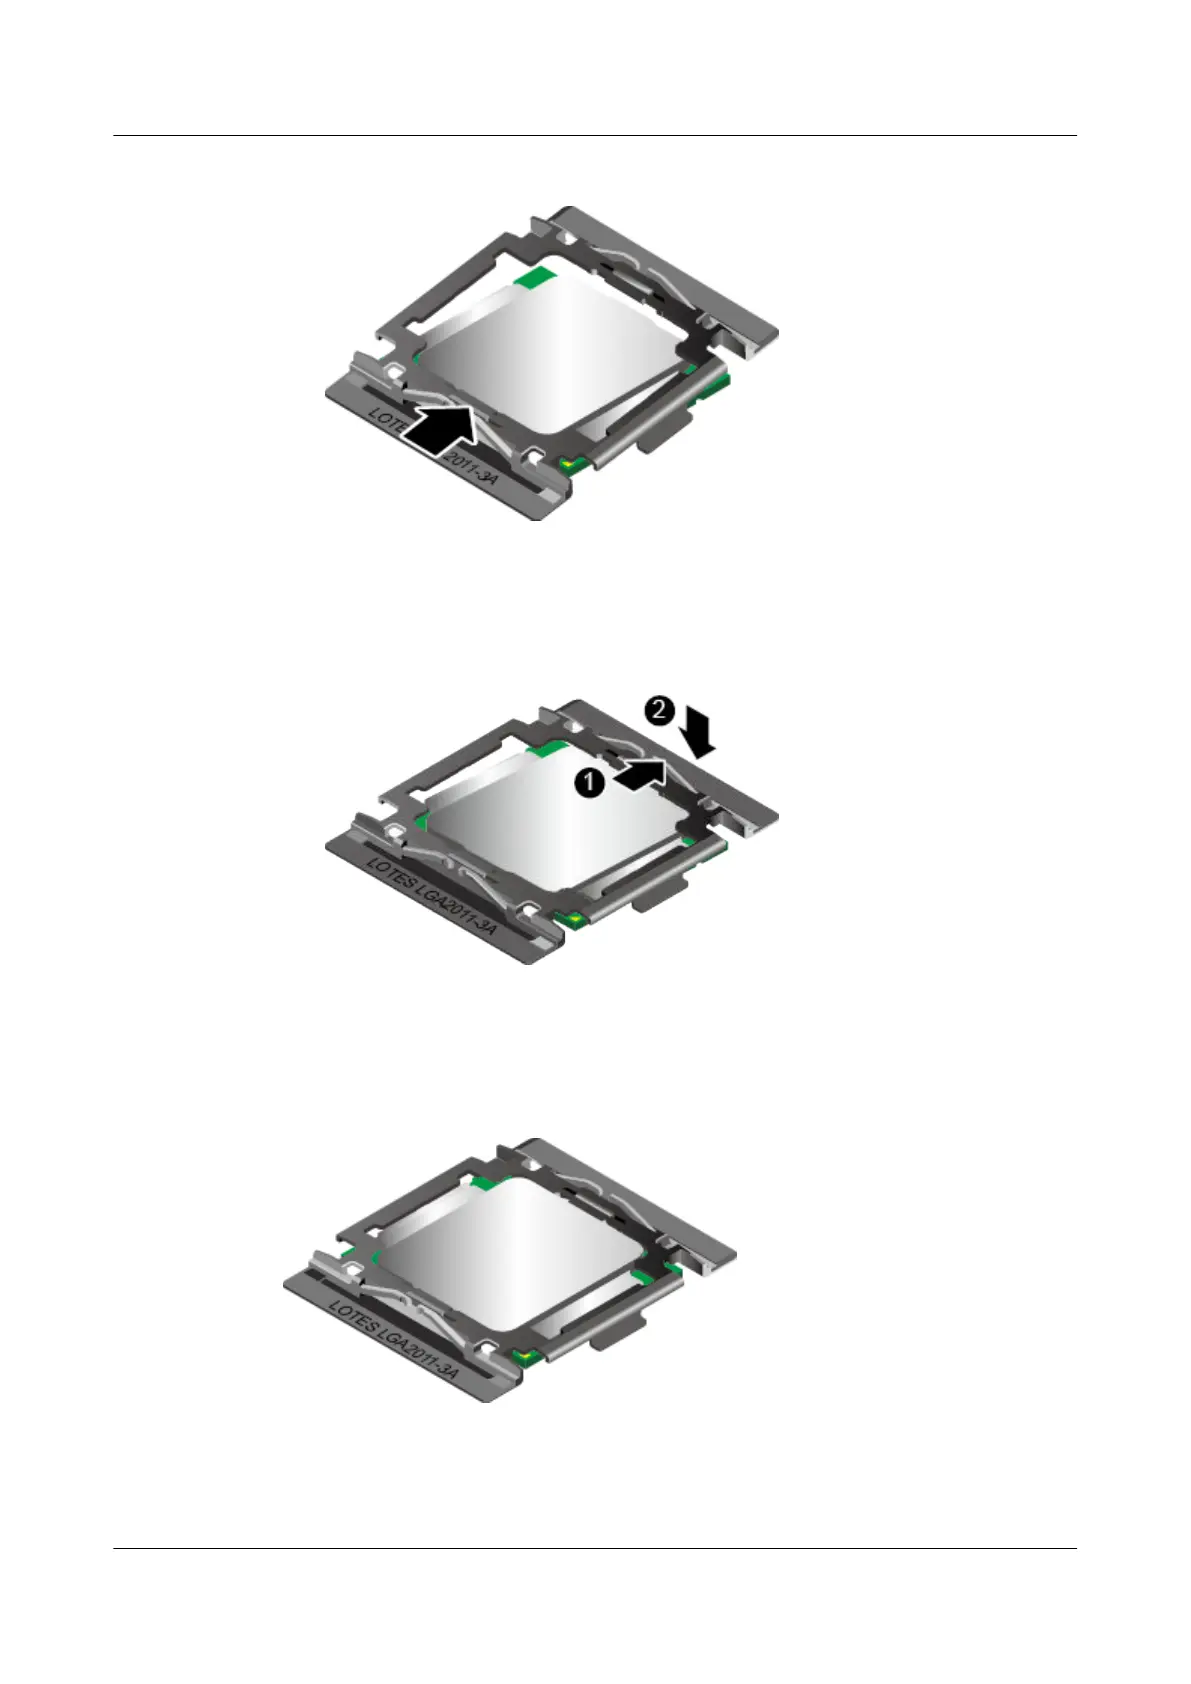
Figure 7-75 Latching a CPU into one side of a CPU installation tool
2. Pull out the other side of the CPU installation tool and squeeze the tool downward to
latch the CPU. See Figure 7-76.
Figure 7-76 Pulling out the other side of a CPU installation tool
3. Ensure that the CPU is properly latched into the two sides of the CPU installation tool.
See Figure 7-77.
Figure 7-77 CPU installation tool with the CPU inside
Step 7 Determine the area on the CPU for contacting the heat sink, and apply 0.4 ml of thermal
compound on the area.
RH2288 V3 Server
User Guide
7 Replacing Parts
Issue 32 (2019-03-28) Copyright © Huawei Technologies Co., Ltd. 199

 Loading...