ENGINE MECHANICAL 6A–91
The grade mark is stamped on the top of the piston
installed at the factory, but service part pistons do not
have any grade (single grade).
Piston outside diameter
Standard: 114.894 – 114.909 mm
(4.5233 – 4.5240 in.)
Piston and Liner bore clearance
Standard: 0.122 – 0156 mm (0.0048 – 0.0061 in.)
If the piston and liner clearance exceeds the standard
value, the piston and/or liner must be replaced.
CAUTION: Cylinder liner kit clearances are preset.
However, the cylinder liner installation procedure
may result in slight decreases in cylinder liner
clearances. Always measure the cylinder liner
clearance after installation to be sure that its is
correct.
Reassembly
1. Install the snap ring (1).
Use a pair of snap ring pliers to reassemble the snap
ring to the piston.
2. Install the connecting rod and piston pin.
• Clamp the connecting rod in a vise.
Take care not to damage the connecting rod.
• Install the piston so that the piston head front mark
and the connecting rod front mark face the
opposite direction.
• Apply engine oil to the piston pin.
• Insert the piston pin to the connecting rod through
the piston pin hole in the piston.
• Install the snap ring.
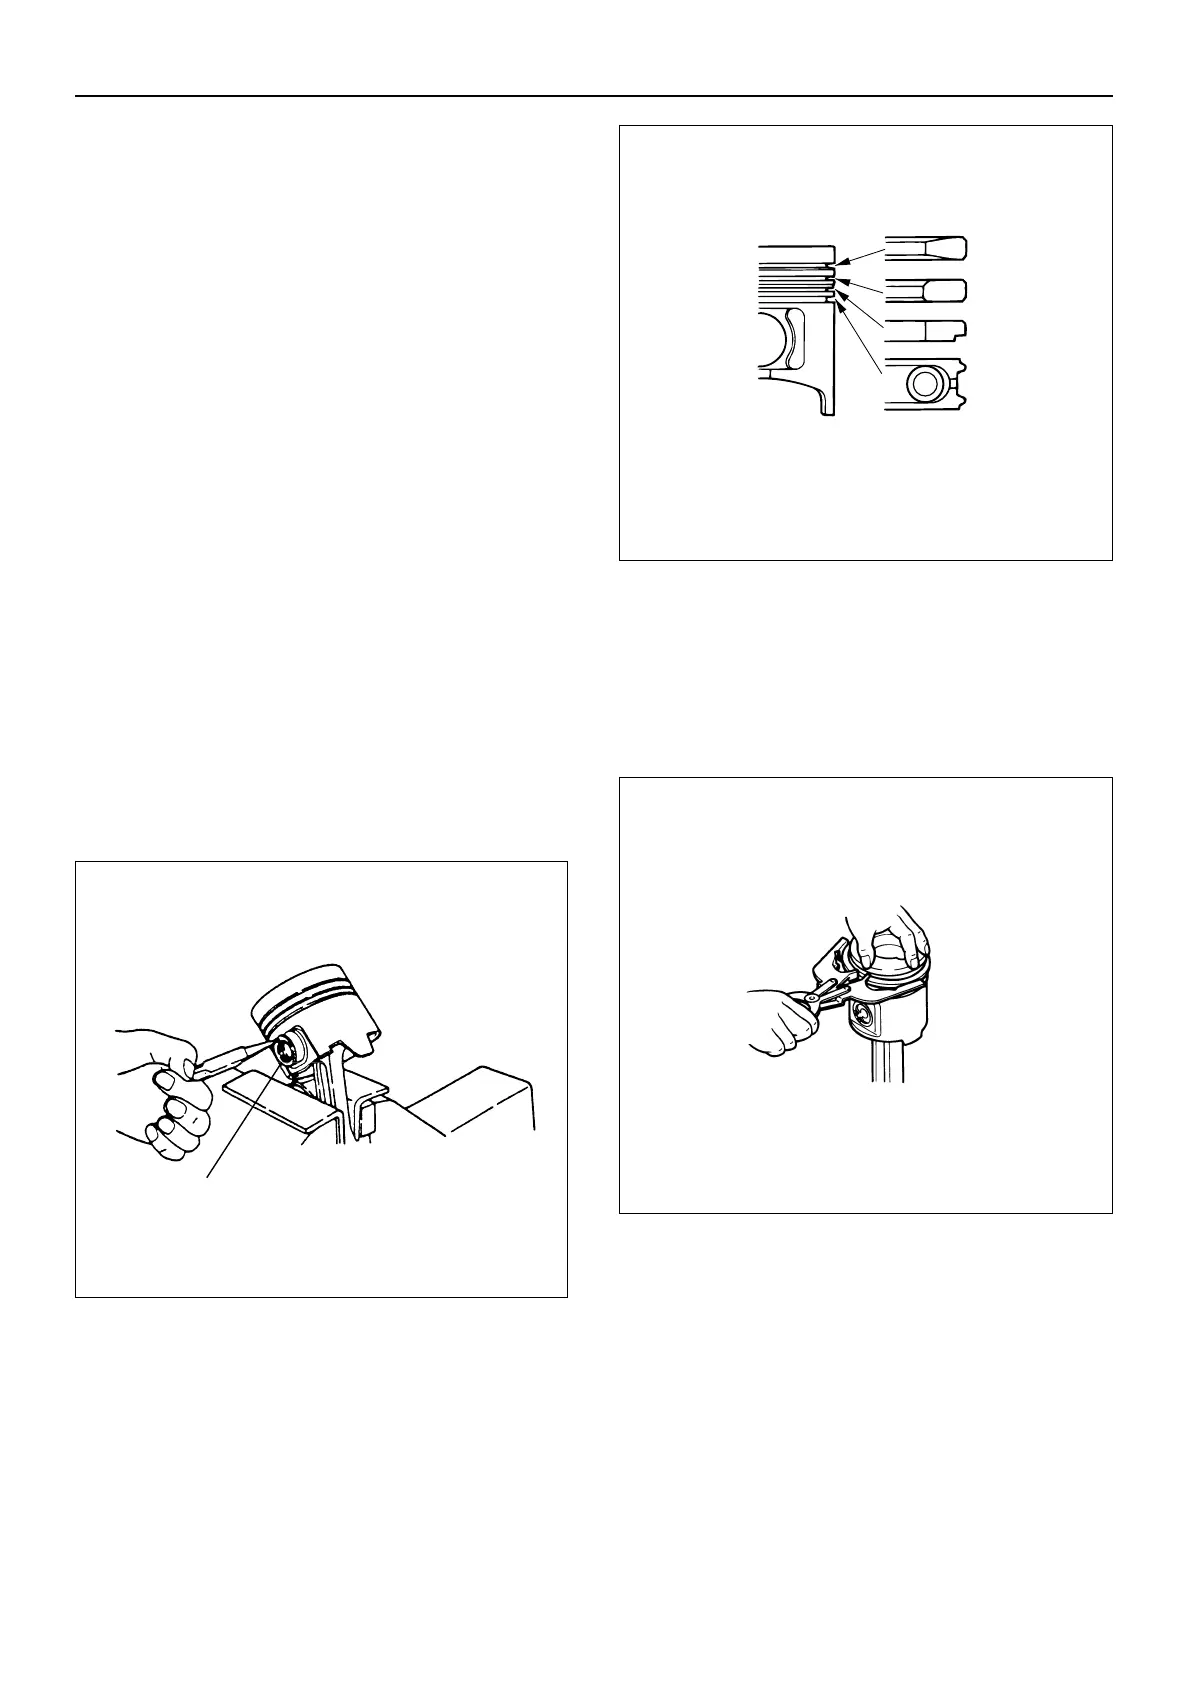
3. Install the piston ring.
• Apply engine oil to the piston rings.
• Install the compression rings with the stamped side
facing up.
• Use the piston ring setting tool 1-85221-029-0 to
reassemble the four piston rings according to the
top mark on the piston ring.
The oil ring does not have a top mark.
NOTE: Insert the expander coil into the oil ring groove so
that there is no gap on either side of the expander coil
before installing the oil ring.
• Check that the piston rings rotate smoothly in the
piston ring grooves.
4. Install the connecting rod bearing.
Carefully wipe any oil or other foreign material from
the connecting rod bearing back faces and the
bearing fitting surfaces.
015EY00183
 Loading...