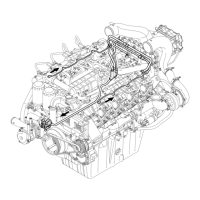
Figure 82
COMMON RAIL ASSEMBLY PROCEDURE
Preparing for assembly
- This procedure allows to have the best assembling,
reducing the stress on the CR components due to
tolerances and misalignments and will avoid the risk to
have dangerous fuel leakage under pressure, during all
typical condition of the Vector engines operative duty.
- This procedure will apply during first CR assembling in
manufacturing plant as well as during maint enanc e and
replacement of one or more CR components
Cleaning and preparation
- Before mounting, assure that each pipe is protected with
appropriate plastic c ap supplied by Bosch. Remove by
hands the protective caps just before the installation. Do
not use sharp tooling that might cause damage on the
sealing surface. All pipes have to be cleaned up and to
be particul ate free, and t he sealing s urface have to be
without any defect.
- All sealing surfaces, nuts and threads have to be
lubricated with clean engine oil (for example: 15W40).
Assembly procedure
- The high pressure pump (HPP) and the injector’s are
mounted firmly in average position of bolt clearan ce,
with the defined tightening torque.
- All the pipes are fitted by only tightening the areas
connected to the HPP, the rails and t h e injectors
manually (J1.1 - J8.2, V1.1 - V3.2: see Figure Figure 84).
Fit the centre support plate (1) closing the fastenings for
the pipes from the HPP to the rails, from the rails to the
injectors and on the intermediate pipe checking that the
centre pipes are kept in a horizontal position and are flat.
Apply a pre- tightening torque of 20 Nm and then a
pre-tightening torque of 50 Nm to all the connectors.
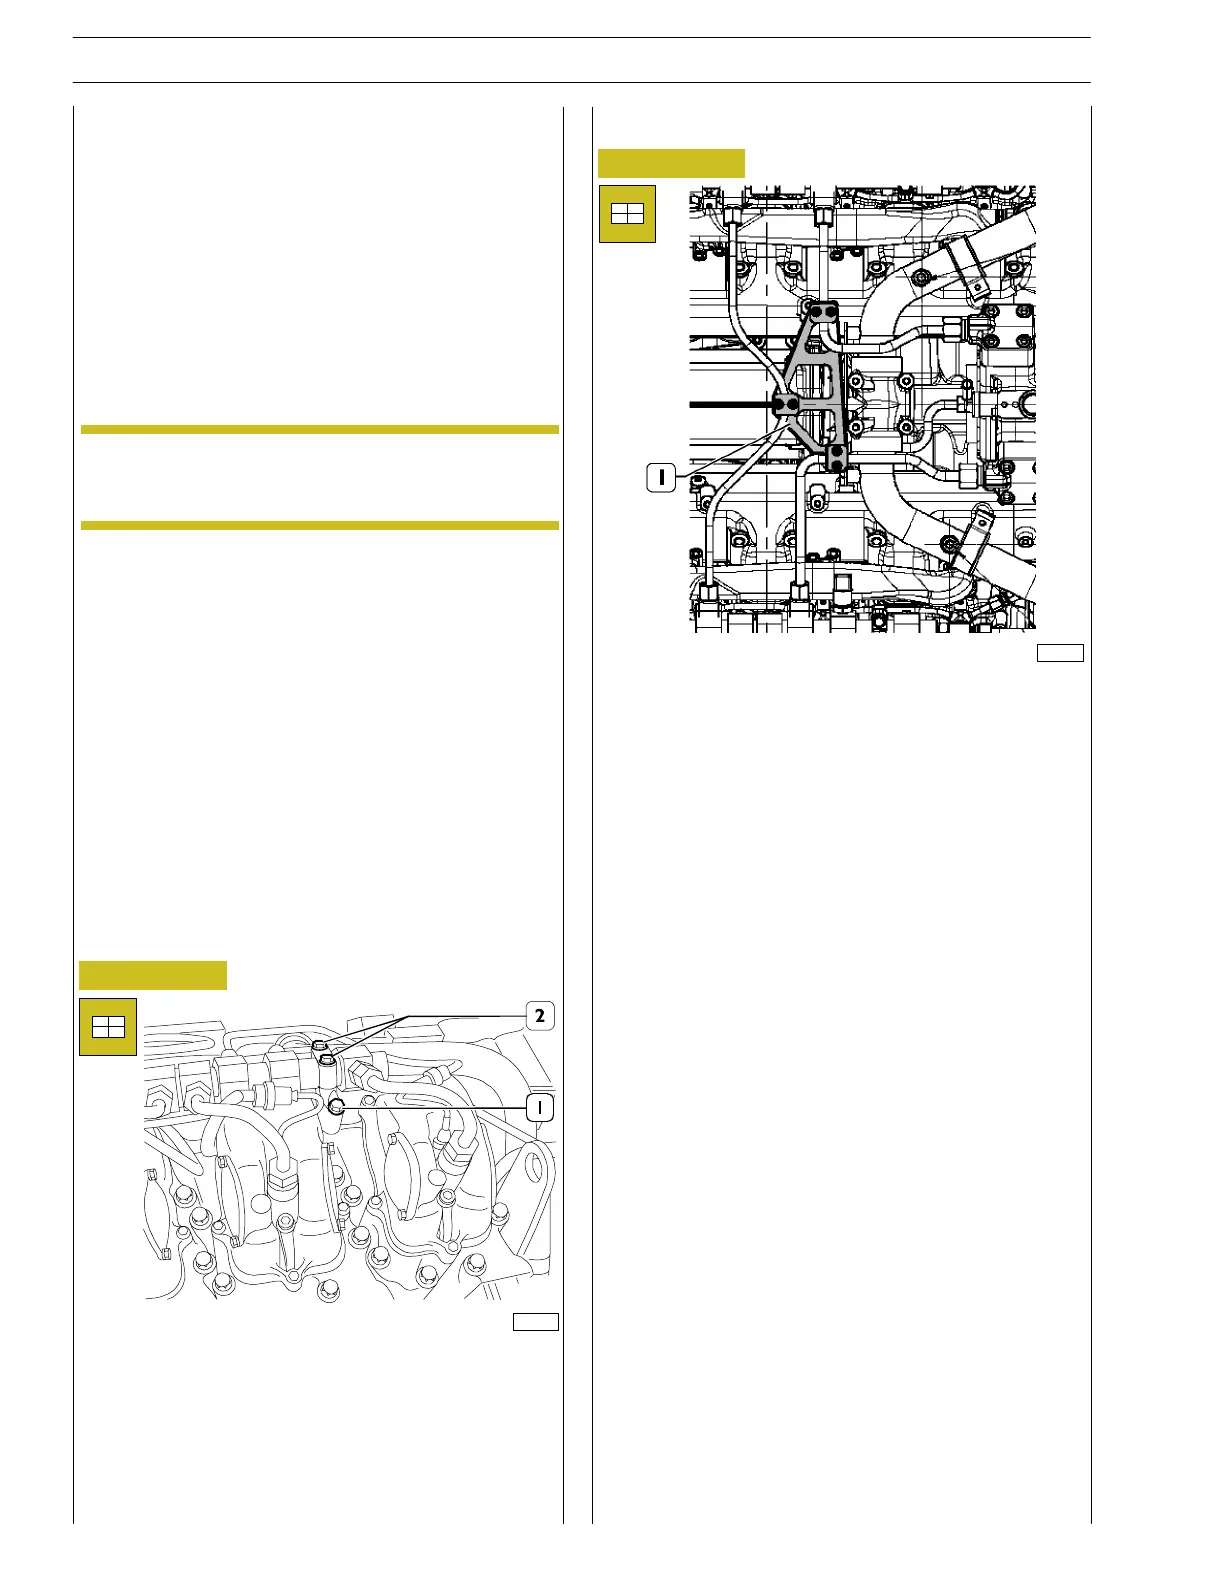
Figure 83
112491
It is vital to use a special torque wrench for the
fitting procedure described here.
NOTE
- The rails are installed on th eir supports, previously fixed
on the cylinder heads by the related screws tightened
with proper tightening torque of 25 Nm (screws 1). The
rails have to be in horizontal position and aligned and the
fixing caps have to be positioned with the related screws
loose o n the support (screws 2).
82259
- lubricate all the connectors with clean oil.
38
SECTION 3 - INDUSTRIAL APPLICATION
VECTOR 8 ENGINES
Base - April 2006 Print P2D32V001E
 Loading...