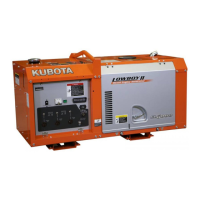
GENERATOR
GL6000A-AU-B, GL6000D-AU-B,GL9000A-AU-B, GL9000D-AU-B, WSM
2-S21
(2) Generator
Rear Bracket
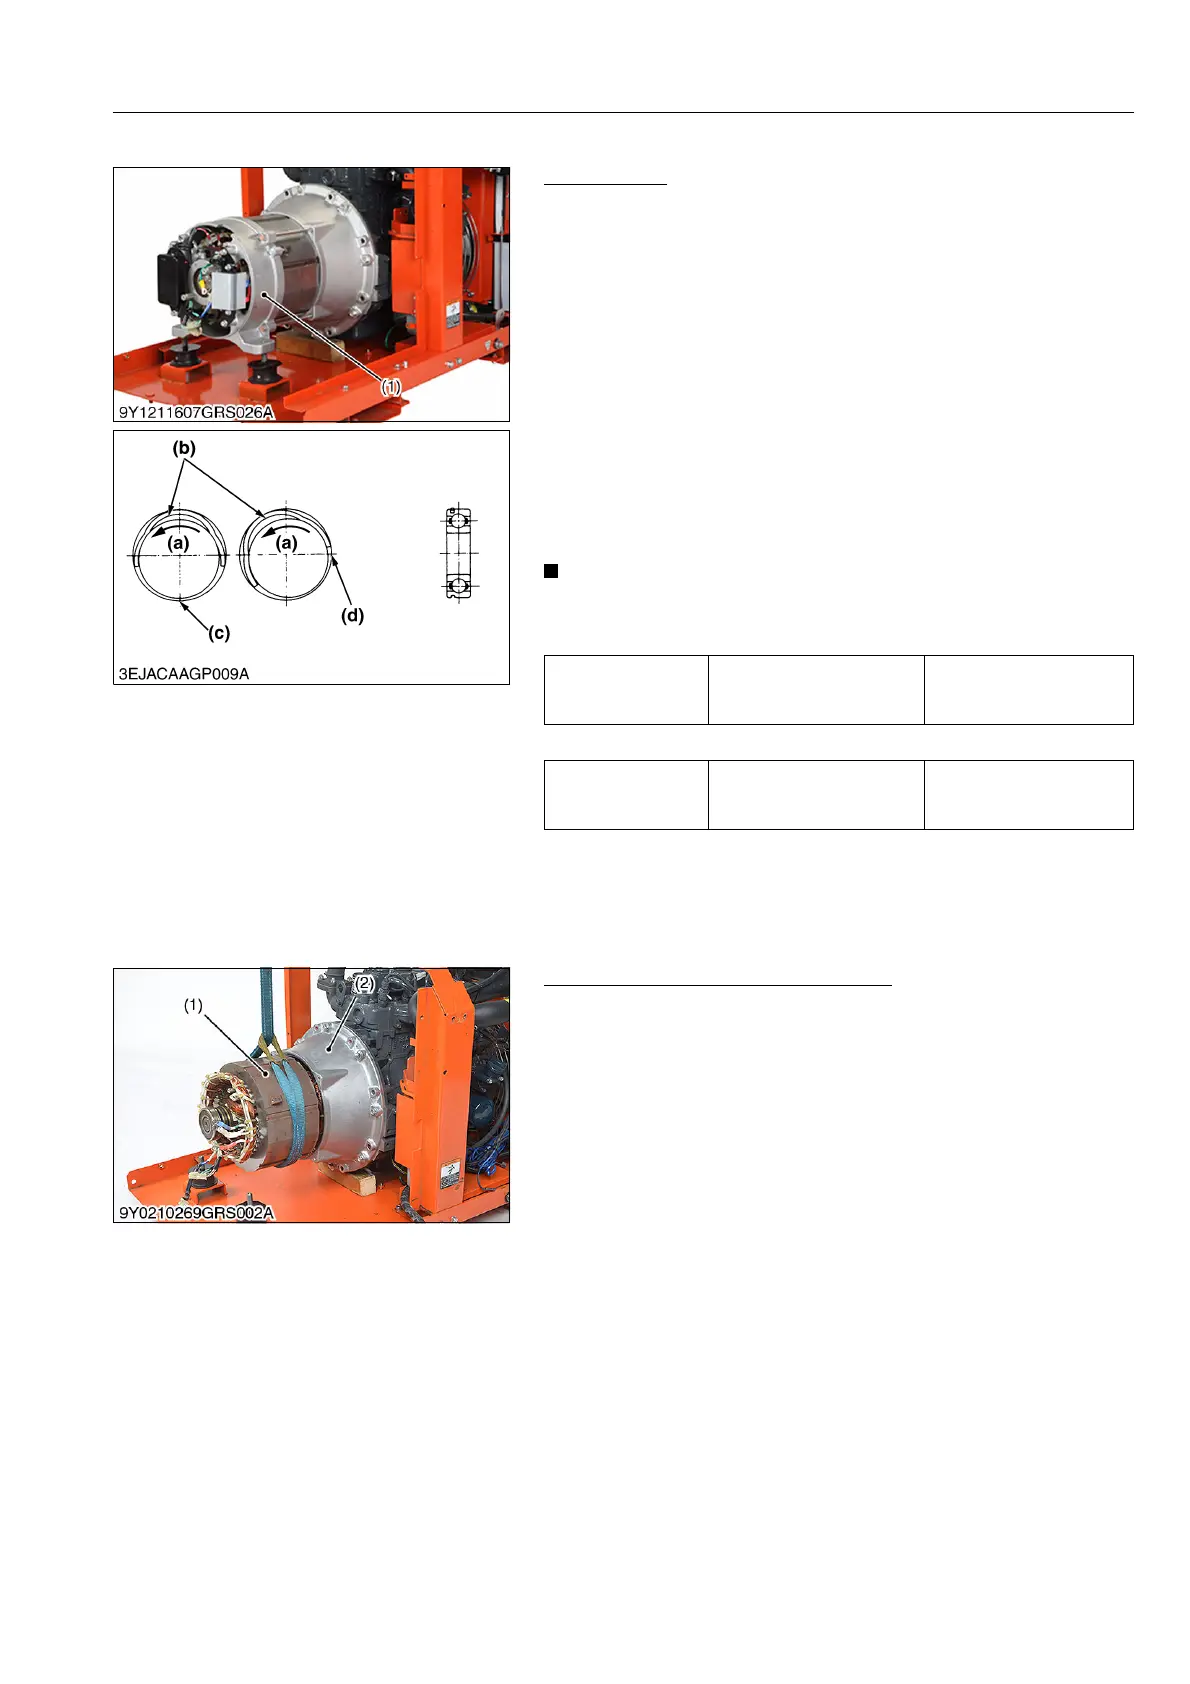
1. Remove the rear bracket mounting nuts.
2. Disconnect the wire harness and the carbon brushes, etc.
3. Lift up the generator.
4. Remove the rear bracket (1).
(When reassembling)
• Clean dirt from the bearing housing.
• When installing the bearing, make sure the relative positioning
between the snap ring and outer ring is correct. Follow the point
below.
• Be certain that the center of the bulge of the snap ring is in the
bottom of the eccentric groove of the outer ring (there is a mark
on the outer ring's outside surface). Now put the NCX bearing in
its housing. Be careful to position the bearing correctly.
Misalignment may make it difficult to install the bearing or what's
worse, damage it.
• Be careful not to confuse the direction of the snap ring of
the bearing.
[GL6000A-AU-B, GL6000D-AU-B]
[GL9000A-AU-B, GL9000D-AU-B]
9Y1211607GRS0026US0
Stator Assembly and Stator Housing
1. Hoist up the stator assembly (1).
2. Remove the stator assembly (1), take care not to damage the
winding and the rotor.
3. Remove the stator housing (2).
(When reassembling)
• Do the set-up in the original position (direction).
9Y1211607GRS0027US0
Tightening torque Stator mounting screw
6 to 8 N·m
0.6 to 0.9 kgf·m
5 to 6 lbf·ft
Tightening torque Stator mounting screw
19 to 21 N·m
1.9 to 2.2 kgf·m
14 to 15 lbf·ft
(1) Rear Bracket (a) Direction of Rotation
(b) Snap Ring
(c) Bottom of the Eccentric Groove
(d) Wedge Pace
(1) Stator Assembly (2) Stator Housing
 Loading...