System Installation 3-17
2. Connect the printer (Video input port) and the ultrasound system (Video output on IO
panel) with the signal cable;
3. Connect the Remote cable on printer to the Remote port on the ultrasound system.
4. Connect the power cord to a power supply receptacle that is well grounded or with the
auxiliary power output port on the system.
5. You need not install the driver of the printer listed in section “2.1.3”.
Digital Video Printer
1. Put the printer in a proper place.
2. Connect the printer (Video input port) and the ultrasound system (USB port) with the
data cable.
3. Connect the power cord to a power supply receptacle that is well grounded or with the
auxiliary power output port on the system.
4. Please refer to 3.5.6for the driver installation. And you need not install the driver of
the printer listed in section “2.1.3”.
3.5 System Configuration
3.5.1 Running the System
Connect the system power cord to the AC power supply receptacle that is well grounded,
and make sure the ultrasound system and other optional devices are correctly connected.
When the AC indicator is green, turn on the power button (located at the upper right corner
of the control panel) to initiate the system. After being normally rebooted, it will display
image interface. Or press it directly when the battery are of sufficient capacity.
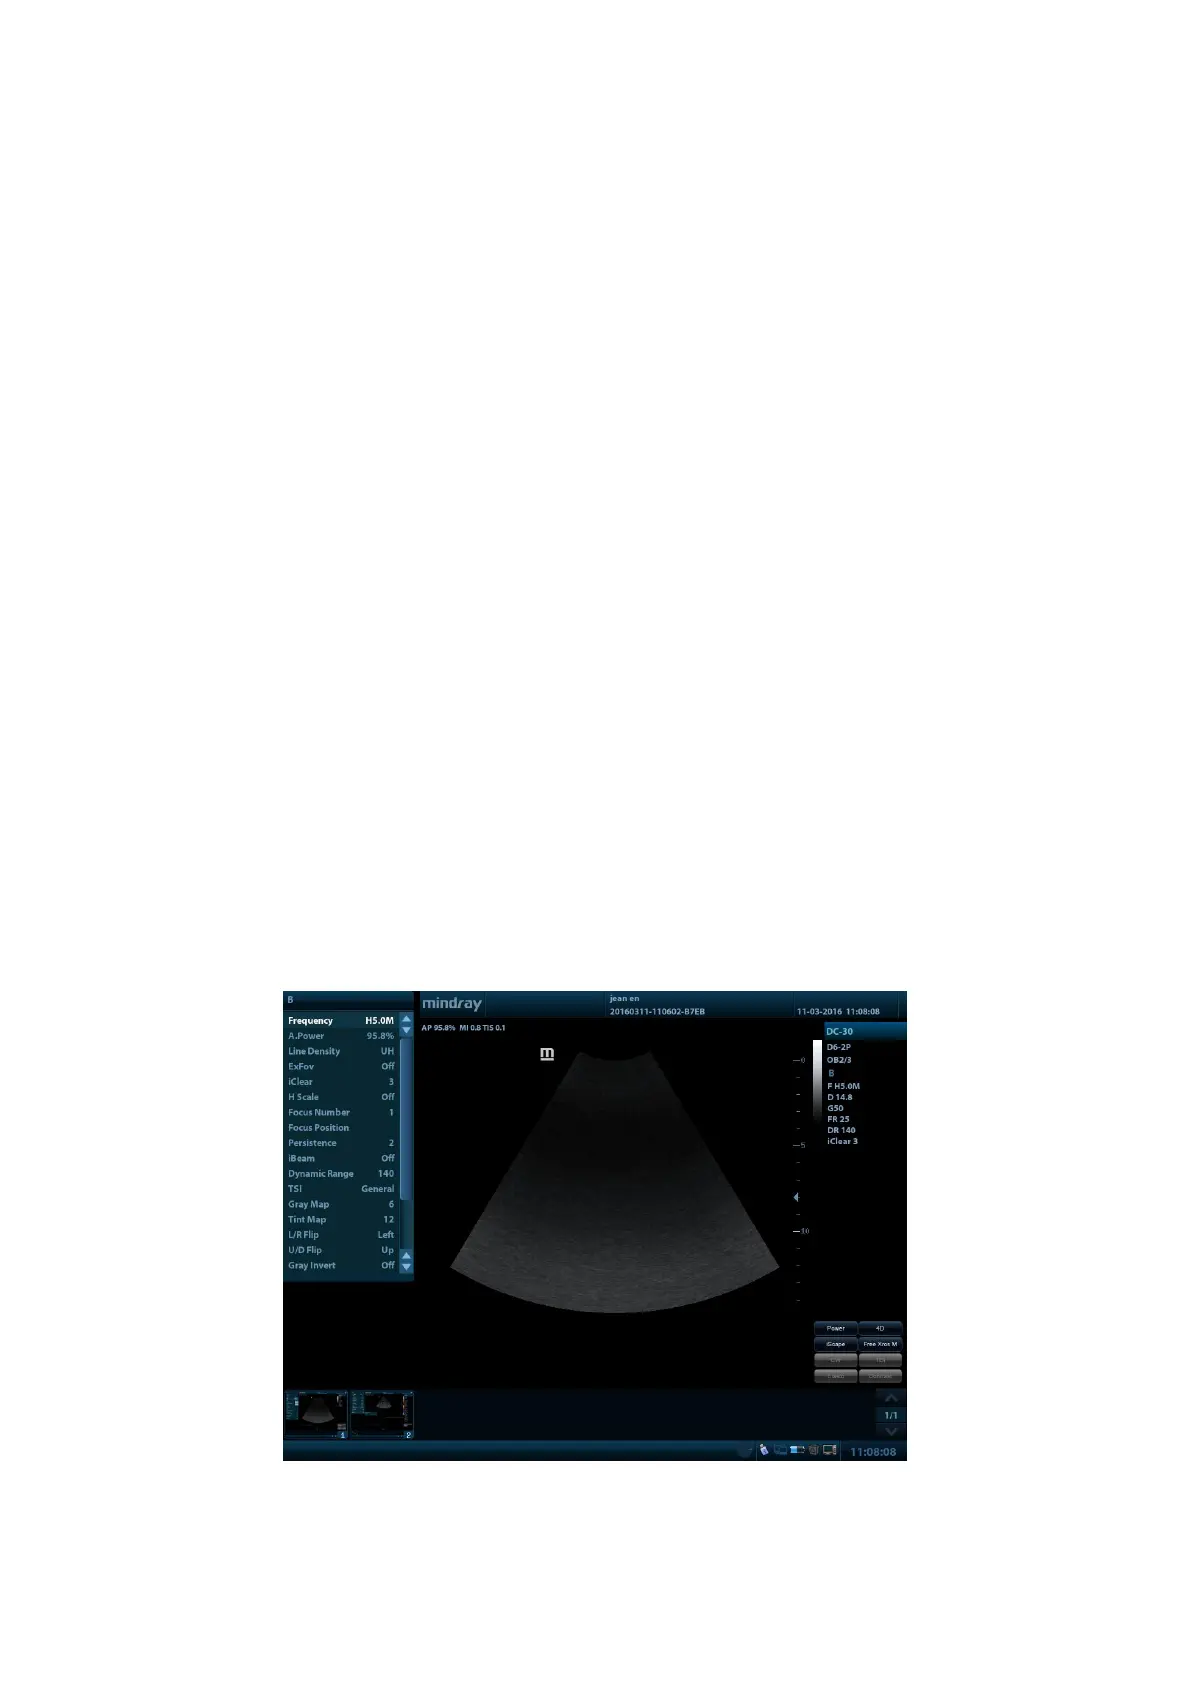
3.5.2 Enter Doppler
After the system is powered on after initiation (less than 30S), it enters Doppler directly:
 Loading...