113
Others
ENGLISH
Step
2 Enter a password for the desired level by
pressing the number buttons.
•
The lock is disabled and the normal screen is
displayed.
Notice
• With the password locks for Levels 1 to 3 enabled,
when you disable the lock for Level 1 only, the lock for
Level 2 remains enabled. When the locks for Level 1
and Level 2 are disabled, the lock for Level 3 becomes
enabled.
• When the password locks are enabled for Level 1 and
Level 2, you cannot disable only the lock for Level 2.
Disable the lock from Level 1.
• Be sure to enter the passwords correctly. If you
enter an incorrect password, the password already
entered is canceled and you are required to enter the
password again.
• When you want to cancel the unlocking procedure,
select [Return] on the screen. The screen for unlocking
automatically disappears when no buttons are pressed
for 1 minute.
Password lock for HDD protection
Step
1 Select [Clear] of the desired area in the Main
device of <Data clear> (
page 116).
Or, select [Setting] of [Delete data from the list]
of <Data protect> (
page 115).
•
<Unlock Password for HDD protection> is displayed.
Step
2 Press the number buttons to enter the password
for HDD protection.
•
When you close the <Data clear> or <Data protect>
screen, the password lock for HDD protection
becomes enabled.
Tips
• If you forget the password, contact your dealer.
• Each time you execute the data deletion, <Unlock
Password for HDD protection> is displayed and you
are required to input the password.
Changing a password
Password for restricting operations (Levels 1 to 3)
Step
1 Disable the password locks for Level 1 to Level 3.
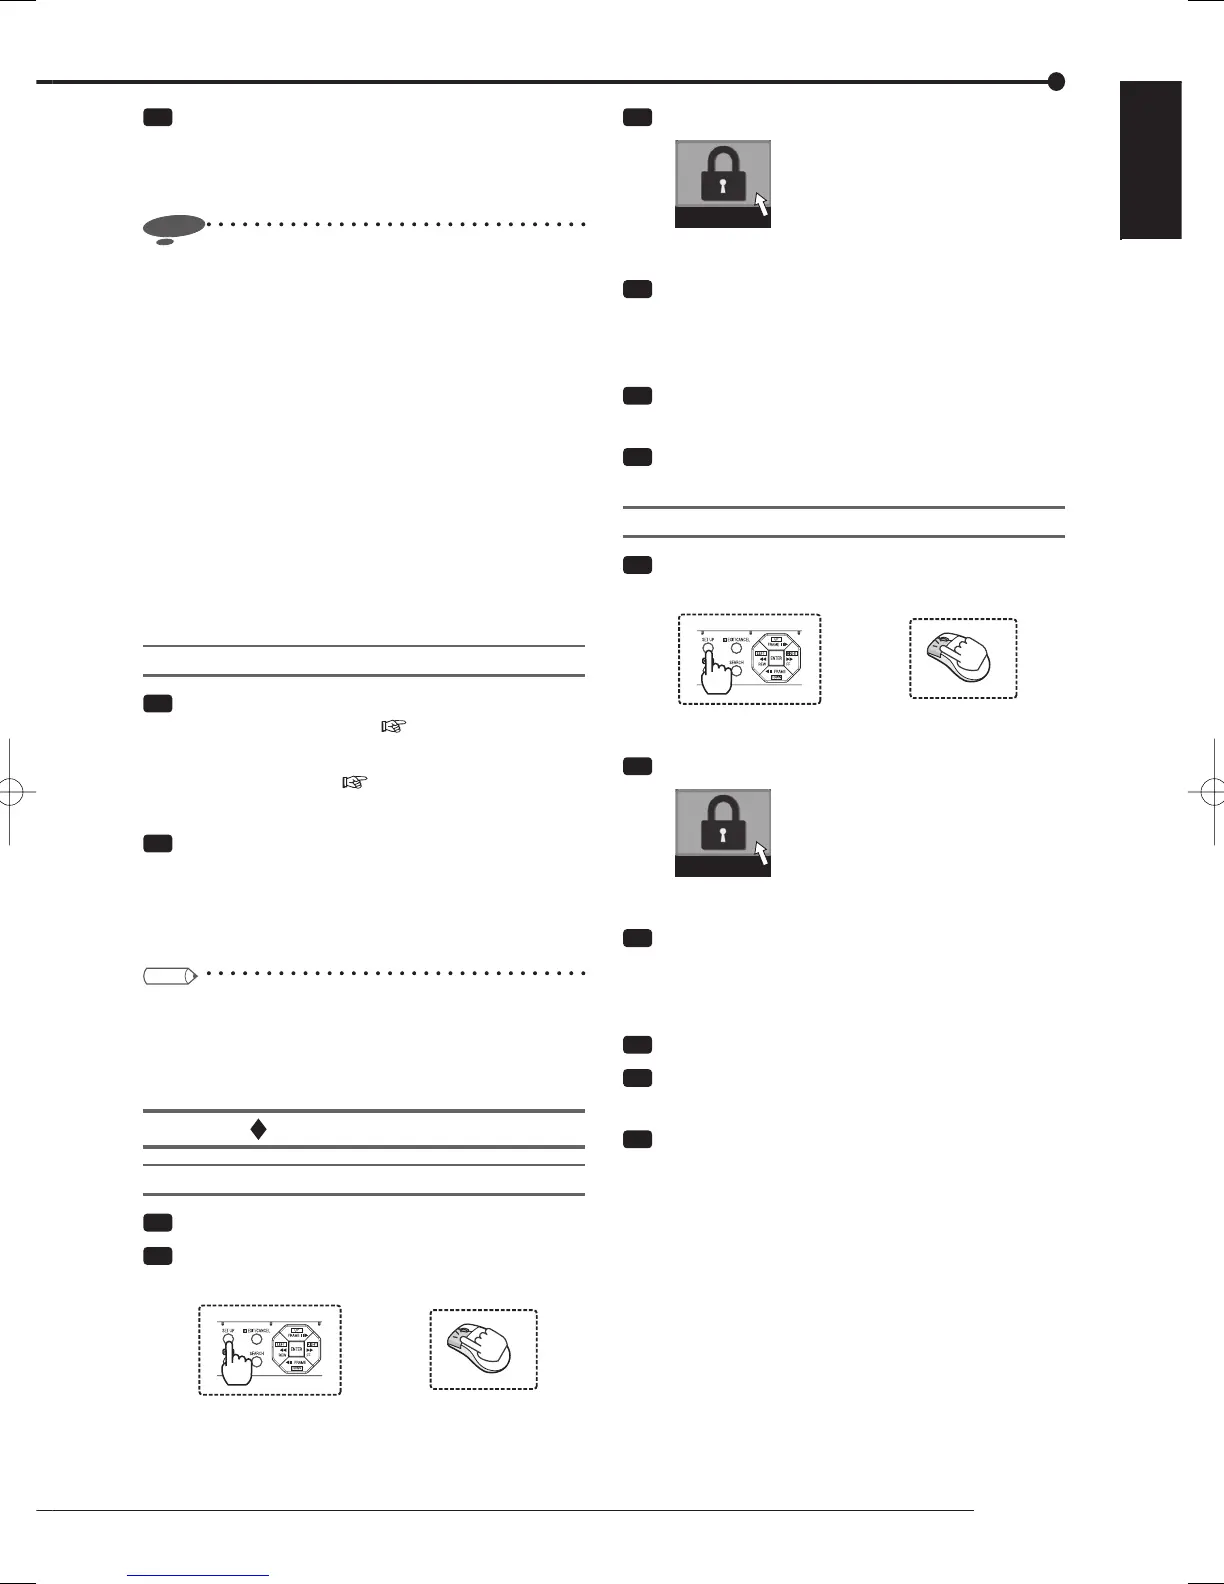
Step
2 Press the SET UP button on the front panel of
the recorder or left-click the mouse.
or
•
<Main menu> is displayed.
Step
3 Select [Password].
Password
•
The <Password setting> screen is displayed
Step
4 Select [Setting] of the level of which password
you want to change.
•
The screen for setting a password for the selected
level is displayed.
Step
5 Select [Clear].
•
The registered password is cleared.
Step
6 Enter a new password according to steps 4 and
5 of "Registering a password."
Password for HDD protection
Step
1 Press the SET UP button on the front panel of
the recorder or left-click the mouse.
or
•
<Main menu> is displayed.
Step
2 Select [Password].
Password
•
The <Password setting> screen is displayed.
Step
3 Select [Setting] next to [Password for HDD
protection].
•
The screen for setting the password lock for HDD
protection is displayed.
Step
4 Select [Clear].
Step
5 Press the number buttons to enter the password.
•
The registered password is cleared.
Step
6 Enter a new password according to steps 4 and
5 of "Registering a password."
 Loading...