90
Clock setup
You can set the clock of the recorder via the PC.
Step
1 Display the [Main Menu] screen according to
steps 1 to 3 of "Login" on
page 81.
Step
2 Select [Confi guration Menu].
•
The [Confi guration Menu] screen appears.
Step
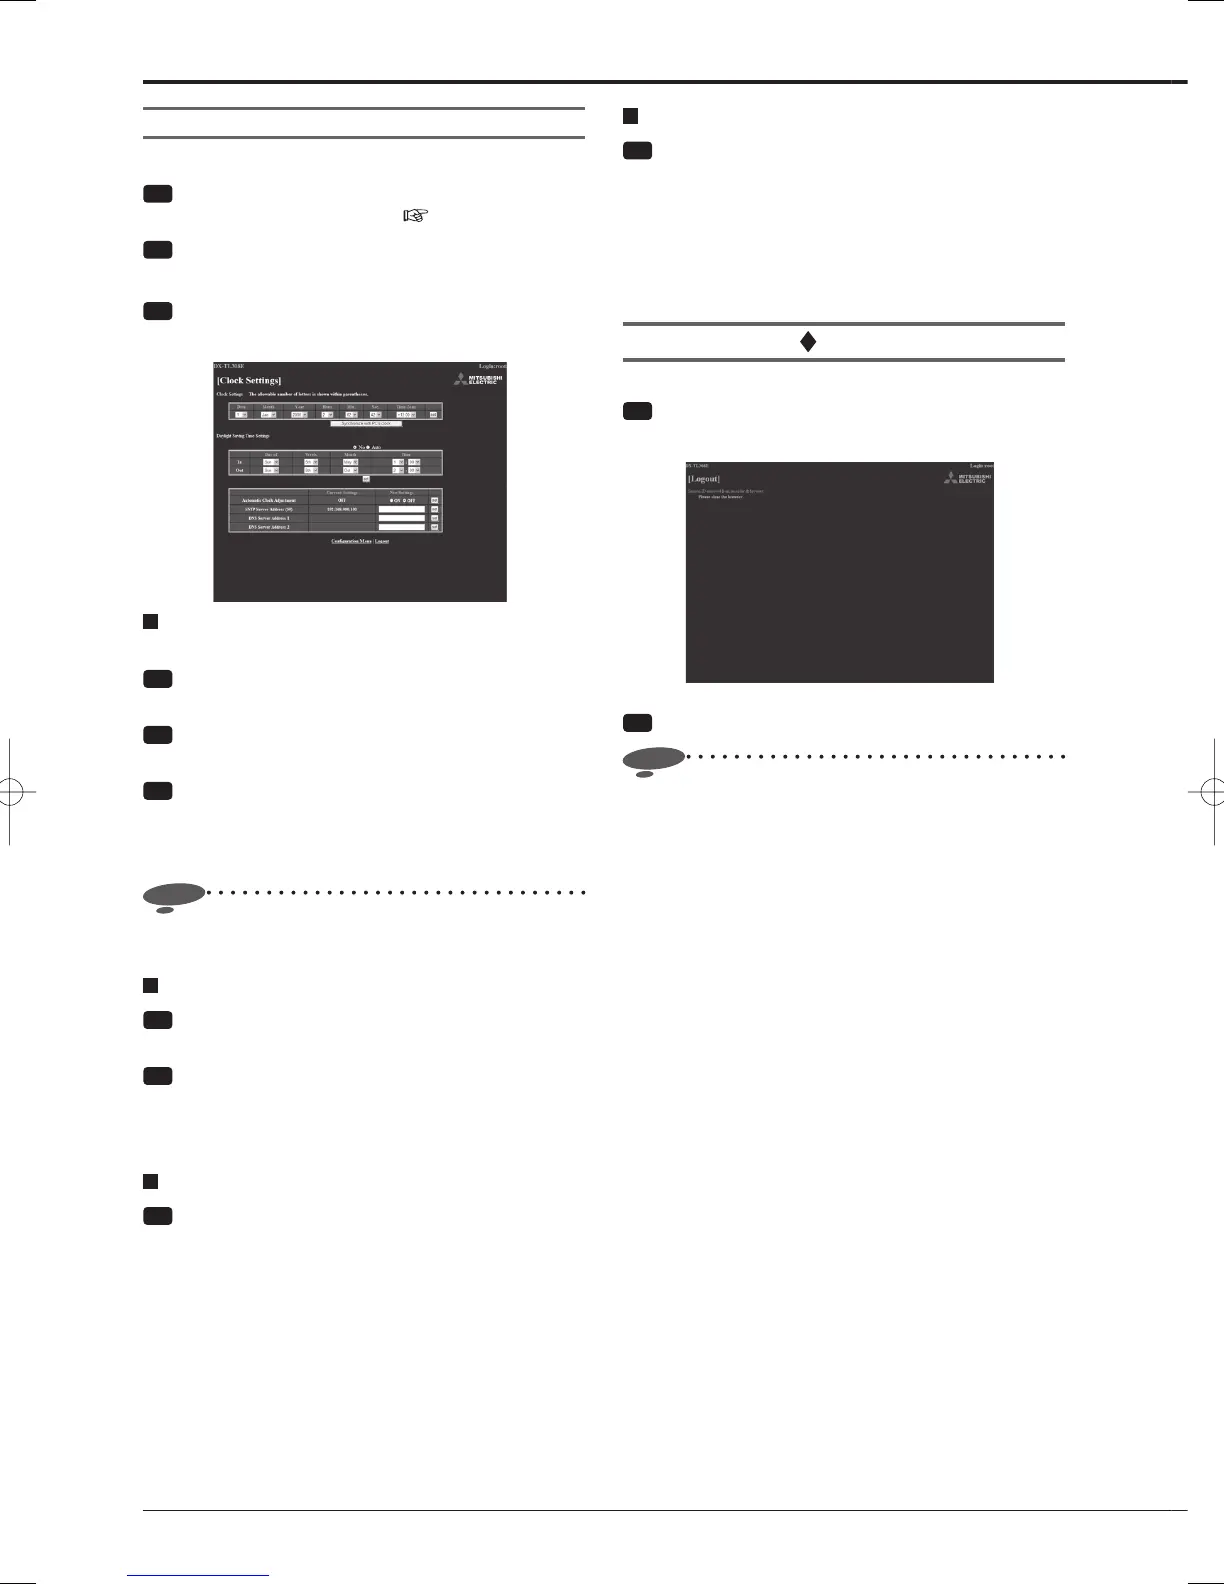
3 Select [Clock Settings].
•
The [Clock Settings] screen appears.
Adjusting the recorder's clock automatically using
the SNTP server
Step
1 Select [ON] of [Automatic Clock Adjustment] on
the [Clock Settings] screen and then select [set].
Step
2 Enter the address of the SNTP server in [SNTP
Server Address] and select [set].
Step
3 Enter the address of the primary DNS server
in [DNS Server Address 1] and that of the
secondary DNS server in [DNS Server Address 2],
and then select [set].
Notice
• The SNTP server connection function of the recorder
does not support all types of SNTP server.
Adjusting the recorder's clock manually
Step
1 Enter the current day, month, year, hour, minute,
and second under [Clock Settings].
Step
2 Select [set].
•
When you adjust the clock at the time when the
date or time changes, check the clock again after
completing the setting.
Setting the day light saving
Step
1 Set the day light saving setting.
[No]: Auto day light saving function is not used.
[Auto]: Automatically adjusts the clock according to
the settings. For the detailed settings, use the [In]
area to set the time and date for advancing the clock
and [Out] area for putting back the clock. Select [set]
to determine the settings.
Using the communication functions (continued)
Synchronizing the recorder's clock with the PC's clock
Step
1 Select [Synchronize with PC's clock] on the
[Clock Settings] screen.
•
The recorder's clock is synchronized with the PC's
clock.
•
When you adjust the clock at the time when the
date or time changes, check the clock again after
completing the setting.
Logout
This screen is displayed when you log out successfully.
Step
1 Select [Logout].
•
The [Logout] screen appears.
Step
2 Exit the Web browser.
Notice
• If you exit the browser without taking the proper log-
out procedure, your user session ID remains effective
for 10 minutes. If a user logs in using the same user
ID within the 10 minutes, the user's operations may be
restricted.
 Loading...