►
If there are more than 16 Slices, press SHIFT + Button 7 or 8 to switch your pads to the
previous/next 16 Slices, respectively.
Note that we haven’t applied any slicing yet: For now your pads only allow you to prelis-
ten how the proposed would sound after you apply the slicing. Applying the slicing will
be described in section ↑14.4.5, Applying the Slicing.
Slicing Parameters
Following parameters are available:
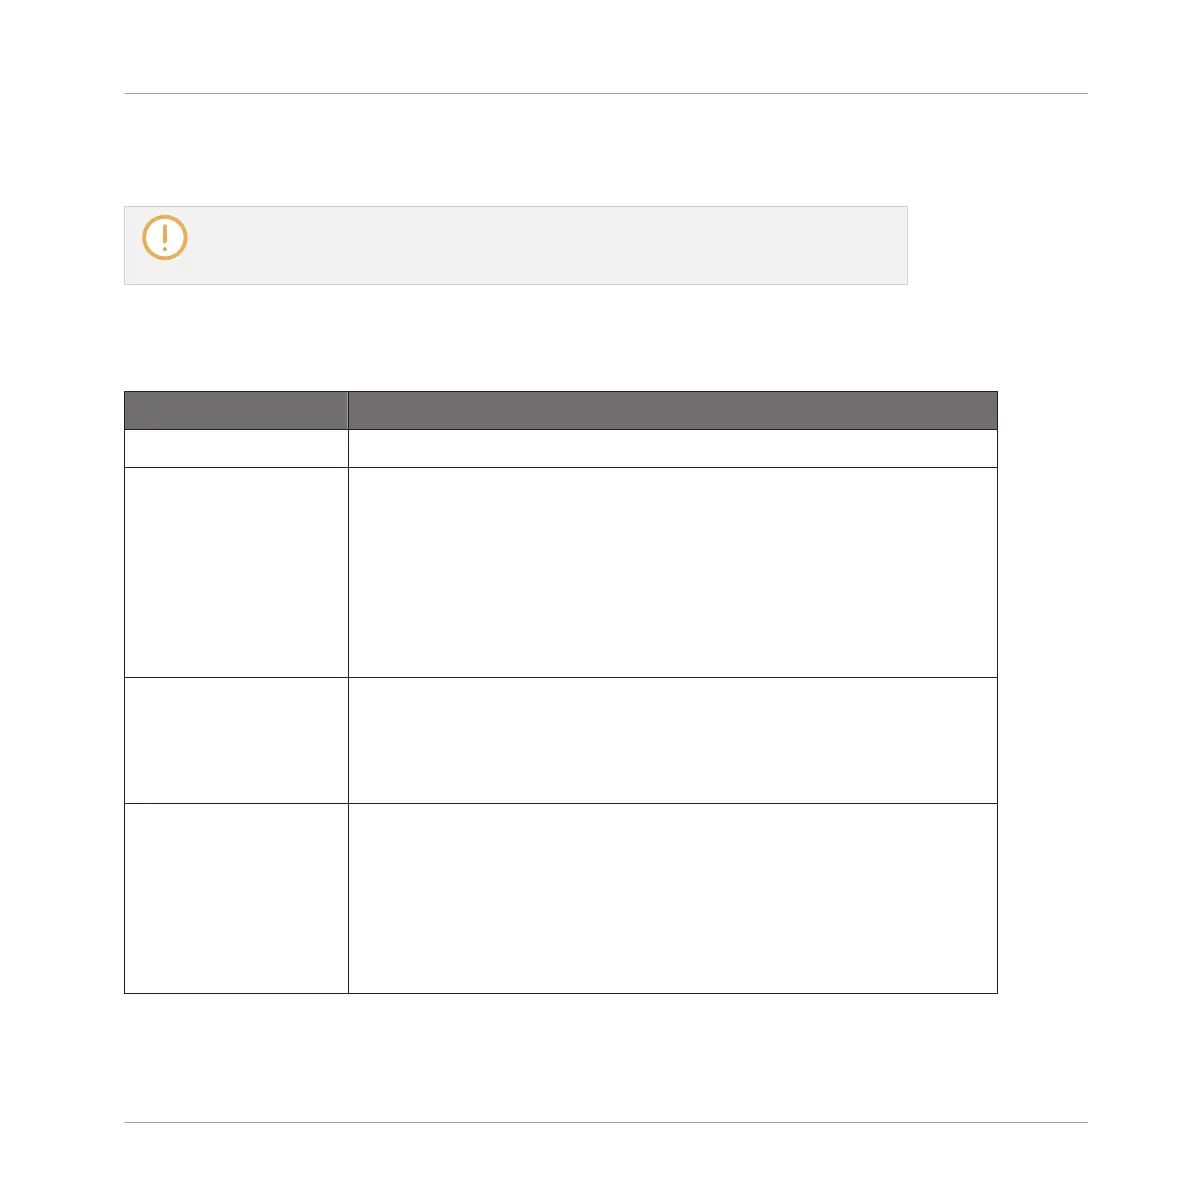
Parameter Description
TIME Section
MODE Here you can select either DETECT, SPLIT, GRID, or MANUAL:
Detect mode: The Sample will be sliced according to its transients.
Split mode: The Sample will be sliced into equally spread Slices.
Grid mode: The Sample will be sliced according to note values.
Manual mode: Manually enter slice points using the pads on your
controller, and edit the start and end points of a slice.
SLICES (Split and
Grid mode only)
When MODE is set to SPLIT (see above), SLICES lets you choose the
amount of Slices: 4, 8, 16 or 32.
When MODE is set to GRID (see above), SLICES lets you choose the
length of the Slices in note values: 4th, 8th,16th or 32nd notes.
AUTO-SNAP (Manual
mode only)
The Sample Slicer Manual mode Auto-Snap feature automatically
aligns Slice points to the nearest transient as you manually trigger
the slicing from the pads. It can be turned off so that slice points are
instead placed exactly where you trigger them. In order to use Auto-
Snap, you must wait for analysis to be performed on the sample
you’re slicing—the analysis is very quick but will take longer for long
audio files.
Sampling and Sample Mapping
Slicing a Sample
MASCHINE - Manual - 786

 Loading...