EasyManua.ls Logo

NETGEAR ProSAFE GSS108E User Manual

NETGEAR ProSAFE GSS108E
74 pages
To Next Page IconTo Next Page
To Previous Page IconTo Previous Page
Page #41 background image
Use VLANS for Traffic Segmentation
41
ProSAFE 8-Port and 16-Port Gigabit Click Switch
7. Select the Enable radio button.
A message displays asking if you want to delete previous VLAN settings.
8. Click the Ye
s button.
9. For each port to be added to the group, enter the ID of the VLAN group.
If all the VLAN groups share an uplink to the Internet or servers, enter all in the VLAN
Group field for the port that you want to use for the uplink.
10. Click the Apply button.
Your settings are saved.
11. T
o create more VLANs, repeat these steps with another VLAN ID.
Assign Ports to Multiple VLAN Groups
Port-based virtual LAN configuration assigns ports on the selected switch to a virtual LAN
group. The number of VLANs that can be created is limited to the number of ports on the
switch.
You can also create a basic port-based VLAN in which ports with the same ID are grouped
into the same VLAN group (see Create a Basic Port-Based VLAN on page 39).
Use the ProSAFE Utility to Assign Ports to Multiple VLAN
Groups
To assign ports to multiple VLAN groups in a port-based VLAN:
1. Connect your computer to the same network as the switch.
You can use a WiFi or wired connection.
2. Double-click the ProSAFE Plus Utility icon.
The configuration home screen displays a list of Plus switches that it discovers on the
local network.
3. Select a switch.

Table of Contents

Question and Answer IconNeed help?

Do you have a question about the NETGEAR ProSAFE GSS108E and is the answer not in the manual?

NETGEAR ProSAFE GSS108E Specifications

General IconGeneral
Number of Ports8
Switching Capacity16 Gbps
Power over Ethernet (PoE)No
Form FactorDesktop
Weight1.5 lbs (0.68 kg)
Forwarding Rate11.9 Mpps
VLAN SupportYes
Quality of Service (QoS)Yes
Fanless DesignYes
Ports10/100/1000 Mbps
Management TypeSmart
Jumbo Frame SupportYes
ManagementWeb-based
MountingDesktop, Wall
Operating Temperature0° to 40°C (32° to 104°F)
Storage Temperature-4°F to 158°F (-20°C to 70°C)
Humidity90% maximum relative humidity, noncondensing

Summary

Hardware Setup

Getting Started

Install ProSAFE Plus Utility

Guide for installing the switch configuration utility software on your computer.

Access Switch via ProSAFE Plus Utility

Steps to connect to and manage the switch using the ProSAFE Plus Utility software.

Access Switch via Web Browser

Instructions for accessing and configuring the switch through its web-based interface.

Change Switch Password

Procedures for changing the default password to enhance security.

Network Settings

Specify IP Address Settings

Configure the switch's IP address, subnet mask, and gateway address.

Optimize Performance with Quality of Service

Enable 802.1p-Based QoS

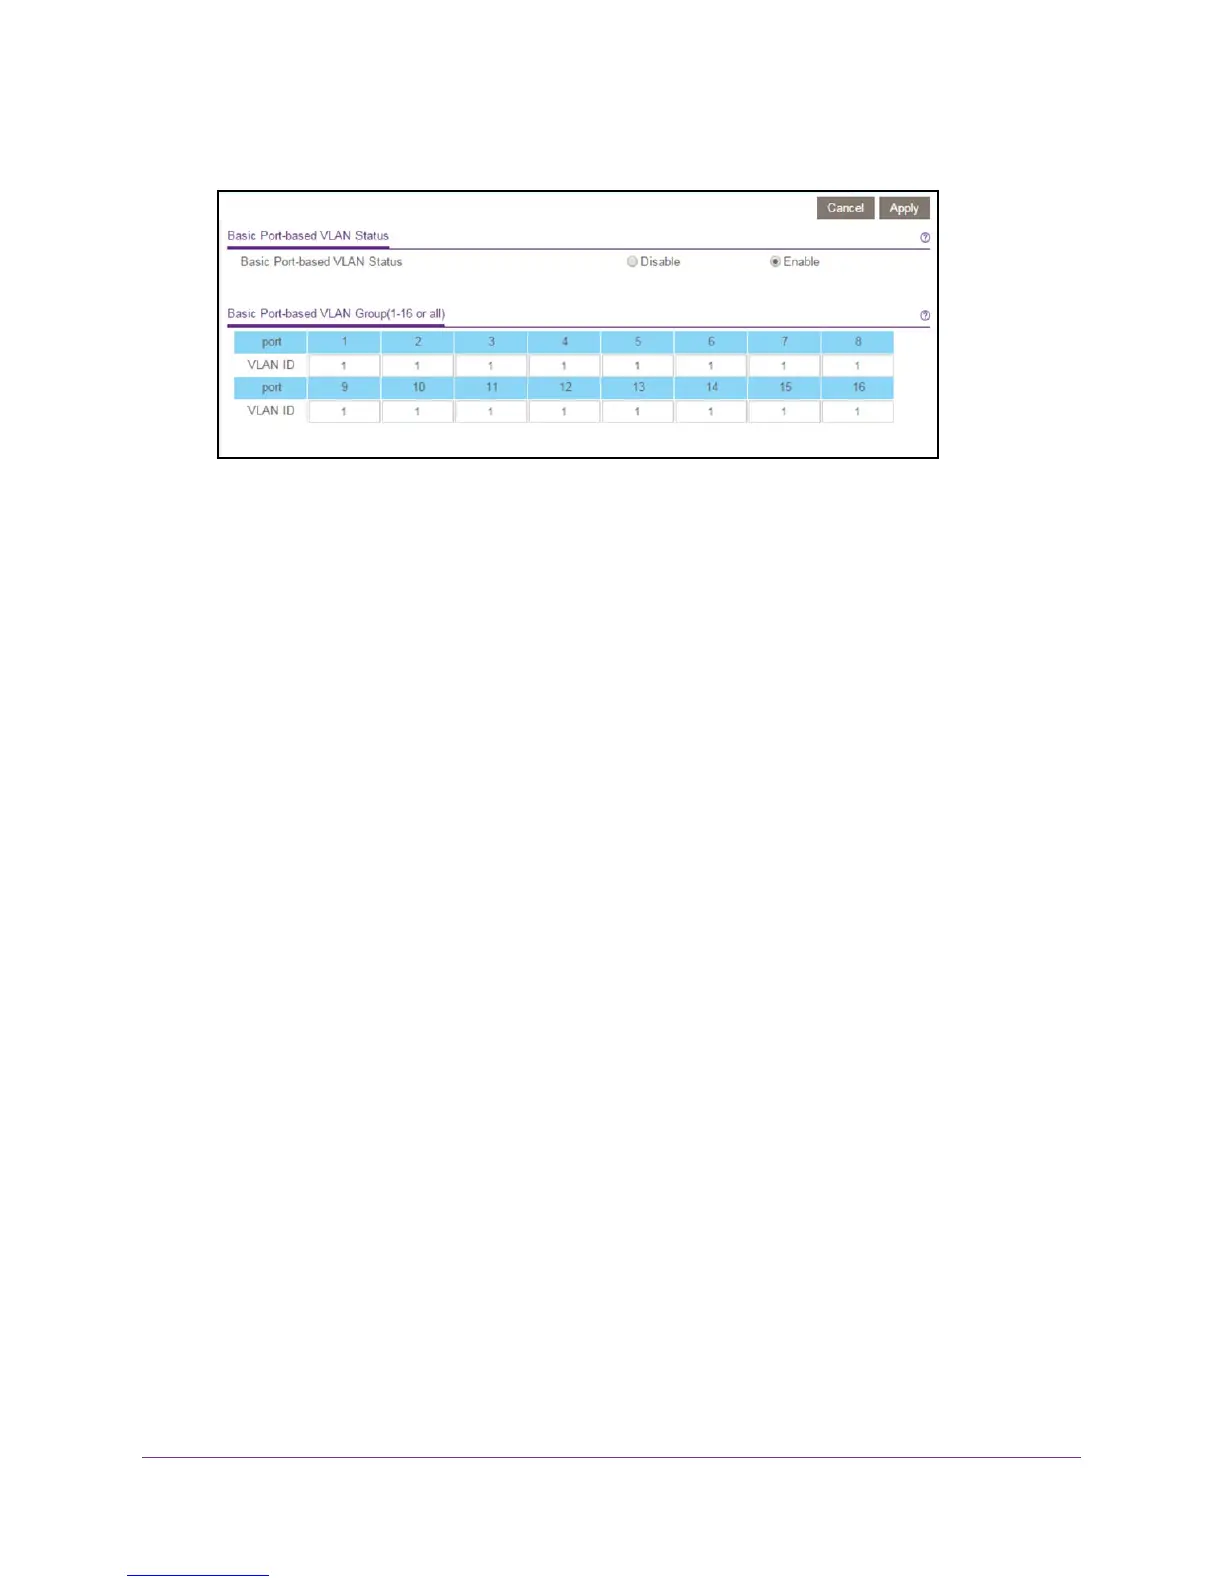
Prioritize network traffic based on 802.1p priority tags in packet headers.

Enable Port-Based QoS

Assign priority levels to traffic passing through specific switch ports.

Use VLANs for Traffic Segmentation

Manage the Switch

Upgrade Switch Firmware

Steps to download and install new firmware for the switch.

Save Switch Configuration

How to back up the current switch settings to a file.

Restore Saved Switch Configuration

Instructions to load a previously saved configuration file.

Restore Factory Default Settings

Guide to resetting the switch to its original factory state.

Diagnostics and Troubleshooting

Resolve Subnet Conflict for Access

Steps to fix IP subnet conflicts preventing access to the switch.

Related product manuals