Chapter 6
How to Set the POS terminal
NOTE: This document is CONFIDENTIAL and must be used exclusively for the operation of PAX programs. It may not be
duplicated, published, or disclosed without PAX prior written permission.
137
6.4.5 Additional Prompts
This menu contains different functions that can be enabled or disabled.
They are:
Clerk/Server ID Mode
Invoice Mode
CashBack Prompt
Table Mode(RESTAURANT)
Guest No. Mode(RESTAURANT)
6.4.5.1 Clerk/Server ID Mode
Note
This feature prompts you to enter the server/clerk ID number and is
implemented in both restaurant (server) and retail (clerk)
applications. You can also designate up to one-hundred (100)
server/clerk name—ID combinations starting from ID #1 up to ID #100.
For Retail, this display name is “Clerk”, and for Restaurant, display
name is “Server”.
Example: I would like the receipts to list the clerk who made the sale.
Enable Clerk mode and enter all of the clerk’s names starting with Clerk
ID#1.
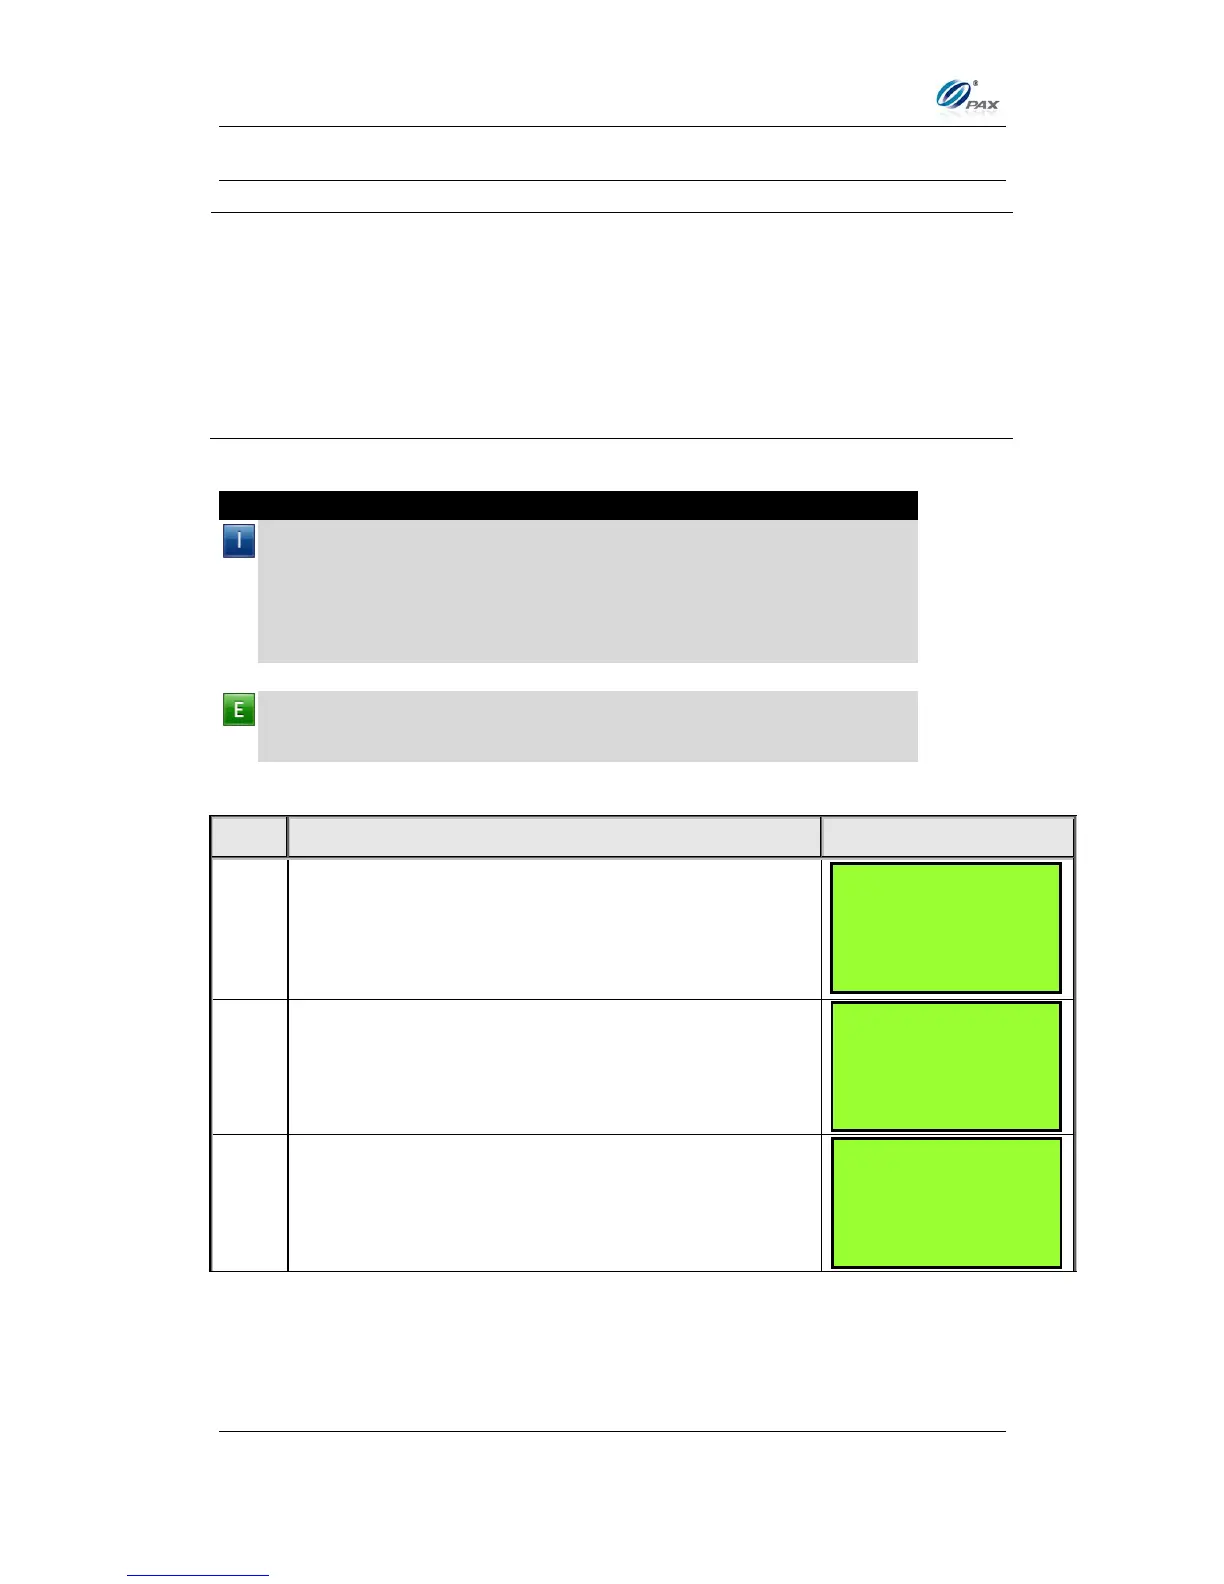
From the Merchant Settings menu, press [7] to set
the Additional Prompts.
Input the Password and press [ENTER]
The display represents a retail setup.
Press [1] to select Clerk ID mode.
Additional Prmpt
1. Clerk ID Mode
2. Invoice Mode
3. Cashback Prompt
4. Table Mode
MERCHANT PARAMS:
4. Edit Trailer
5. Merchant Fee
6. Set Batch Time
7. Additional Prompts
 Loading...