Enjoying DTV/SAT broadcasts 09
45
En
English
Replacing the existing channels
The following procedure discards the current DTV/SAT channel
setups and searches for receivable channels to redo the channel
setups.
1 Repeat steps 1 to 6 provided for
Reselecting a country
.
For SAT channels, select “Satellite Setup” after repeating steps 1 to
5 for
Reselecting a country
.
2 Select “Replace Existing Channels” (
/
then
ENTER
).
The system first erases all channel information and then starts
channel search.
To quit a channel search in progress, press RETURN.
Note
• To complete “Replace Existing Channels”, there must be more
than one hour at least left to the next preset recording.
• The password entry screen does not appear if you have disabled
the password function. For details, see Using a password on
page 60.
• You can select “Digital Tuner Setup” only when watching DTV/
SAT channels.
• Select “On” for “LNB Voltage” in most cases.
Adding new channels
Use the following procedure to search and register new channels
with the current DTV/SAT channel setups saved.
1 Repeat steps 1 to 6 provided for
Reselecting a country
.
For SAT channels, select “Satellite Setup” after repeating steps 1 to
5 for
Reselecting a country
.
2 Select “Add New Channels” (
/
then
ENTER
).
Channel search automatically starts. If any new channel is found, it
is automatically registered on the flat screen TV.
To quit a channel search in progress, press RETURN.
Note
• The password entry screen does not appear if you have disabled
the password function. For details, see Using a password on
page 60.
• You can select “Digital Tuner Setup” only when watching DTV/
SAT channels.
• Select “On” for “LNB Voltage” in most cases.
Checking signal strength
You can check the signal strength and signal quality of each TV
channel.
1 Repeat steps 1 to 6 provided for
Reselecting a country
.
For SAT channels, select “Satellite Setup” after repeating steps 1 to
5 for
Reselecting a country
.
2 Select “Signal Check” (
/
then
ENTER
).
3 Select “RF Channel” (
/
then
ENTER
).
For SAT channels, select “Satellite” or “Transponder”.
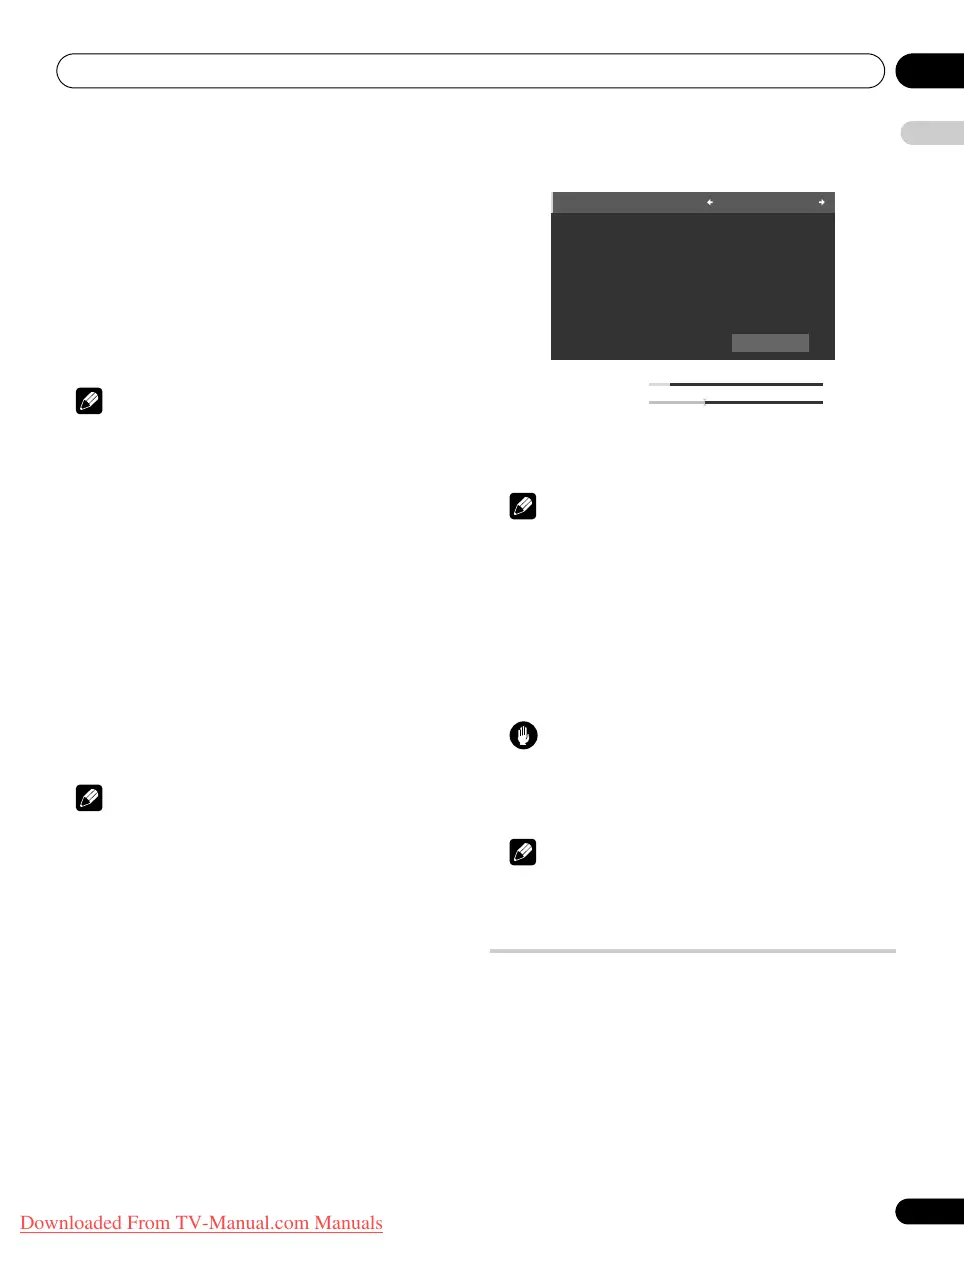
4 Select the channel to be checked (
/
).
Select “Add” to add channels within the selected RF channel
(receiving frequency) or transponder in the selected satellite.
Note
• You can select “Digital Tuner Setup” only when watching DTV/
SAT channels.
Switching on/off the power to the antenna
Use the following procedure to switch on or off the power to the
antenna connected with the DTV antenna terminal.
1 Repeat steps 1 to 6 provided for
Reselecting a country
.
2 Select “Aerial Power” (
/
).
3 Select “On” or “Off” (default) (
/
).
Caution
• When the “Aerial Power” setting is on, directly connect the
aerial to the ANT input terminal at the rear of the flat screen TV.
Connecting any device between the aerial and flat screen TV
may cause damage to the device.
Note
• You can select “Digital Tuner Setup” only when watching DTV/
SAT channels.
Customizing channel related settings
This section describes how to customize various channel related
settings. These settings include Channel Skip, Channel Lock and
Channel Delete.
Setting Channel Options
Use the following procedure to select individual channels and
switch on the Channel Skip, Channel Lock or Channel Delete for the
channels.
1 Press
HOME MENU
.
2 Select “Setup” (
/
then
ENTER
).
3 Select “System Setup” (
/
then
ENTER
).
Add
RF Channel : 30
Level
: 12%
Quality : 32%
PDP-LX609H.book Page 45 Wednesday, August 6, 2008 4:00 PM
Downloaded From TV-Manual.com Manuals
 Loading...