18
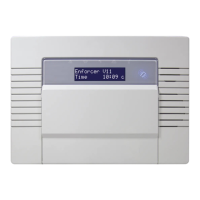
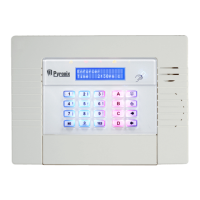
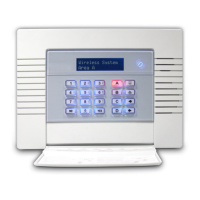
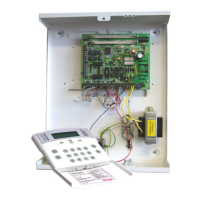
ENFORCER V11 PROGRAMMING GUIDE
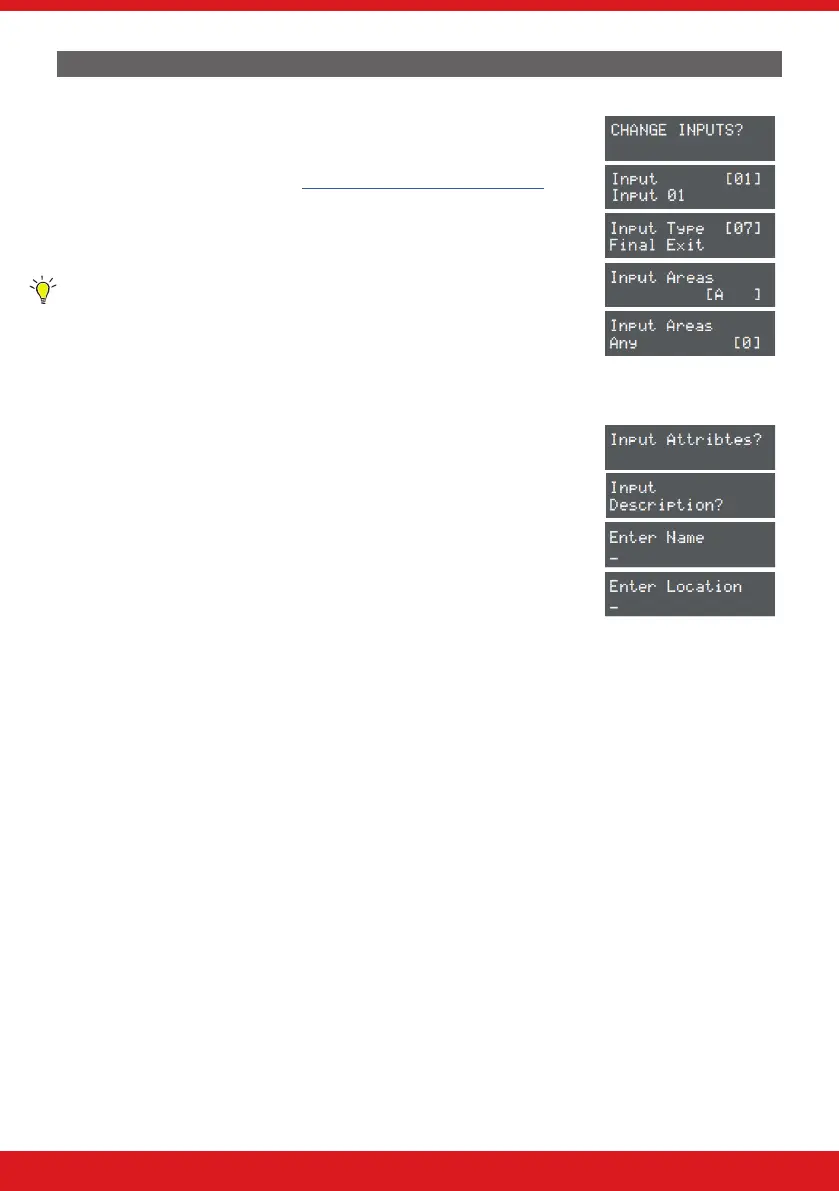
CHANGE INPUTS PROGRAMMING
1. Press b or h to scroll to ‘CHANGE INPUTS?’. Press .
2. Press [ or ] to select the zone to program (01-66). Press .
3. ‘Input Type’ will be displayed. Press [ or ] to select the input type or
input the shortcut number. See “Appendix B - Input Types” on page 51.
4. Press , ‘Input Areas’ will be displayed. Select the areas to be assigned to
the zone and press .
5. ‘Input Areas’ will be still be displayed, but this time the options are ‘Any’ or
‘All’. Make a selection using then [ or ] then press .
Hint: In the vast majority of cases this must be programmed as “‘ANY’. The ‘ALL’ attribute is only used for a
common lobby/area scenario.
6. ‘Input Attributes’ will be displayed. If any attributes are needed for the zone,
press then press [ or ] to select between the attribute enable/
disable options. Finally press to go to the next attribute.
7. ‘Input Description’ will be displayed. Press to enter a name and
location for this device or press h to return to input selection.
8. ‘Enter Name’ will be displayed. Enter the name of the zone and press .
This will be displayed if it is activated or when a fault occurs.
9. ‘Enter Location’ will be displayed. Enter the location of the zone and press
. This will be displayed if it is activated or when a fault occurs after the
name of the zone has been shown.
10. Press [ or ] to select another zone to program (01-66) or press the h
key to return to the Engineer menu.

 Loading...