2.17 Install power supply boards
To complete the assembly of the main board, install the power supply boards. This is a little tricky
and needs to be done with care to ensure that the board connectors all sit square and at the right
height etc. The following steps are strongly recommended.
1. Prepare power supply boards: the two power supply boards should have been removed from
the main PCB panel earlier. Ensure the board edges are filed smooth, with no remains of the
throwaway board tabs that held them inside the panel. Do NOT at this stage, solder on the 2x4
and 2x3-pin female pin header connector sockets.
2. Fit nylon bolts: The two power supply boards have a hole at the end opposite to their
connectors, which allows them to be bolted securely to the main board. Each fastening requires:
• 9mm nylon screw, with its head end on the underside of the main PCB
• M3 nylon nut, fitted on the top side of the main PCB as a spacer. These need to function as
a spacer, turning freely, not as a nut. You need to drill out the threads using a 3mm drill or if
you prefer (and don’t mind the smell), just shove the soldering iron tip into the hole to burn
up the thread. It is important to remove these threads otherwise you won’t be able to tighten
the screws properly later.
• M3 nylon nut, which will be secure the power supply board after it has been fitted on the
screw.
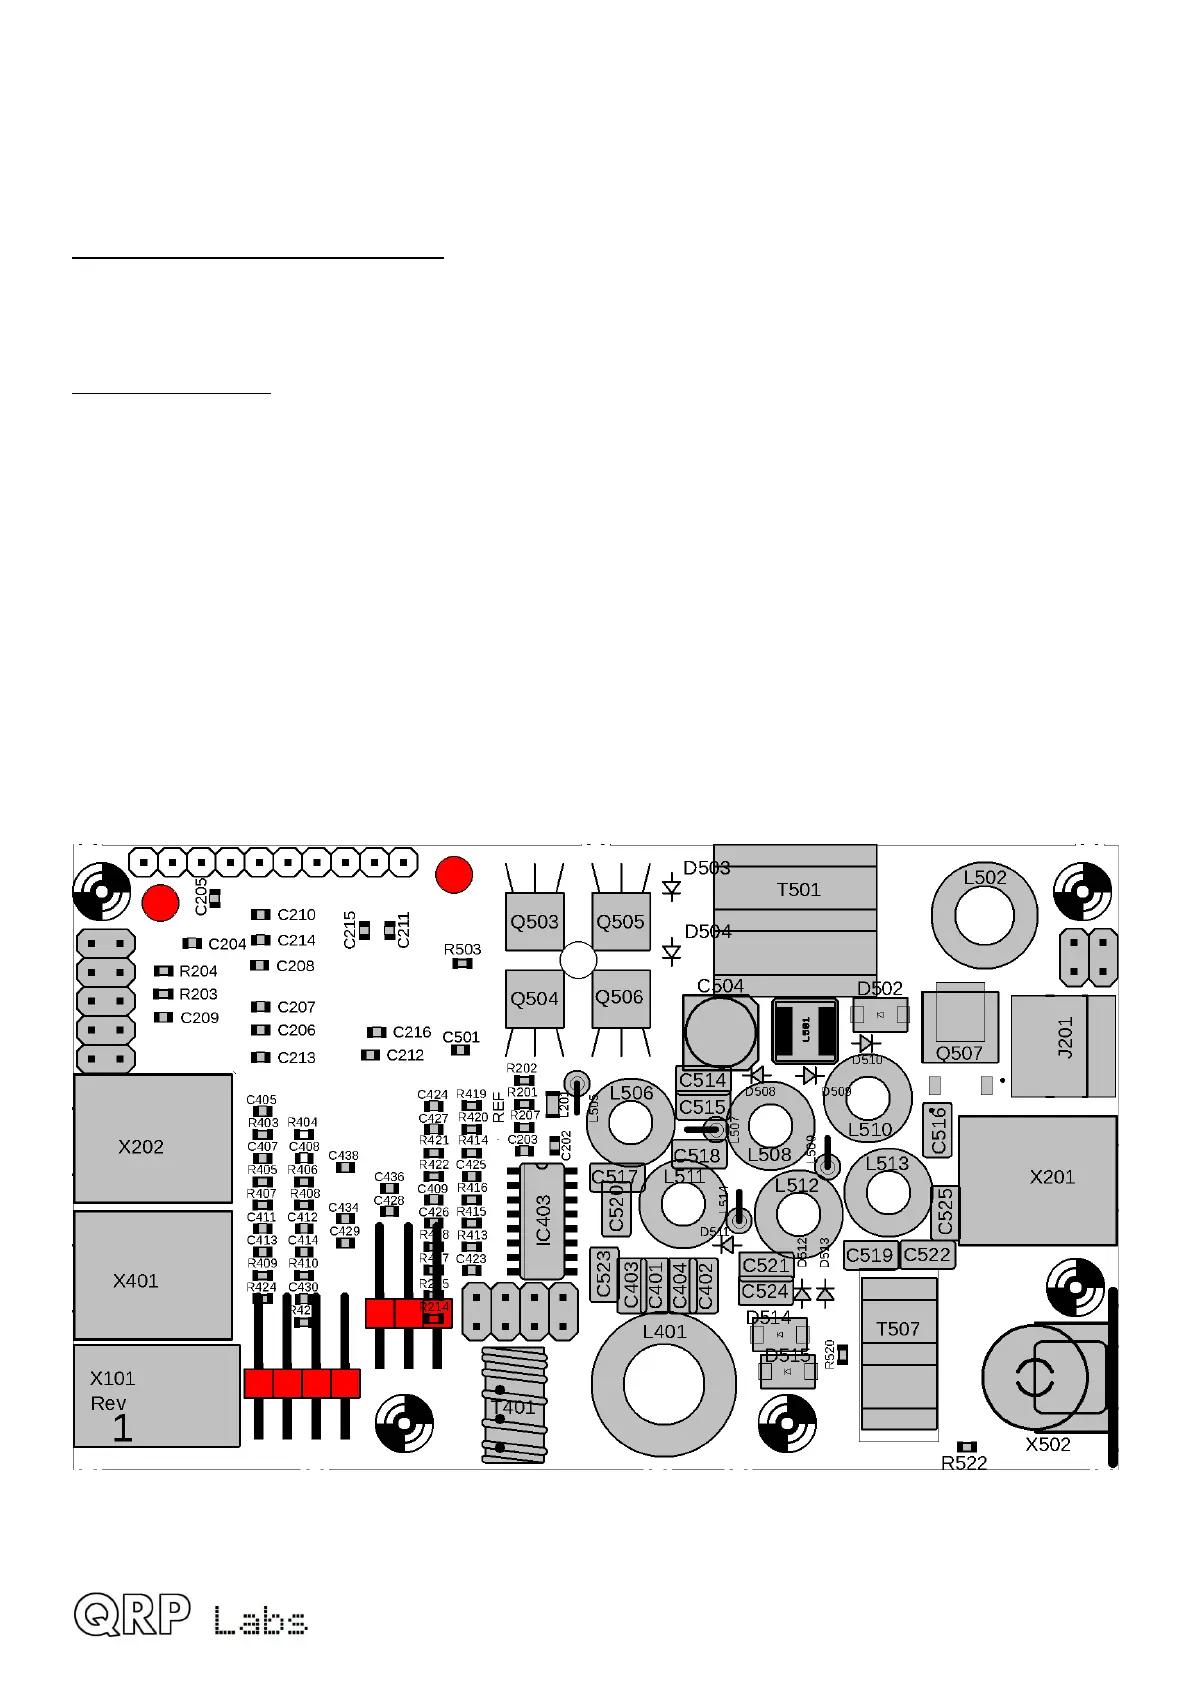
For now, thread the two nylon bolts from the underside of the PCB through the holes marked in
RED near the top edge of the PCB in the diagram shown below, and thread on the two nylon
“spacer” nuts with the removed threads, on the top side of the PCB.
Note that the following photographs show incorrect metal screws, not the specified 10mm nylon
M3 screws; this is because I had no stock of the nylon screws at the time of the photograph.
QMX assembly Rev 1.00e 43

 Loading...