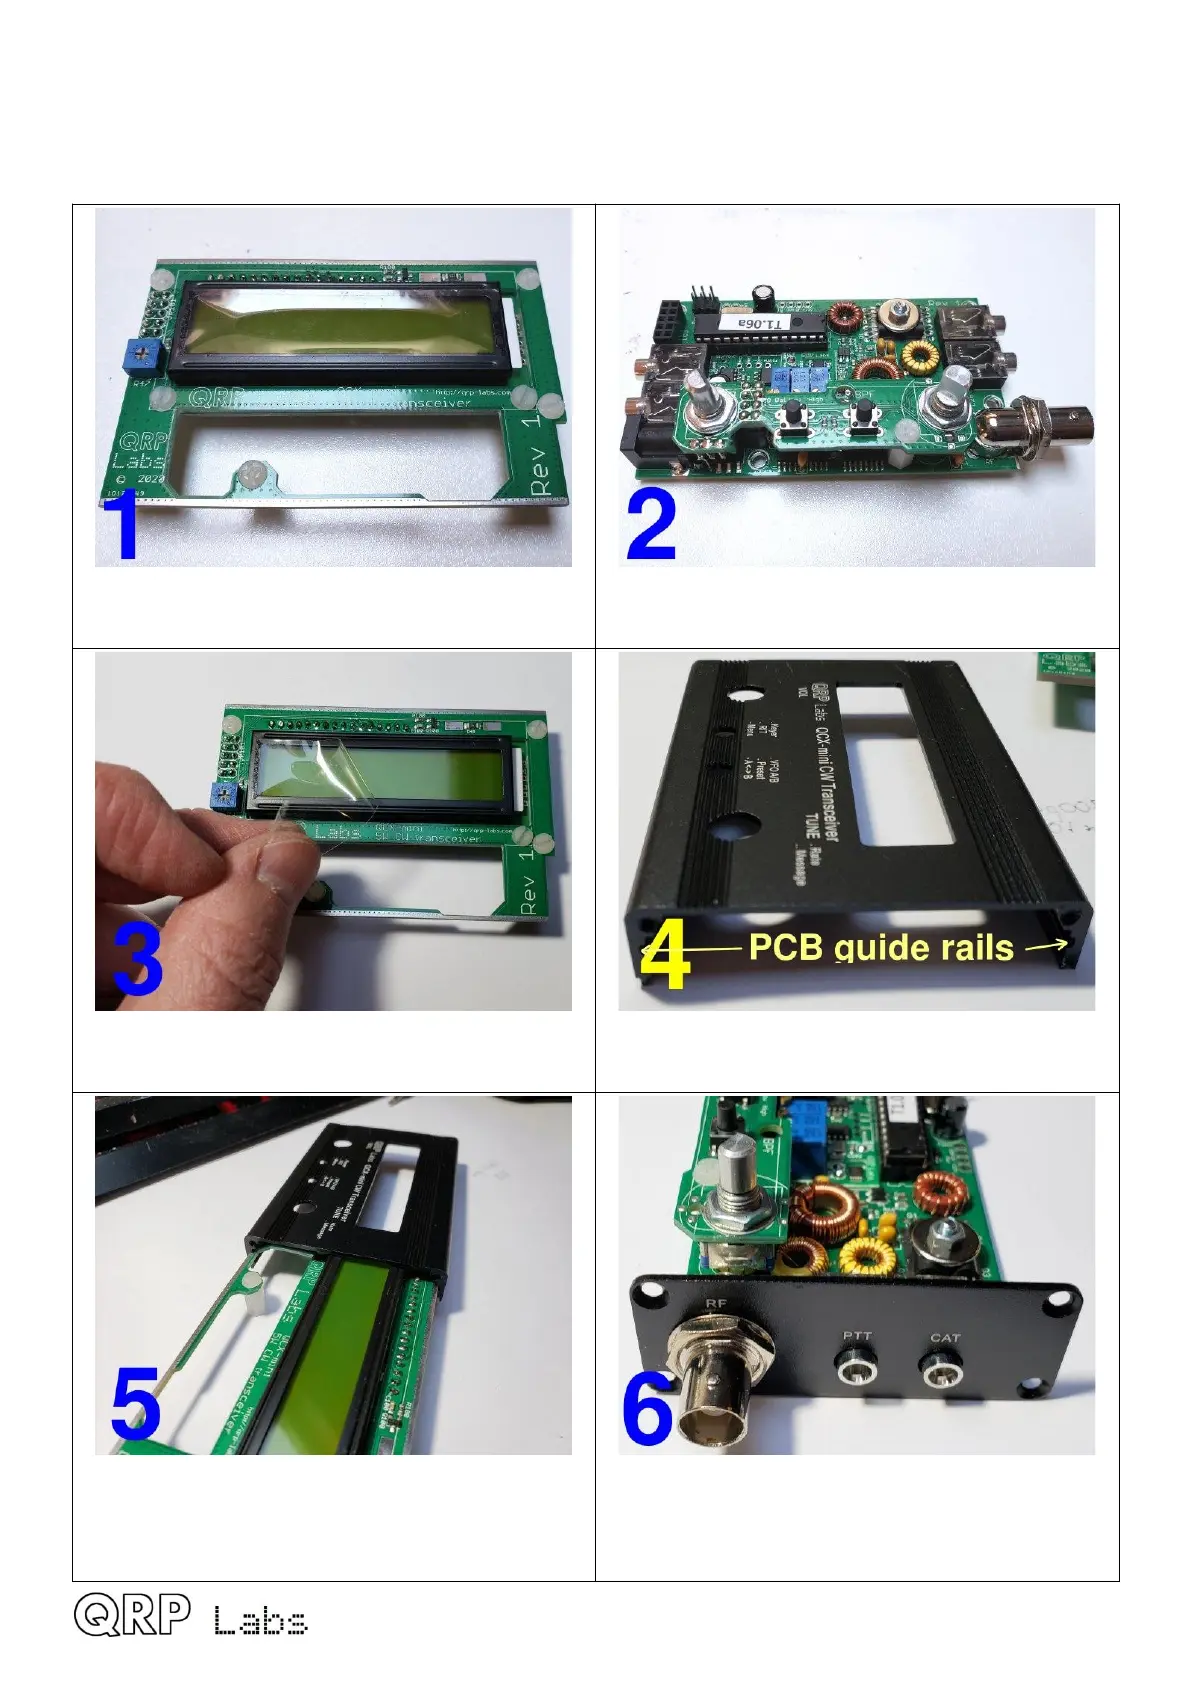
2.29 Optional enclosure
Installation in the QMX enclosure is simple and requires no wiring. It is important to do the
assembly in the correct sequence, as follows (Photographs are from the similar QCX-mini).
Start with the Display board… … and the main board, with the controls board
bolted in position.
Peel off the plastic protective coating from the
LCD module.
Here’s the top half of the enclosure. Note the
PCB guide rails in the extrusion walls.
Slide the display board into position along the
PCB guide rails in the enclosure.
Bolt the right-hand side panel to the main PCB
using the supplied BNC washer and nut
QMX assembly Rev 1.00e 56

 Loading...