30Chapter 5 Installation of 5U enclosures
3. Loosen, but do not remove, all 4 rail slide set screws on each rail with a Philips screwdriver.
4. Select the left rail, then face the left side of the rack cabinet and slide the front mount bracket pins into the
desired slots in the front rack post.
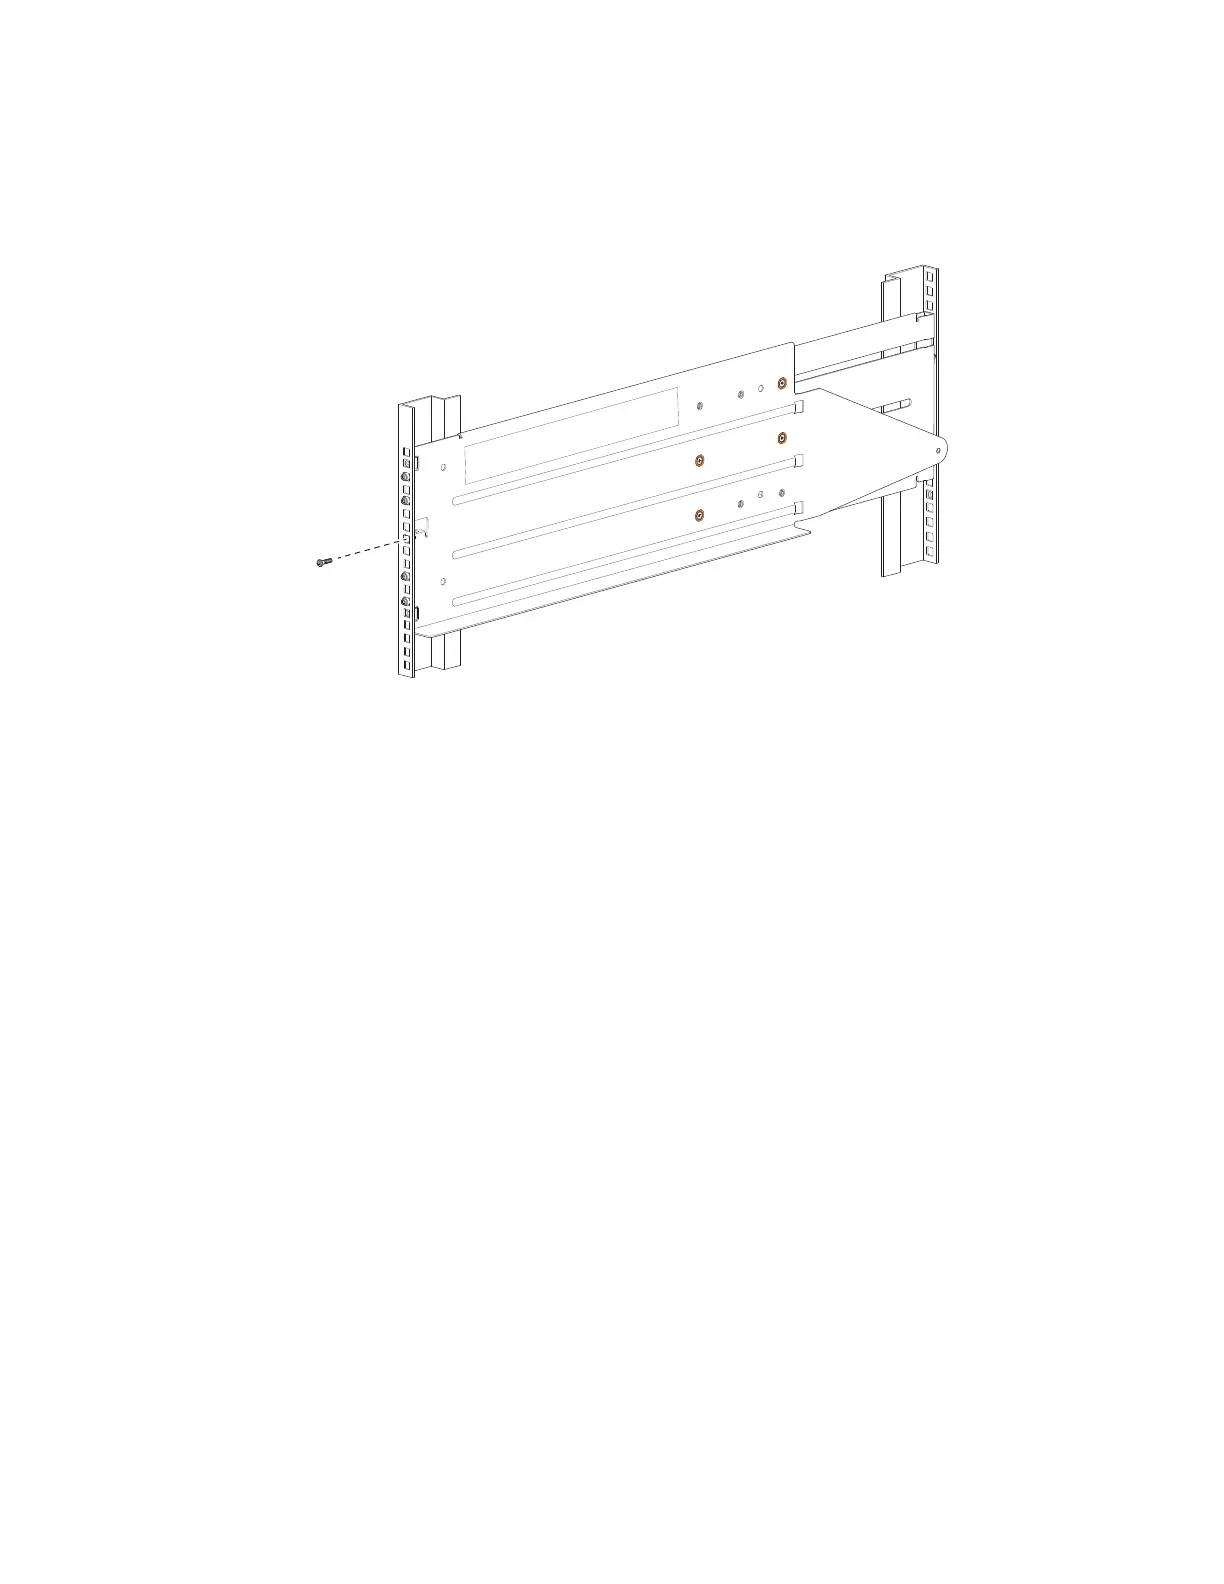
5. Insert a Phillips-head M5 x 15 screw through the rack post into the center of the front rack mount bracket
and barely tighten against the front rack post, using an 8mm nut driver or a Philips screwdriver.
Figure 22 Insertion of 5U front mount bracket screw
6. Extend the length of the rail until the rear mount bracket pins in the mirror location on the rear rack post.
7. Verify that the rails are level at the same height on both rack posts, and that all location pins fully seat in the
rack posts.
8. Facing the rear of the rack cabinet, insert 2 Phillips-head M5 x 15 screws into the top and bottom holes of
the rear mount bracket.
 Loading...