INSTALLING OPTIONAL UNITS 14 June, 2002
1-6
1.3 INSTALLING OPTIONAL UNITS
1.3.1 PAPER FEED UNIT TYPE 510
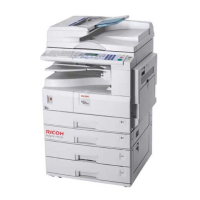
1. When installing optional Paper Feed Units 2,
3 or 4 (i.e. ones not attached directly under
the mainframe), it is necessary to replace the
large leg [A] with the small leg [B] enclosed
with the unit.
NOTE: Remove the 2 tie-wraps securing the
paper feed rollers (located under the
red tag).
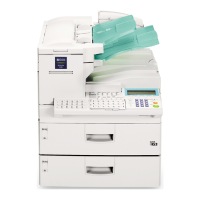
2. Place the mainframe and any attached PFUs
on top of the Paper Feed Unit [C], then
secure the two with the bracket [D] (1 screw)
on the front of the machine
NOTE: If the existing mainframe and PFU
assembly is too heavy, disassemble
them and install them one by one on
top of the new optional PFU.
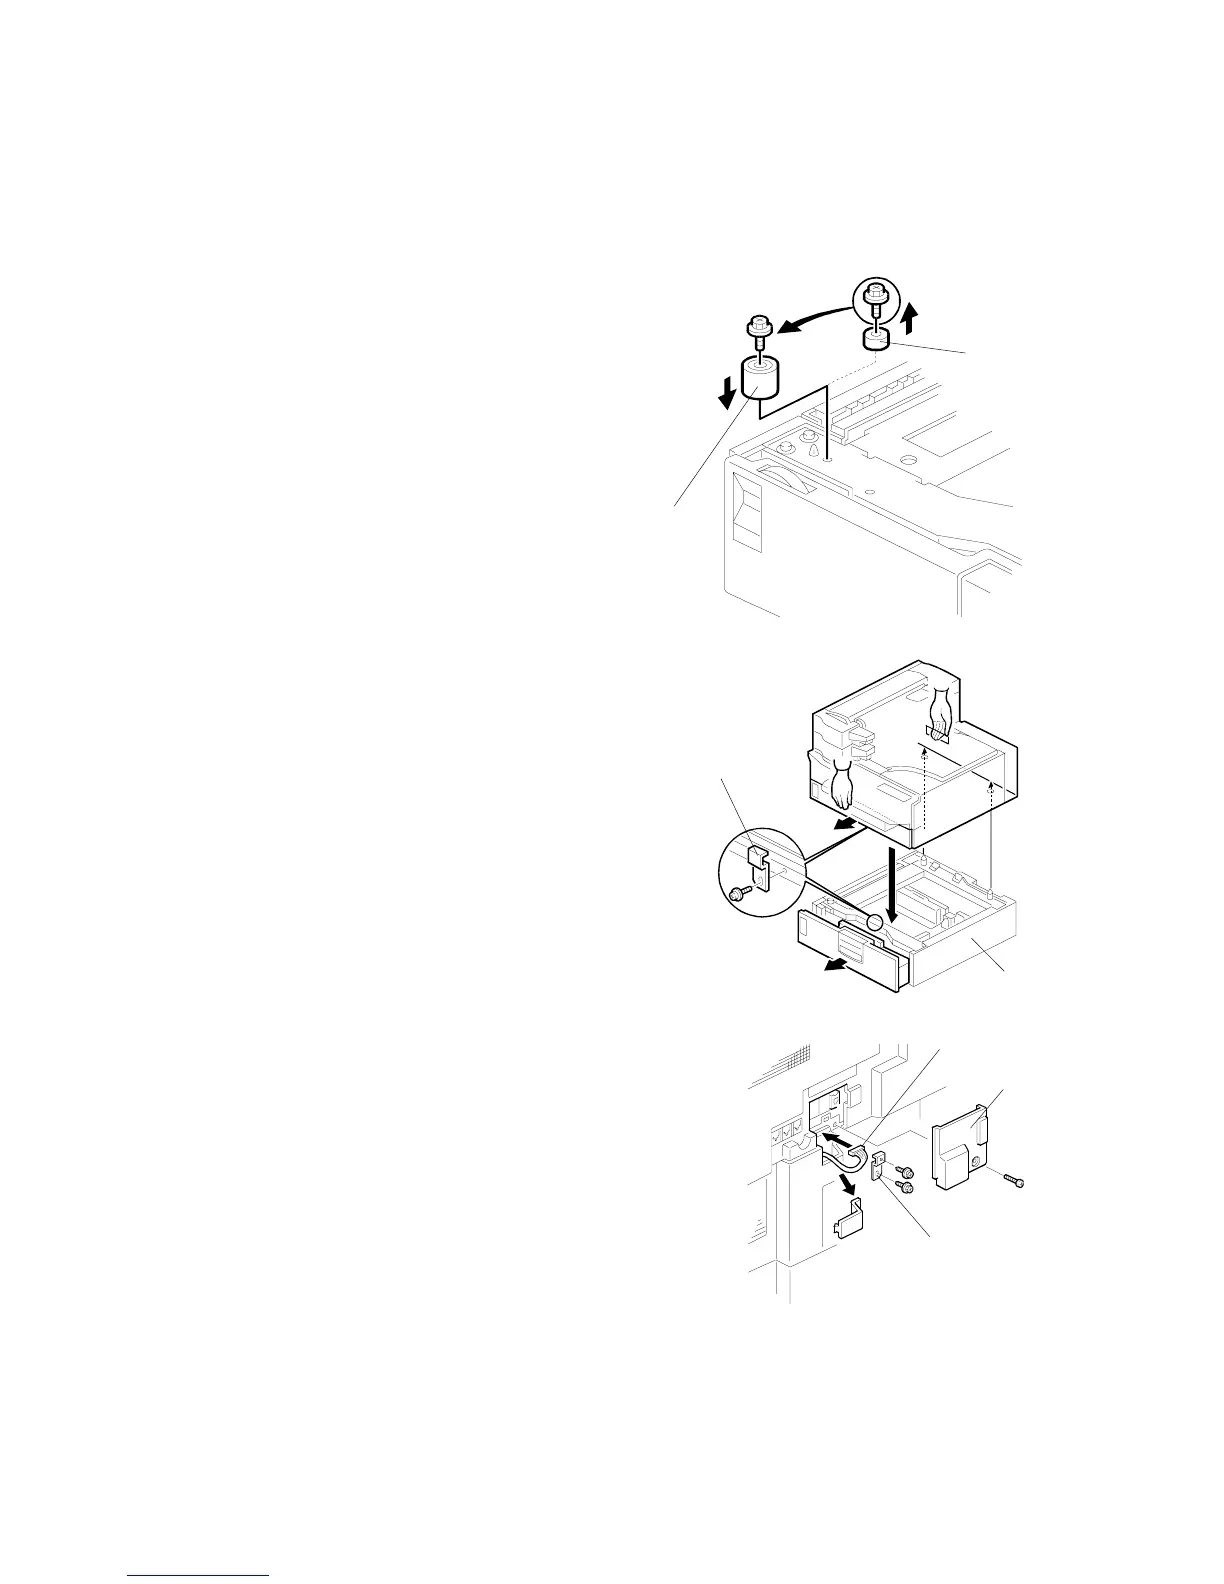
3. Remove the connector cover [E] (1 screw)
and secure the new PFU to the mainframe
(or PFU) above it with the bracket [F] (2 screws).
Then, connect the harness [G] to the machine
and reattach the connector cover.
4. Plug in the machine and turn on the main power
switch.
5. Print the System Parameter List from inside
Service mode, then make sure that
“CASSETTE” is listed as an option. Then exit
Service mode.
6. Add some paper and make some test prints
using the newly installed PFU.
H206I601.WMF
H206I602.WMF
H206I603.WMF
[B]
[A]
[C]
[D]
[E]
[F]
[G]
 Loading...