Configuration, displays and display elements
7.4 The SET / SELECT button
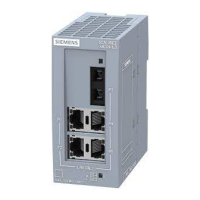
SCALANCE X-300
146 Operating Instructions, 02/2012, A5E01113043-12
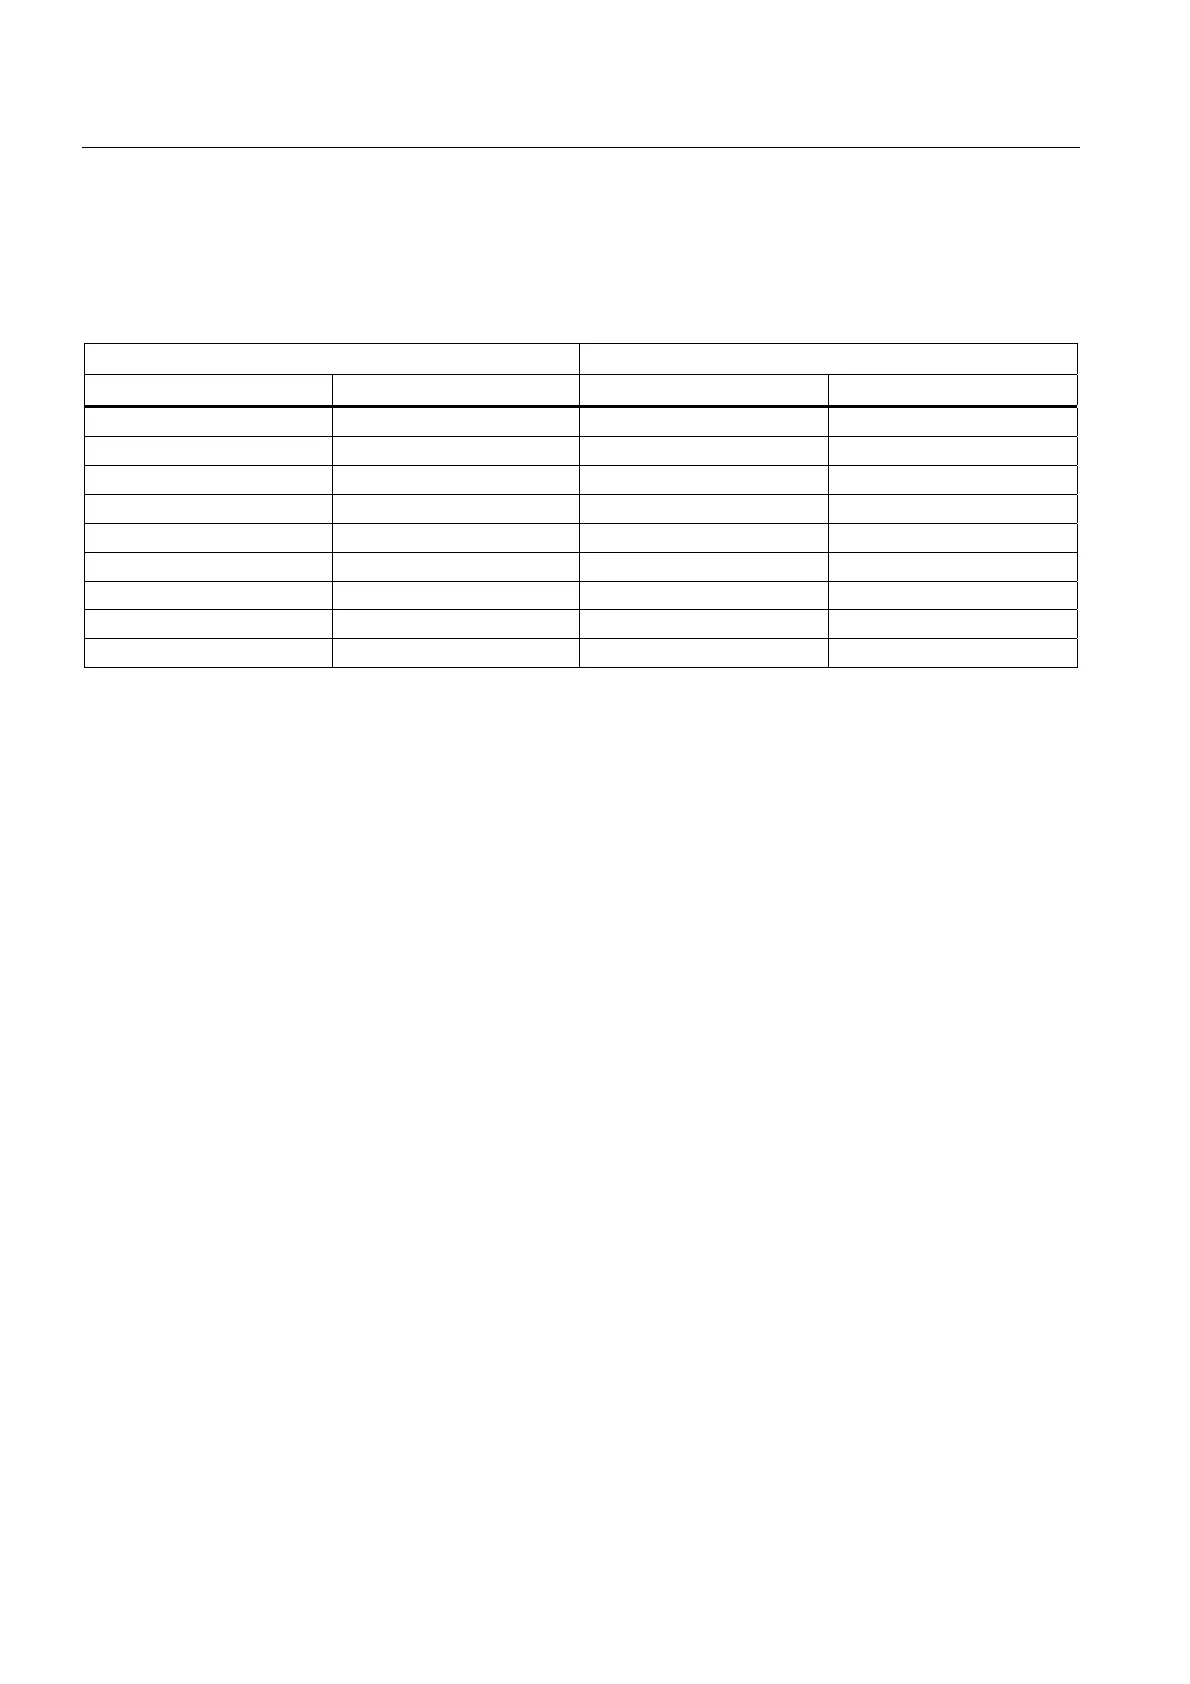
Pinout of the XR-300 (connecting cable for the diagnostics port)
A connecting cable for the diagnostics port has a 9-pin D-sub female connector for the PC
and an RJ-11 plug at the other end. The following table shows the pinout.
RJ-11 plug D-sub (9-pin, female)
Pin number Assignment Pin number Assignment
1 n.c. 1 n.c.
2 n.c. 2 RD (Receive Data)
3 TD (Transmit Data) 3 TD (Transmit Data)
4 SG (Signal Ground) 4 n.c.
5 RD (Receive Data) 5 SG (Signal Ground)
6 n.c. 6 n.c.
7 n.c.
8 n.c.
9 n.c.
7.4 The SET / SELECT button
The SET/SELECT button is located on the top of the housing of devices of the X-300 EEC
series. On all other devices, this button is on the front panel of the housing beside the LED
display. The SET/SELECT button has several functions that are described below.
Change the display mode
By pressing the button briefly, you change to the display mode of the LED display. For more
detailed information on this topic, refer to the section "LED display".
Resetting the device to the factory defaults
If you reset, all the changes you have made will be overwritten by factory defaults. Follow the
steps outlined below:
1. Turn on display mode A. Display mode A is active when the "DM" LED is not lit. If this
LED is lit or flashing, you will need to press the SET/SELECT briefly (possibly several
times) until the "DM" LED goes off. If the SELECT/SET button is not pressed for longer
than a minute, the device also turns on display mode A.
2. Hold down the SELECT/SET button for 12 seconds. If you release the button before the
12 seconds have elapsed, the reset is canceled.
 Loading...