07.90 1 Introduction
1.5.3 Measuring accuracy
1.5.3 Measuring accuracy
The repeat accuracy of SINUMERIK controls for in-process measurement is ±1 µm.
The attainable measuring accuracy therefore depends on the following factors:
• Repeat accuracy of machine
• Repeat accuracy of probe
• Resolution of measuring system
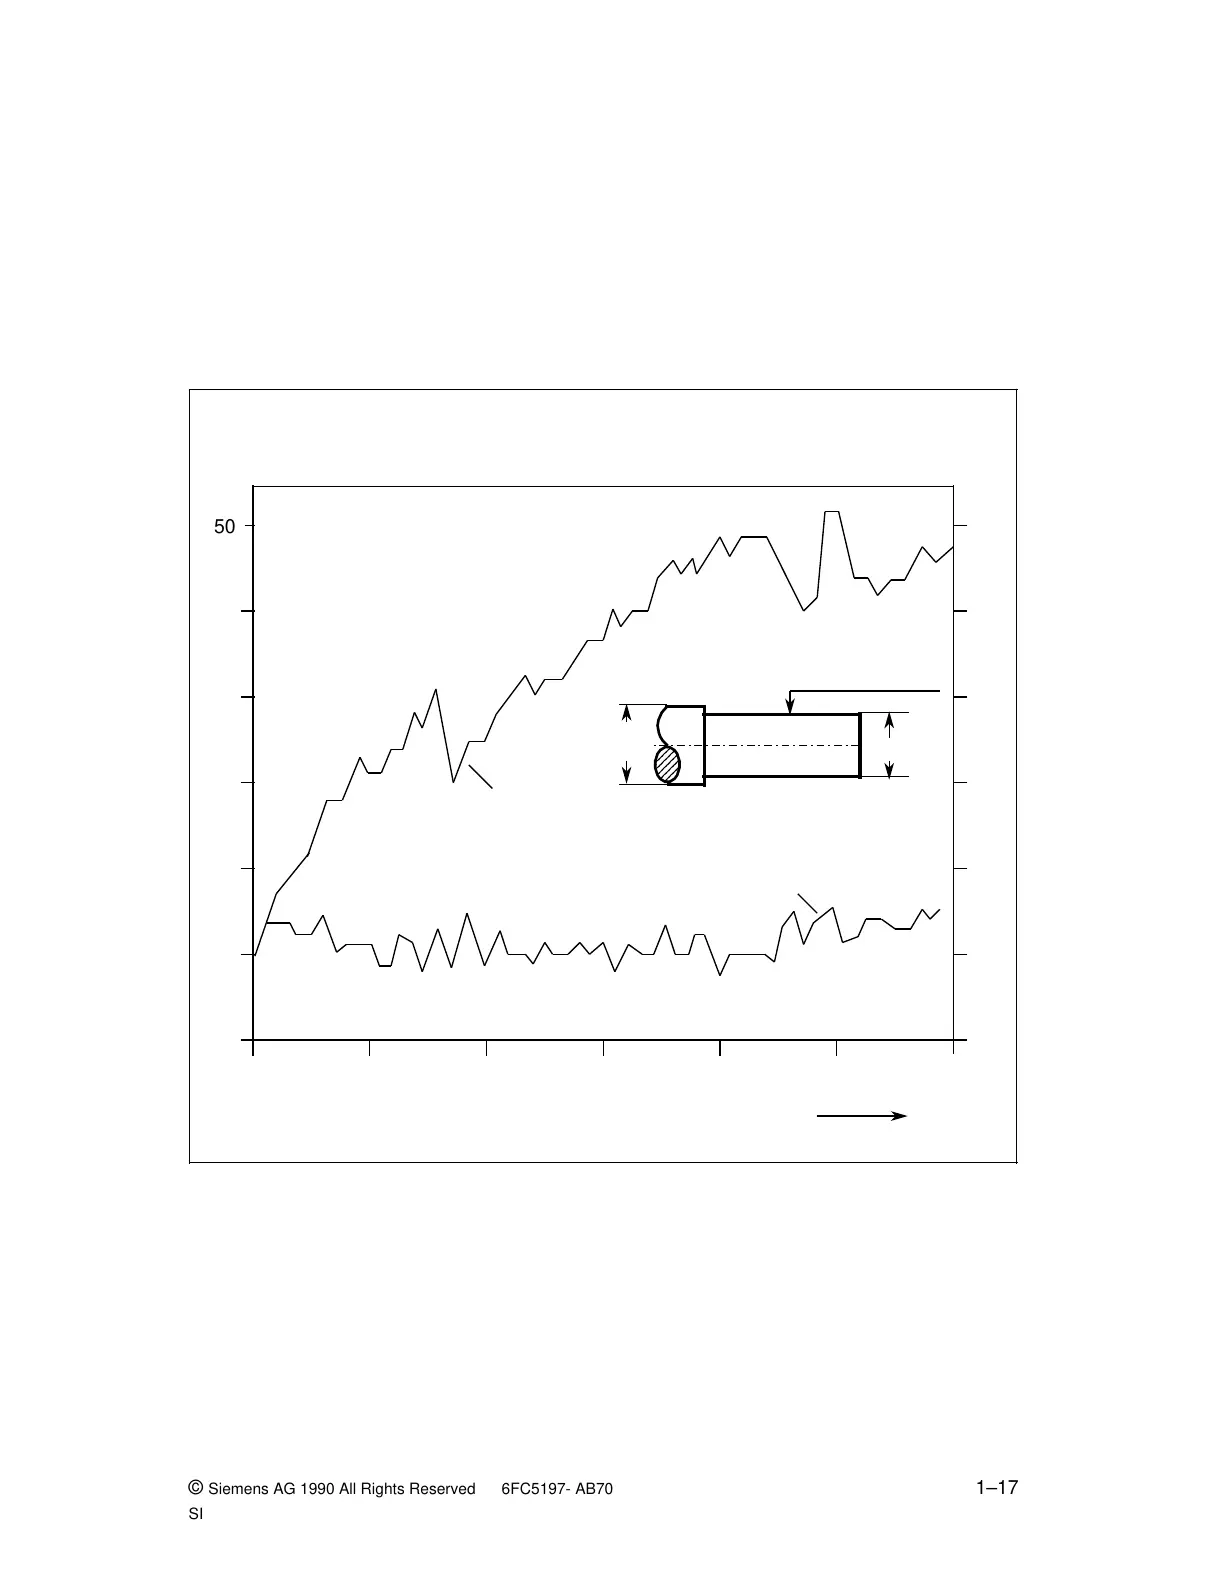
To give an example, the following series of measurements have been carried out on a turning
machine:
Fig. 1.18 Measuring accuracy
Measuring
point
Correction
value [µm]
60
-10
-10
0
00
10
1010
20
2020
30
30
30
40
40
50
40
50
Material: Cr Ni steel X 10 Cr Ni Nb 18 9
Actual
value
[µm]
Number of parts
Measuring with calibration
Actual dimension
Correction value
Probe body:
11,1
12
50
© Siemens AG 1990 All Rights Reserved 6FC5197- AB70 1–17
SINUMERIK 840/850/880 (BN)

 Loading...


