Protected by copyright. Copying for private or commercial purposes, in part or in whole, is not permitted
unless authorised by ŠKODA AUTO A. S. ŠKODA AUTO A. S. does not guarantee or accept any liability
with respect to the correctness of information in this document. Copyright by ŠKODA AUTO A. S.
Note
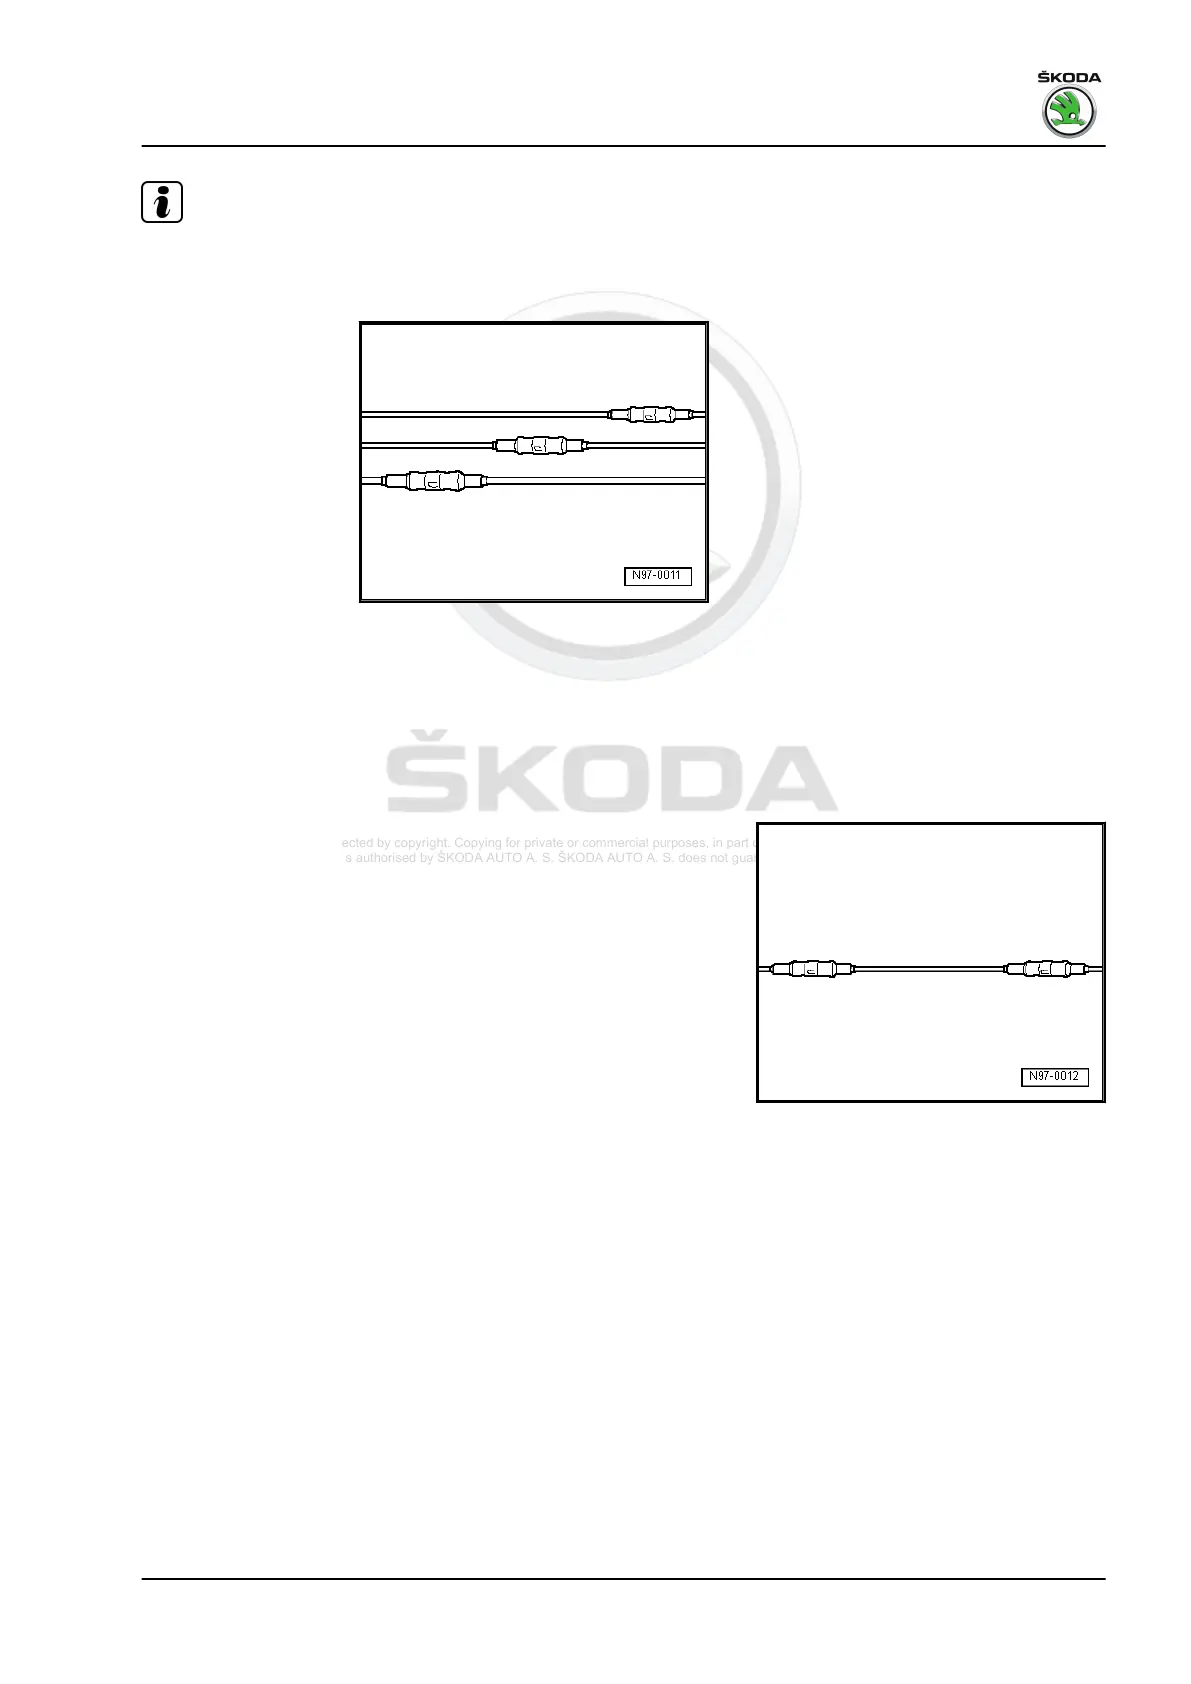
Ensure that the crimp connectors are not positioned immediate‐
ly next to each other if there are multiple wires to be repaired.
Arrange the crimp connectors slightly offset to ensure that the
wiring loom does not become too big.
♦
If the repair point has been wrapped previously, the point
must be re-wrapped with yellow insulating tape after repair.
♦
Attach the repaired wiring loom, in necessary, with a cable
strap to avoid rattling when driving.
2.10 Line break with two repair points
Repair point with intermediate wire
– Expose the wire to be repaired at two points (approx. 20 cm
to each side of each repair point).
– If necessary, remove the ties of the wiring loom, using the
folding knife.
– Lay the yellow repair wire next to the damaged wiring loom
and cut the repair wire to the required length with the wire
stripper -VAS 1978/3-.
Citigo 2012 ➤, Citigo-e iV 2020 ➤, Enyaq 2021 ➤, Enyaq Coupe 2021 ➤, Fabia 2000 ...
Electrical System - general notes - Edition 12.2021
2. Wiring harness repair 69
 Loading...