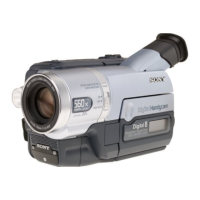
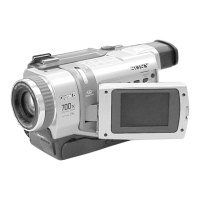
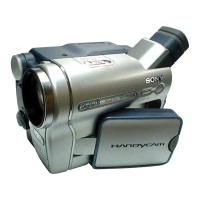
5-60
1. Playback Level Check
Mode VTR playback
Signal Alignment tape:
For audio operation check
(XH5-3 (NTSC))
(XH5-3P (PAL))
Measurement Point Audio left or right terminal of AUDIO
VIDEO jack
Measuring Instrument Audio level meter and frequency
counter
Specified Value 32 kHz mode: 1 kHz, +3.0 ± 2.0dBs
48 kHz mode: 1 kHz, +3.0 ± 2.0dBs
44.1 kHz mode:
The 7.35kHz signal level during EMP
OFF is +2.0 ± 2.0dBs.
The 7.35kHz signal level during EMP
ON is –6 ± 2 dB from the signal level
during EMP OFF.
Checking Method:
1) Check that the playback signal level is the specified value.
2. Overall Level Characteristics Check
Mode Camera recording and playback
Signal 400Hz, –66 dBs signal: MIC jack left
and right
Measurement Point Audio left or right terminal of AUDIO
VIDEO jack
Measuring Instrument Audio level meter
Specified Value –7.5 ± 3.0dBs
Checking Method:
1) Input the 400Hz, –66dBs signal in the MIC jack.
2) Record in the camera mode.
3) Playback the recorded section.
4) Check that the 400Hz signal level is the specified value.
3. Overall Distortion Check
Mode Camera recording and playback
Signal 400Hz, –66dBs signal: MIC jack left
and right
Measurement Point Audio left or right terminal of AUDIO
VIDEO jack
Measuring Instrument Audio distortion meter
Specified Value Below 0.4%
(200Hz to 6kHz BPF ON)
Checking Method:
1) Input the 400Hz, –66dBs signal in the MIC jack.
2) Record in the camera mode.
3) Playback the recorded section.
4) Check that the distortion is the specified value.
4. Overall Noise Level Check
Mode Camera recording and playback
Signal No signal: Insert a shorting plug in the
MIC jack
Measurement Point Audio left or right terminal of AUDIO
VIDEO jack
Measuring Instrument Audio level meter
Specified Value Below –45dBs
(IHF-A filter ON, 20kHz LPF ON)
Checking Method:
1) Insert a shorting plug in the MIC jack.
2) Record in the camera mode.
3) Playback the recorded section.
4) Check that the noise level is the specified value.
5. Overall Separation Check
Mode Camera recording and playback
Signal 400Hz, –66dBs signal: MIC jack
<right> [left]
(Connect the MIC jack <left> [right]
to GND)
Measurement Point Audio <left> [right] terminal of
AUDIO VIDEO jack
Measuring Instrument Audio level meter
Specified Value Below –40dBs
< > : Left channel check
[ ] : Right channel check
Checking Method:
1) Input the 400Hz, –66dBs signal in the <right> [left] terminal
of the MIC jack only.
2) Record in the camera mode.
3) Playback the recorded section.
4) Check that the signal level of the audio <left> [right] terminal
is the specified value.
 Loading...