CBR CGA4131COM- User Guide
20 of 61
2.4.1 How to connect your wireless client via WPS
WPS
Wi-Fi Protected Setup (WPS) allows you to add new wireless clients to your local network in a swift and easy
way, without the need to enter any of your wireless settings (network name, wireless network key, encryption
type).
Both the 2.4 GHz as the 5 GHz access points of your Gateway support WPS.
Requirements
• Your wireless client must support WPS. Check the documentation of your wireless client for this.
• Your Gateway must use WPAWPA2-PSK (TKIP/AES) encryption (default encryption) or WPA2-PSK
(AES) encryption.
WPS methods
The following WPS methods are supported by your Gateway:
• Push Button Configuration (PBC):
Place both the wireless client and the Gateway in registration mode by pushing a hardware or software
button.
• PIN code entry on the wireless client:
Enter the Gateway’s WPS PIN code on the wireless client. For more information, see “Adding a wireless
client using WPS PIN entry on the wireless client”.
• PIN code entry on the Gateway:
Enter the wireless client’s WPS PIN code on the Admin Tool. For more information, see “Adding a
wireless client using WPS PIN entry on the Gateway”.
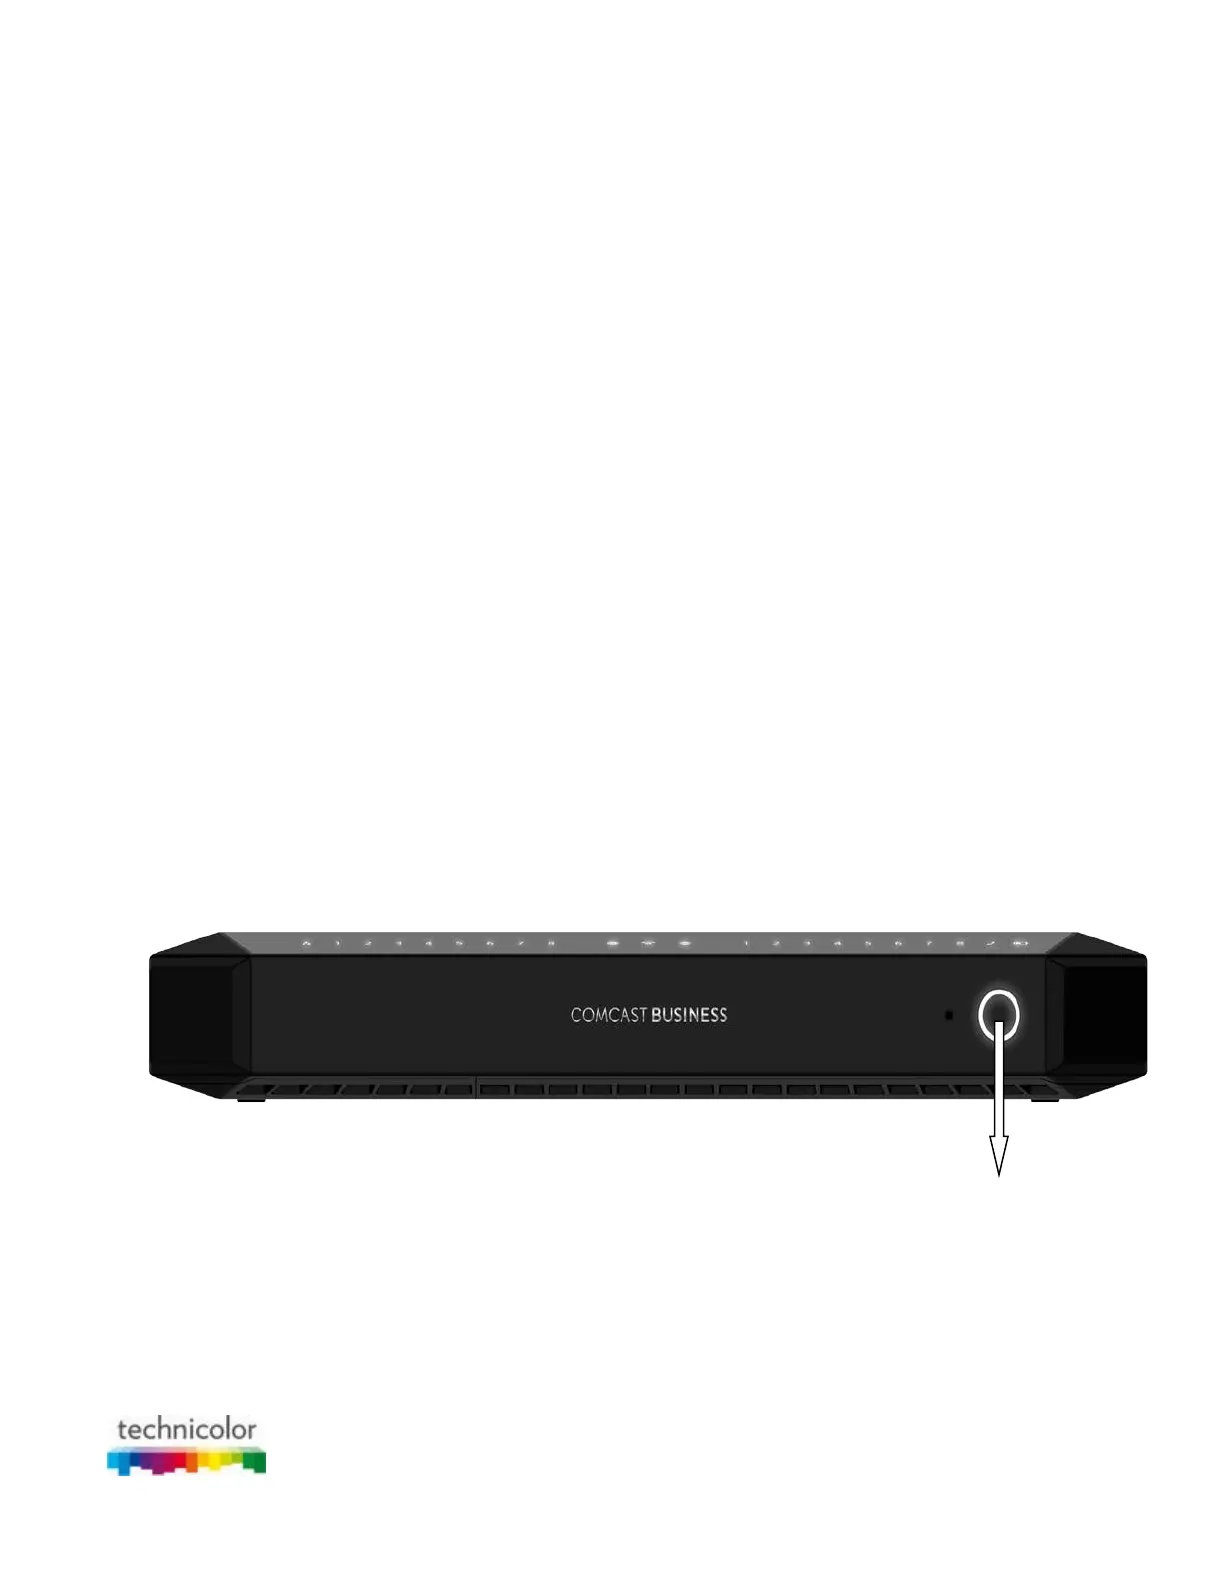
Procedure for PBC
Proceed as follows:
1. Start WPS on your wireless client.
2. On the Gateway, press and hold the WPS button for at least 5 seconds and then release it.
3. The WPS button LED will start blinking. This indicates that the Gateway is now searching for wireless
clients that are in registration mode.
4. The Gateway is now exchanging the security settings with the wireless client.
5. Your wireless client will prompt you when it is connected to the access point.
 Loading...