CBR CGA4131COM- User Guide
56 of 61
In the Destination Subnet box, type destination subnet. (example – 192.168.4.20)
In the Subnet Mask box, type the subnet mask (example – 255.255.255.0)
In the Gateway IP box, type the IP address of the gateway.
4. Click ADD.
5. Your service is now listed in the Static Routing table.
6.1.9 Dynamic DNS
Introduction
Configures the Gateway's router functionality as a Dynamic DNS client.
Procedure
1. Go to the Admin Tool (http://10.1.10.1), using a computer or device that is currently connected to your
Gateway (either wired or wirelessly). For more information, see “Accessing the Admin Tool”.
2. On the Advanced menu, click Dynamic DNS.
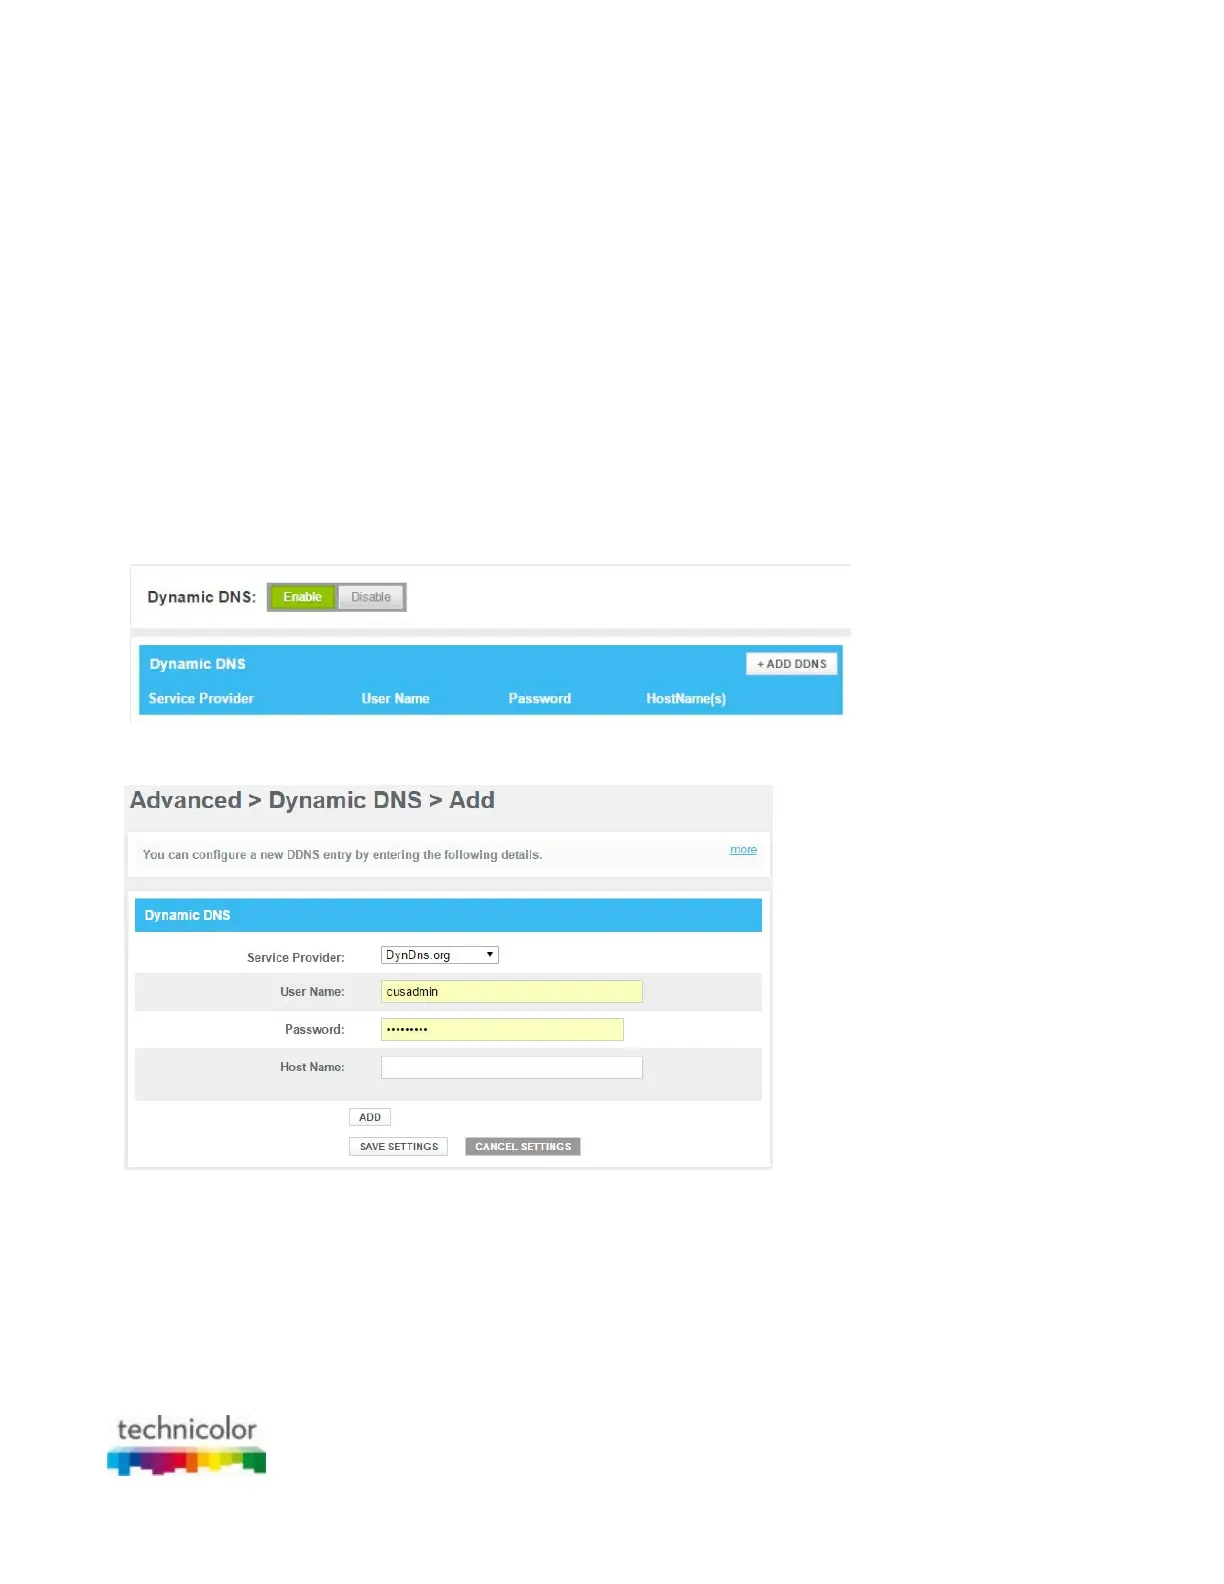
3. The Dynamic DNS page appears.
In the Dynamic DNS list, click Enabled. In the Dynamic DNS table, click +ADD DDNS.
4. The Add DDNS page appears:
Complete the following fields:
In the Service Provider list, select your service provider.
In the User Name box, type username of the gateway.
In the Password box, type the password of the gateway.
In the Host Name box, type the host name.
5. Click ADD.
6. Click Save Settings.
7. Your service is now listed in the Dynamic DNS table.
 Loading...