Functional Verification Functional Verification Procedure
Vital Signs Monitor Series 300 19 Service Manual
Functional Verification Procedure
System/Power
Setup
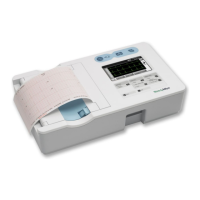
• If the monitor is configured with the temperature option, connect the temperature probe
and insert it into the probe well.
• If you are using the optional Welch Allyn Model 9600 Calibration Tester (01800-200), plug
it in and set it to 96.4° F (35.8° C).
• If the monitor is configured with the SpO
2
option, connect the SpO
2
sensor.
Battery Charge and Beeper
1. Disconnect the power adapter from the monitor.
2. Verify that the charge LED is off.
3. Connect the power adapter. The monitor emits a single beep tone.
4. Verify that the charge LED is on.
Battery Substitution Cable Setup
1. Disconnect the power adapter.
2. Remove the battery cover and remove and disconnect the battery.
3. Separate the connector pair (660-0237-00). Use the end that is identical to the connector
on the battery as a battery substitution test cable.
4. Connect the open-ended red (+) and black (-) wires of this cable to the variable DC power
supply.
5. Set the power supply to 6.0 V ± 50 mV.
6. Connect the test power cable to the battery connector on the monitor.
Depending on the charge level of the battery, the charge LED may be either
flashing or steady.
flashing indicates that the monitor is running on AC, the battery is
charging, and the battery is charged to less than 90% capacity.
steady indicates that the monitor is running on AC, the battery may or
may not be charging, and the battery is charged to at least 90% capacity.
 Loading...