System Administrator Functions
Disabling Wireless Networking
Disabling Wireless Networking from the Control Panel
You can disable the wireless network from the printer control panel.
Note: Wireless networking is available only on printers with the optional Wireless Network Adapter
installed.
To disable wireless networking from the Control Panel:
1. At the printer control panel, press the Home button.
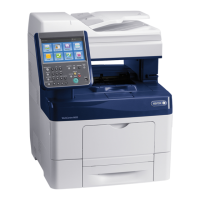
2. To open the Wi-Fi menu, touch Device > Connectivity > Wi-Fi.
3. To toggle Wi-Fi from On to Off, touch the Wi-Fi toggle button.
4. Touch OK.
5. Press the Home button.
6. For the setting to take effect, at the prompt, touch Restart Now.
Disabling Wireless Networking From the Embedded Web Server
Note: Wireless networking is available only on printers with the optional Wireless Network Adapter
installed.
1. At your computer, open a Web browser. In the address field, type the IP address of the printer, then
press Enter or Return.
Note: If you do not know the IP address for your printer, refer to Finding the IP Address of Your
Printer on page 33.
2. In the Embedded Web Server, log in as a system administrator. For details, refer to Logging In as
the Administrator on page 265.
3. Click Connectivity.
4. For Connections, click Wi-Fi.
5. Click the Enable toggle button.
Note: If Wi-Fi is disabled, the check mark on the toggle button is not visible.
6. Click OK.
7. To activate your changes, at the prompt, click Restart Now.
230 Xerox
®
WorkCentre
®
6515 Color Multifunction Printer
User Guide
 Loading...

