128 Zebra ZXP Series 1 Card Printer Service Manual P1061942-001
5: Replacement Procedures
Procedures
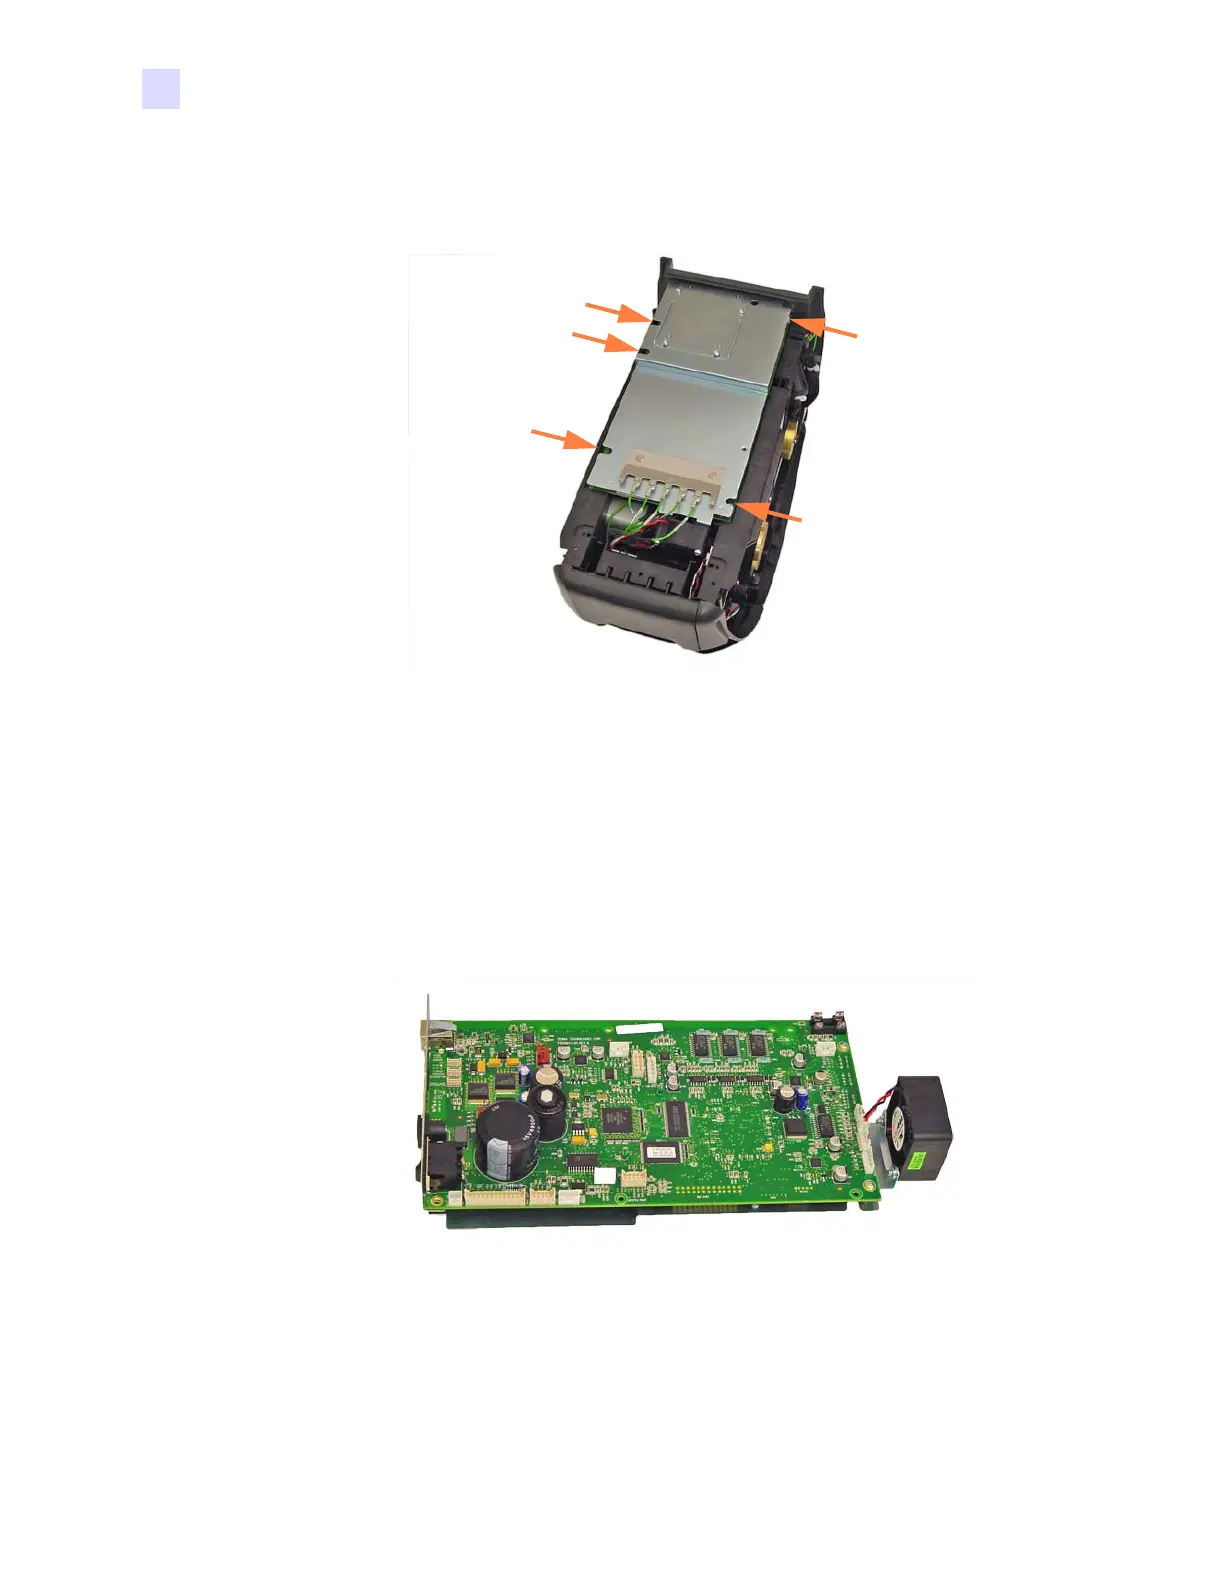
Step 4. With a TORX T10 driver, remove the five screws (SCR, PLAST, 4-.25L, 5.5 in-lb)
holding the Main
PCBA and Ground Plate in place; arrows below.
Step 5. If necessary, cut the cable ties to free the cables connected to the Main PCBA.
Step 6. Lift the Main PCBA (and Ground Plate) out of the Frame, and carefully disconnect
the various wires and connectors that attach to the Main
PCBA. Be careful to avoid
damaging any of them.
Step 7. If present, remove the Ethernet PCBA; see Section 5.6.13.
Step 8. Remove the Ground Plate (and Fan); see Section 5.6.15.
Step 9. Set the Main PCBA aside. Note that the figure above shows the Main PCBA with
the Ground Plate and Fan attached.
 Loading...