4 Repair
4.4.3. Replacement of complete upper arm
3HAC026048-001 Revision: A122
© Copyright 2006-2008 ABB. All rights reserved.
16. Fit the other tapered roller bearing and
lubricated lock nut to the opposite side of the
upper arm.
Use the extended KM nut and tighten the lock
nut with 55 Nm, then untighten and retighten
with 35 Nm.
Art. no. is specified in Required
equipment on page 116.
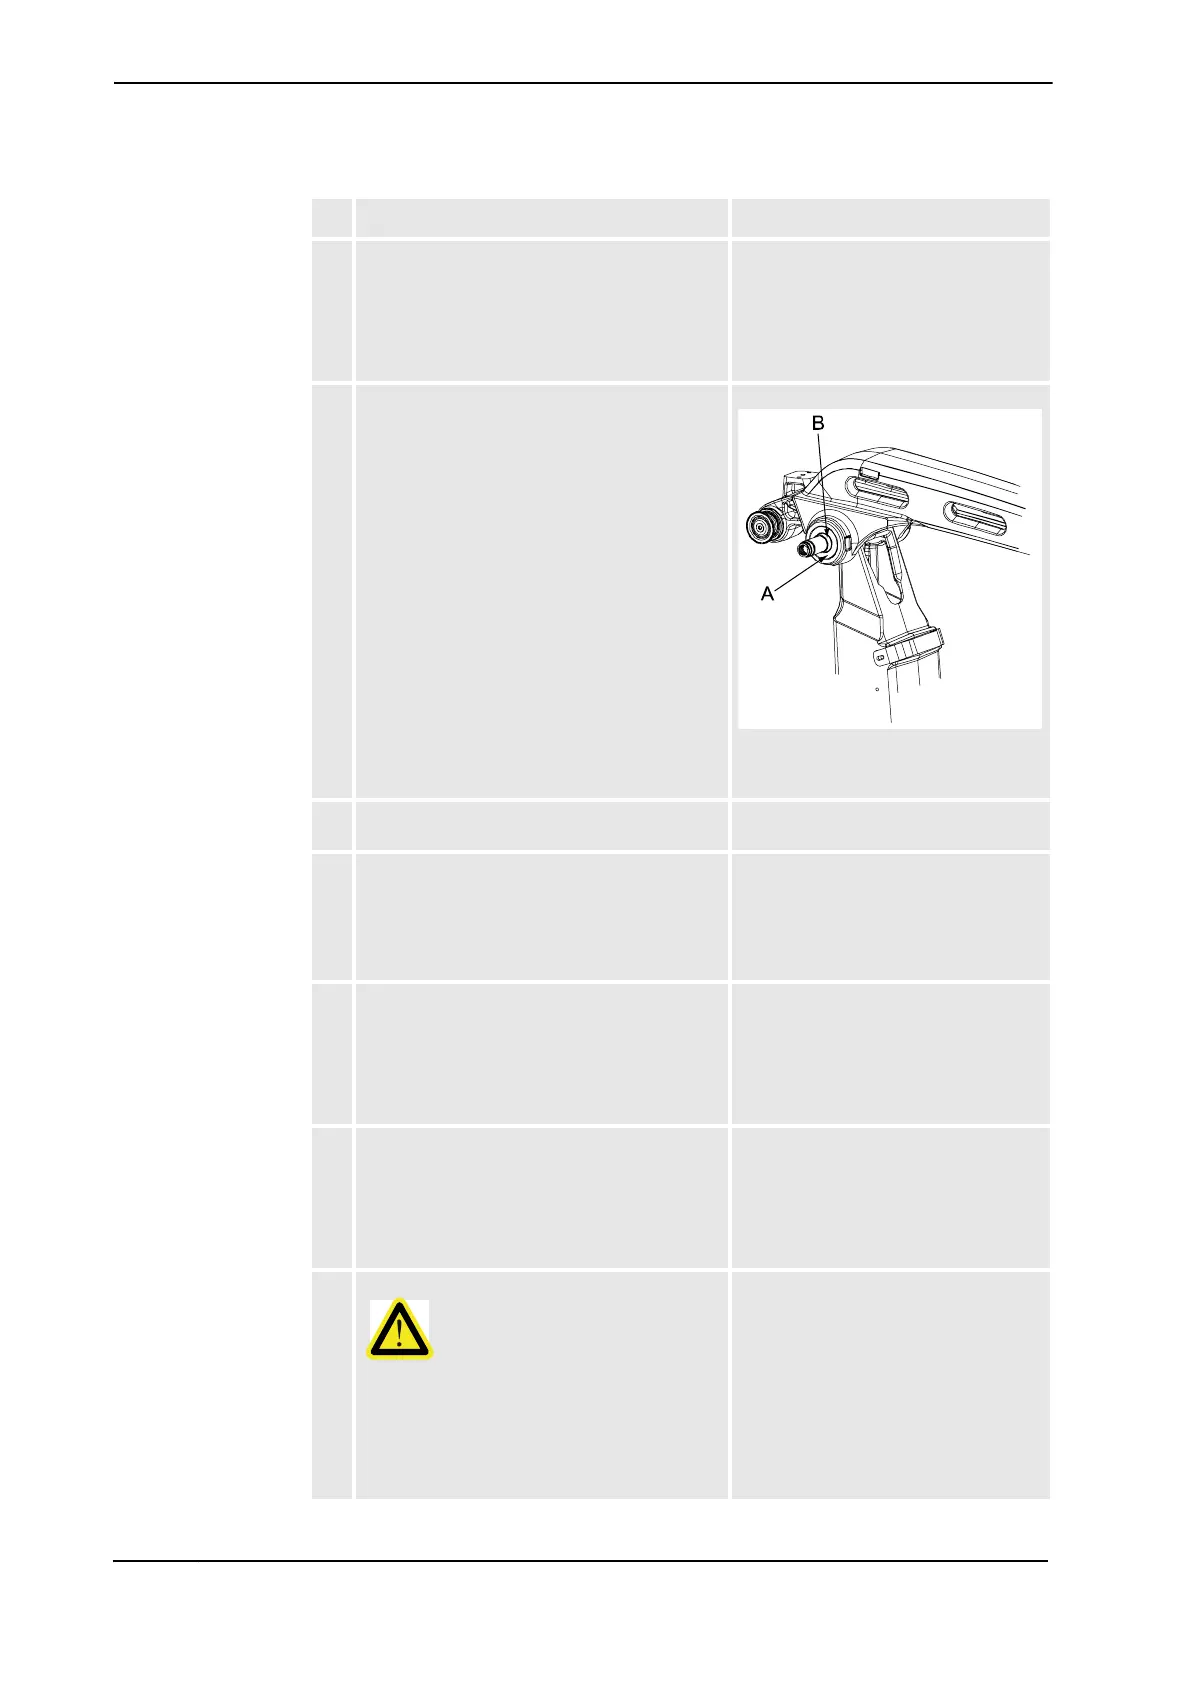
17. Fit the distance and the radial sealing to the
shaft end by hand.
Note! Make sure to fit the radial sealing with
the flat side outwards!
xx0600002607
A. Radial sealing
B. Distance
18. Refit the parallel bar. Detailed in section Refitting, parallel
bar on page 140.
19. Refit the linkage. Detailed in sections:
• Refitting, link on page 132
• Refitting, upper rod on page
125
• Refitting, lower rod on page 127
20. Run the cable unit inside the upper arm.
Reconnect all connectors and refit all
brackets.
Cable run, connectors and brackets
are shown in the figure Location of
cable unit, axis 6 on page 96.
The refitting is further detailed in
section Refitting, cable unit axis 6 on
page 99.
21. Recalibrate the robot. Calibration is detailed in a separate
calibration manual, enclosed with the
calibration tools.
General calibration information is
included in section Calibration
information on page 175.
22.
-
Danger!
Make sure all safety requirements are met
when performing the first test run. These are
further detailed in section DANGER - First test
run may cause injury or damage! on page 32.
Action Note/Illustration
Continued

 Loading...


