• The Registrar is usually the wireless access point/router.
• The settings page may differ depending on the brand of wireless access point/router. For more detailed
information, see the instructions supplied with your wireless access point/router.
If using a Windows 10 or Windows 11 computer as a Registrar, complete the following steps:
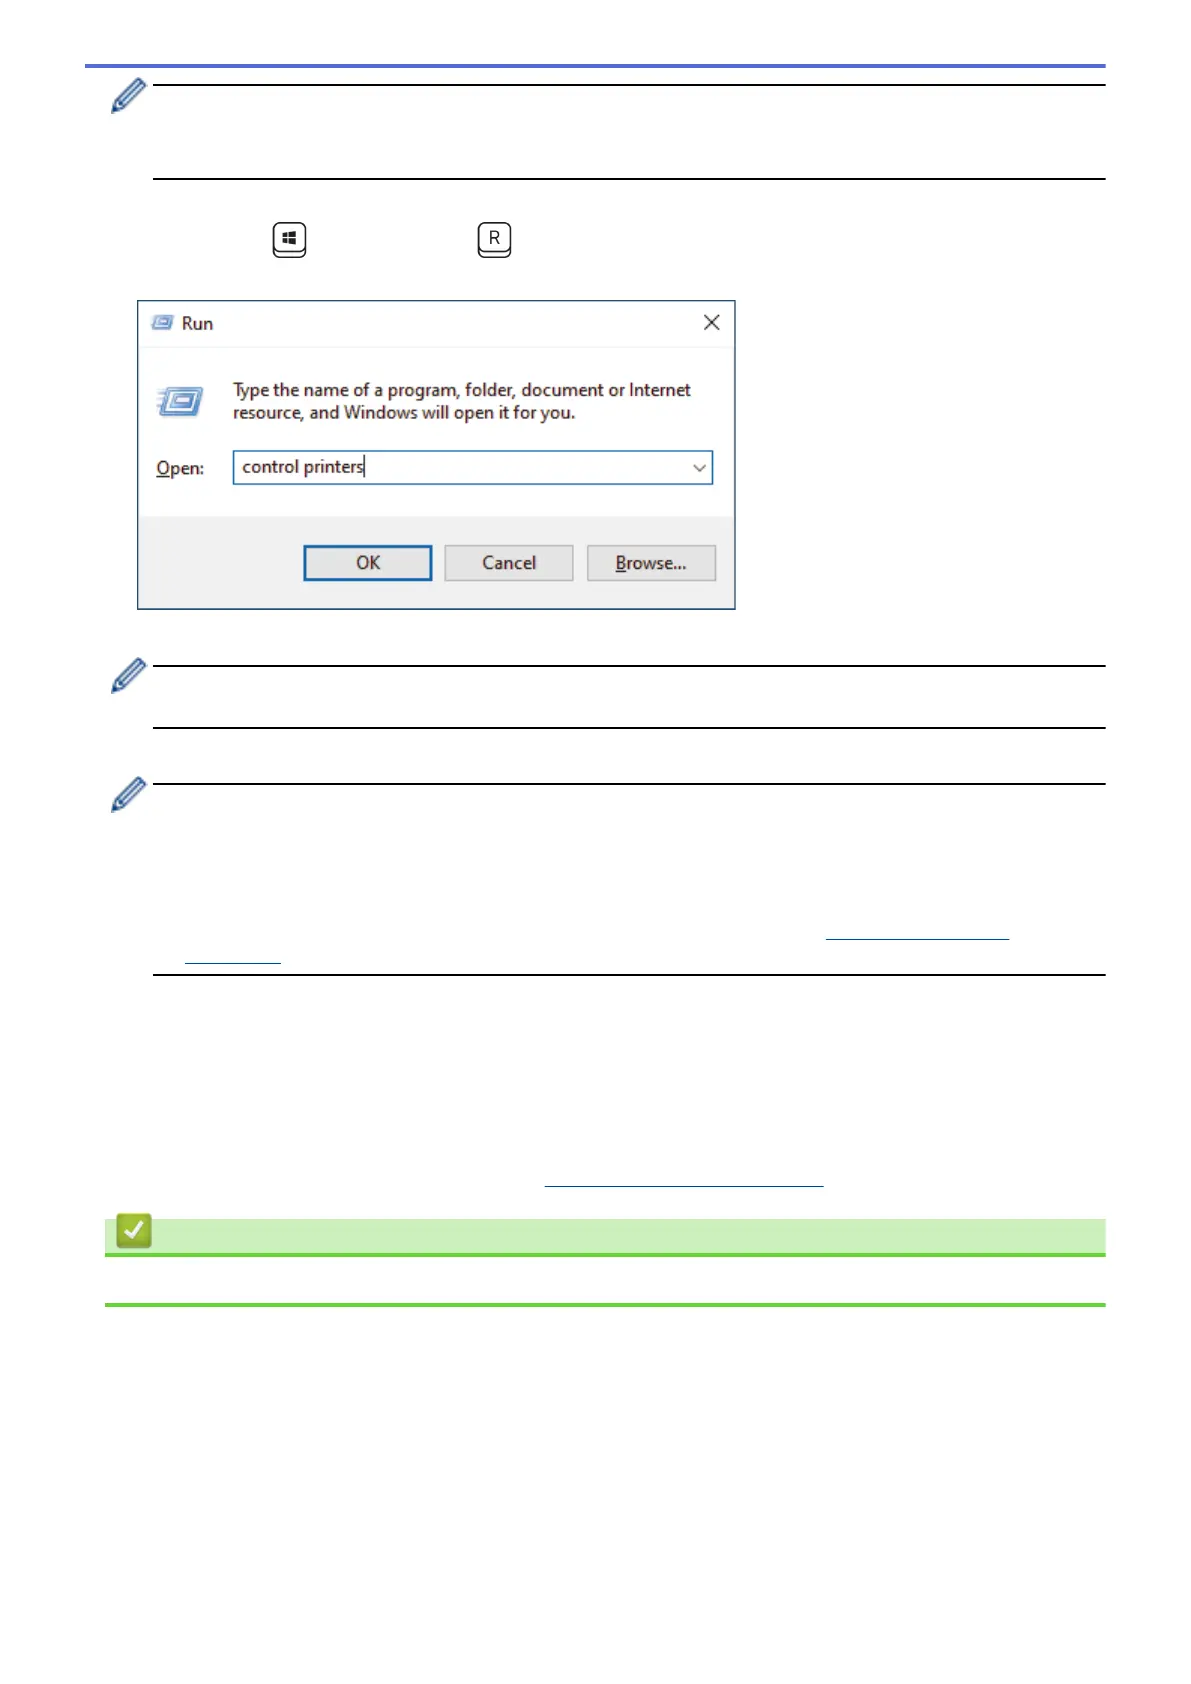
6. Hold down the key and press the key on the computer's keyboard to launch Run.
7. Type "control printers" in the Open: field and click OK.
The Devices and Printers window appears.
If the Devices and Printers window does not appear, click View more devices > More devices and
printer settings.
8. Click Add a device.
• To use a Windows 10 or Windows 11 computer as a Registrar, you must register it to your network in
advance. For more information, see the instructions supplied with your wireless LAN access point/
router.
• If using Windows 10 or Windows 11 as a Registrar, you can install the scanner driver after wireless
configuration is finished by following the on-screen instructions. To install the driver and software
necessary to use your machine, go to your model's Downloads page at support.brother.com/
downloads.
9. Select your machine and click Next.
10. Type the PIN displayed on the machine's LCD, and then click Next.
11. Click Close.
If your wireless device is connected successfully, the LCD displays [Connected].
You have completed the wireless network setup. To install drivers and software necessary for operating your
machine, go to your model's Downloads page at
support.brother.com/downloads.
Related Information
• Use the Wireless Network
117
 Loading...