----------------------.
.....
Connecting
to
a
Computer
II
rr
NOTES
)
~-.....t!_'--
_
-
m
><
-
CD
..,
:::::J
Q)
(')
o
:::::J
:::::J
CD
n
-
o
:::::J
Ul
((J] 12)
Set the transfer orders in advance, before
connecting the camcorder to the
computer using the USB cable.
Transfer
Orders
You can mark the still images you want to
transfer to the computer as transfer
orders. You can set transfer orders for up
to 998 still images.
Selecting Still
Images
to Transfer
(Transfer
Order)
• You can press
(@)
)to transfer the images,
instead
of
I~
"",).
With the automatic transfer
options, a confirmation message appears.
Select [OK] and press
(@)
).
• When the camcorder
is
connected to the
computer and the image selection screen is
displayed, press
[FUNC.I
to return to the
transfer menu.
1
Select
(Jt..T)
a
transfer
option
and
•
press
[~
IN'
].
2
Select
(
.....
~)
the
image
you
want
to
transfer
and
press
[~IN'].
• [[3.
SELECT
& TRANSFER]: The
selected image is transferred and
displayed on the computer.
To
continue transferring, select (
.....
~ )
another image.
•
[~WALLPAPER]:
The selected
image is transferred to the computer
and displayed as the desktop's
background.
• The
~
IN
button will flash while the
images are being transferred.
• Press
[FUNC.]
to return to the transfer
menu.
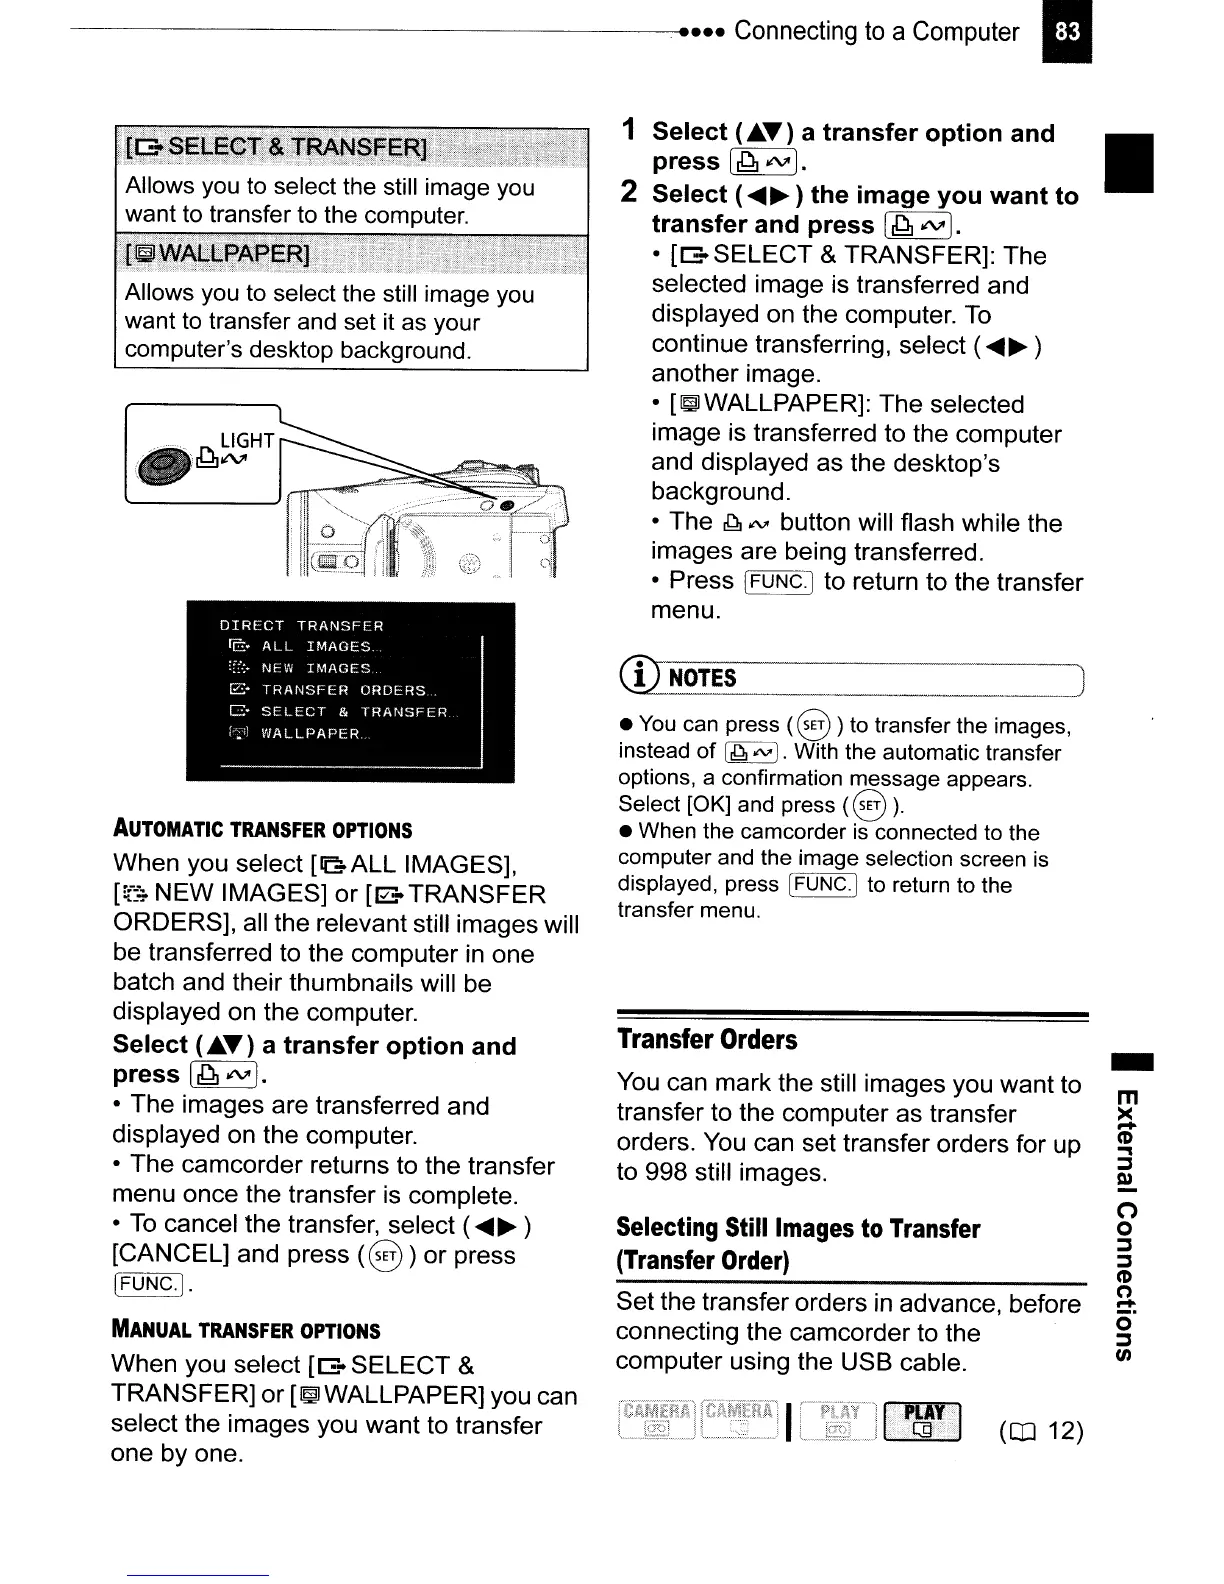
AUTOMATIC
TRANSFER
OPTIONS
When you select
[GALL
IMAGES],
[:f::;
NEW
IMAGES]
or
[00
TRANSFER
ORDERS], all the relevant still images will
be transferred to the computer in one
batch and their thumbnails will be
displayed on the computer.
Select
(Jt..T)
a
transfer
option
and
press
[~
IN'I.
• The images are transferred and
displayed on the computer.
• The camcorder returns to the transfer
menu once the transfer is complete.
•
To
cancel the transfer, select (
.....
~
)
[CANCEL] and press
(@)
)
or
press
(FUNC.]
.
MANUAL
TRANSFER
OPTIONS
When you select [[3.
SELECT
&
TRANSFER]
or
[~WALLPAPER]
you can
select the images you
want
to transfer
one by one.
Allows
you
to
select the still image
you
want
to
transfer
and
set
it
as
your
computer's desktop background.
 Loading...