------------------------.
....
Connecting
to
a Printer I
•
We
recommend powering
the
camcorder
Options
using
the
compact power adapter.
• Refer also
to
the
printer's instruction manual.
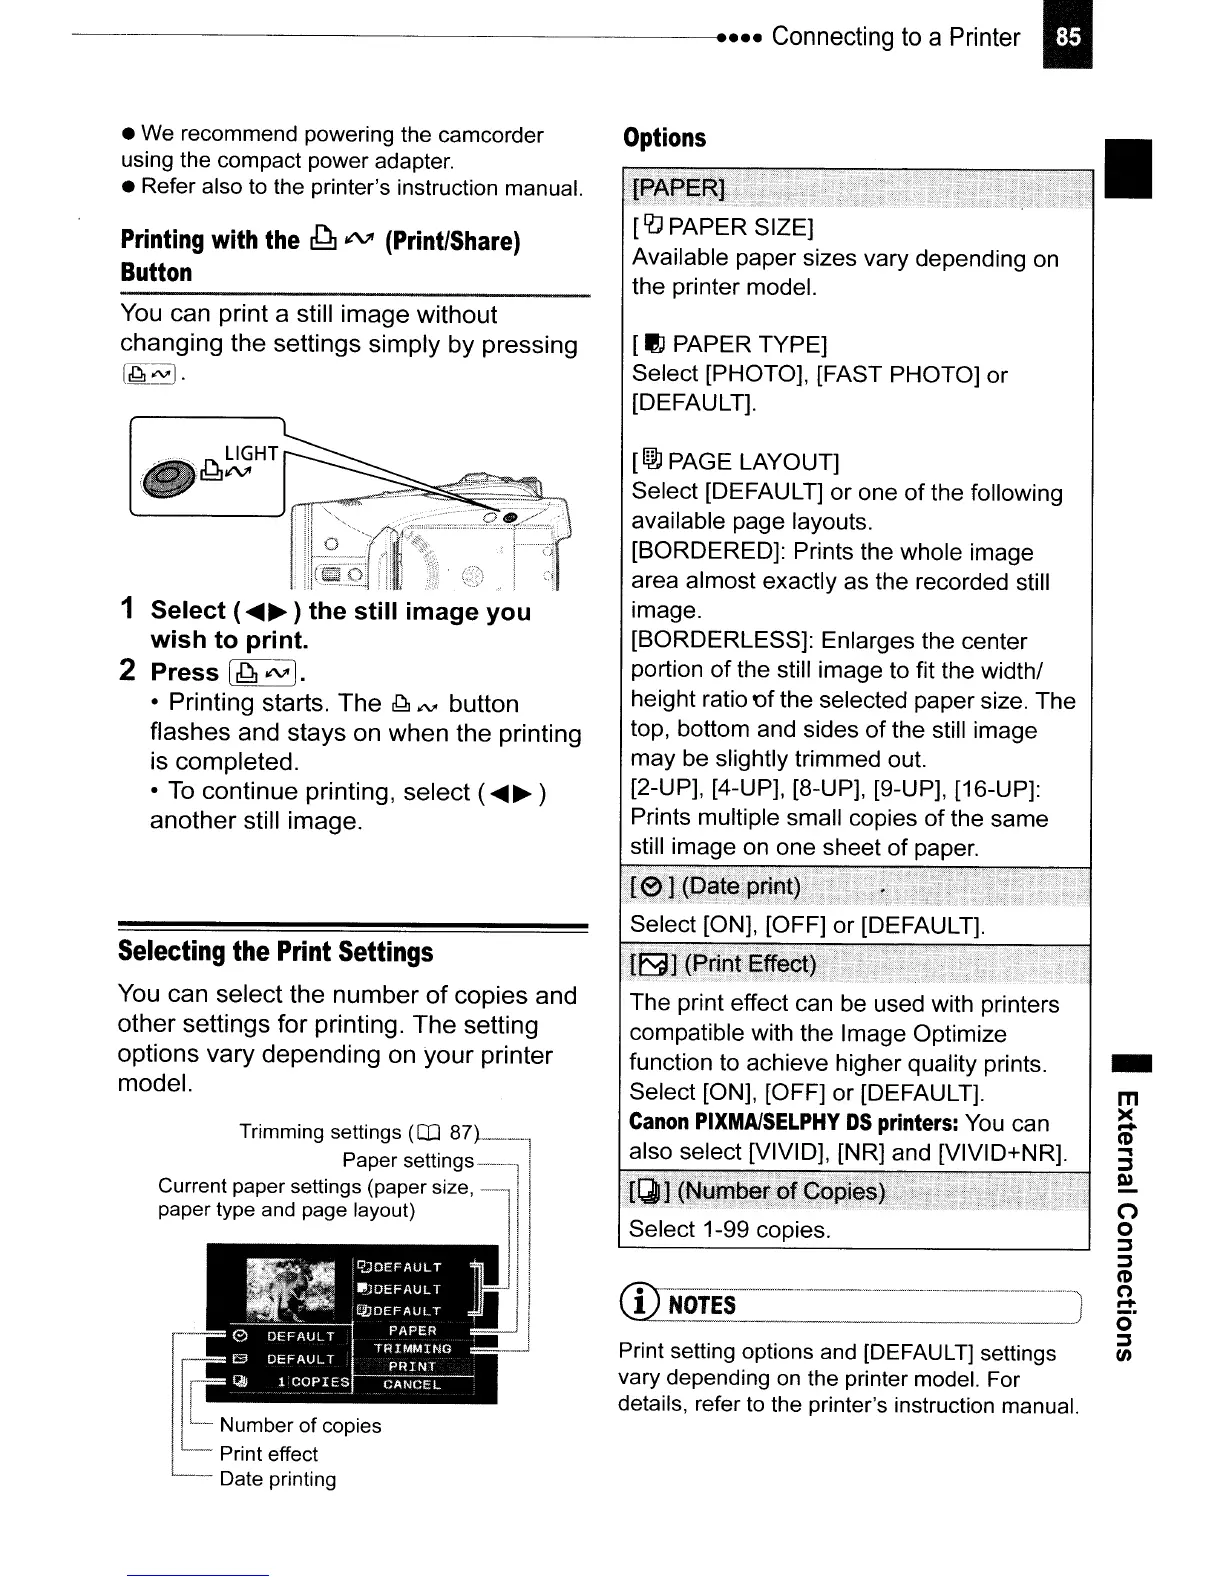
•
Printing
with
the
~
ltV
(Print/Share)
Button
You can print a still
image
without
changing
the settings
simply
by
pressing
~~.
i
i,I(::~
'1
1 Select (
....
~
) the still image you
wish to print.
2 Press
[~IN].
• Printing starts.
The
~
ltV'
button
flashes
and
stays
on
when
the
printing
is
completed.
• To
continue
printing,
select
(
....
~
)
another
still image.
Selecting
the
Print
Settings
You can
select
the
number
of
copies
and
other
settings
for
printing.
The
setting
options
vary
depending
on
your
printer
model.
Trimming settings
(~
87}--'-"1
Paper
settlngs~--l
!
Current paper settings (paper size,
~
II
paper type and page layout)
II'
I
! I
i I
I
'! !
_J
I!
, I
II
,
L~
Number
of
copies
I .
'--
Print effect
--
Date printing
[!O
PAPER SIZE]
Available paper sizes vary depending on
the printer model.
[
~
PAPER TYPE]
Select [PHOTO], [FAST PHOTO] or
[DEFAULT].
[l®
PAGE LAYOUT]
Select [DEFAULT] or one
of
the following
available page layouts.
[BORDERED]: Prints the whole image
area almost exactly as the recorded still
image.
[BORDERLESS]: Enlarges the center
portion
of
the still image to fit the width!
height ratio
t>f
the selected paper size. The
top, bottom and sides
of
the still image
may be slightly trimmed out.
[2-UP], [4-UP], [8-UP], [9-UP], [16-UP]:
Prints multiple small copies
of
the same
still image on one sheet of paper.
The print effect can be used with printers
compatible with the Image Optimize
function to achieve higher quality prints.
Select [ON], [OFF] or [DEFAULT].
Canon
PIXMAISELPHY
DS
printers:
You
can
also select [VIVID], [NR] and [VIVID+NR].
Print setting options
and
[DEFAULT]
settings
vary depending
on
the
printer
model.
For
details, refer
to
the
printer's instruction manual.
-
m
><
....
CD
..,
::::s
Q)
(')
o
::::s
::::s
CD
(')
....
o
::::J
en
 Loading...