34
Remove any fi lters or cups within
the unit.
Information
OK
Attach water to the iTAG Solution 1
port.
Information
OK
Attach a single end quick release
line to the iTAG Solution 1 port.
Information
OK
Remove the line from the iTAG
Solution 1 port.
Information
OK
Remove the homogenizer.
Information
OK
Lock the Z-Axis, disconnect all fl uid
lines, and power down the unit.
Information
OK
12. Remove the Solution 3
bottle from the iTAG®
Solution 1 port.
13. Attach the quick discon-
nect fi tting on the 6”
section of tubing sup-
plied in the accessory
kit to the iTAG® Solu-
tion 1 port of the bottle
stirrer to purge the
system with air. Note:
If the 6” tubing is not
available, use a quick
disconnect fi tting only to
intake air.
14. Press the “Enter” key.
15. Once all fl uids have
been removed from the
system, install the caps
removed during system
setup (water fi lter/regu-
lator and waste) on the
instrument connections.
16. Grip the top of the
homogenizer with one
hand; rotate it clock-
wise, and remove it.
17. Place the cap on the
wash station.
18. Remove the instru-
ment power cord from
either the electrical
outlet or the back of the
instrument.l
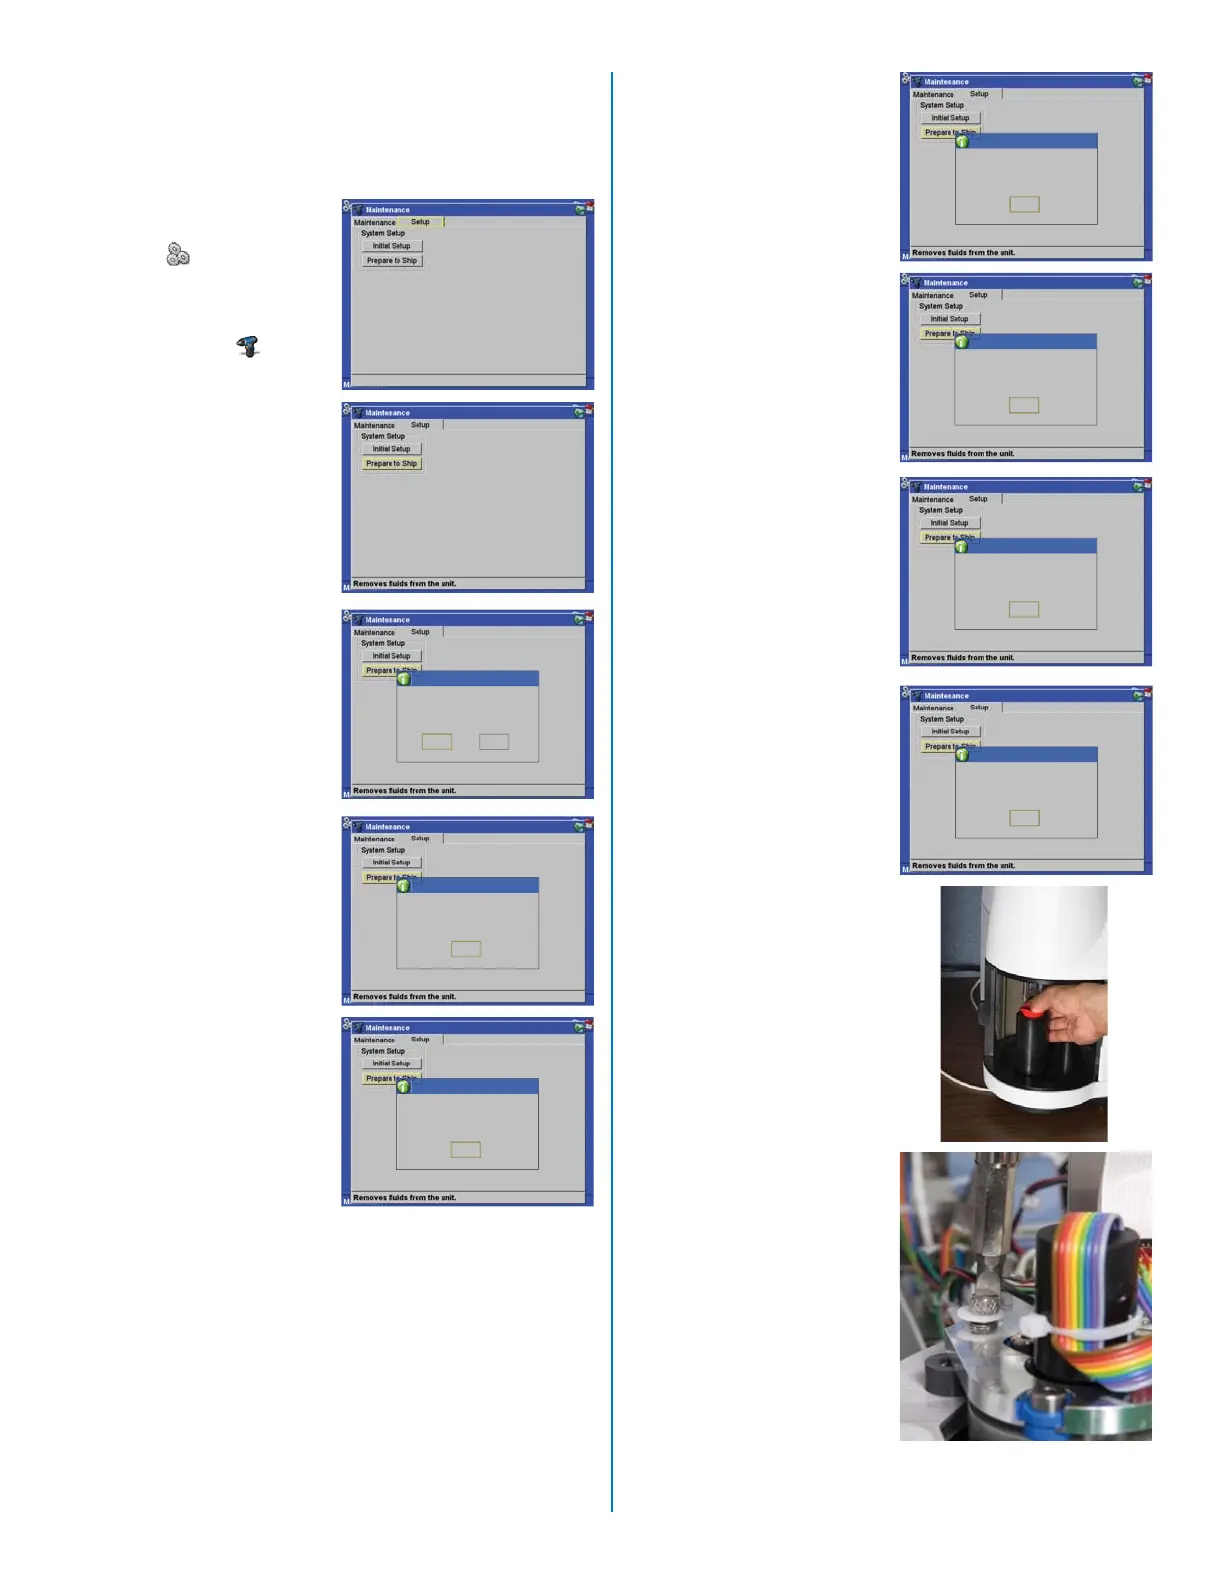
18. Remove the screw
securing the instrument
cover and lift the cover.
19. Either by hand or with
a fl at blade screwdriver,
rotate the spring loaded
screw to secure the Z
axis in the “down” posi-
tion.
20. Close the instrument
cover.
Preparation for Shipment
“Prepare to Ship” removes fl uids from the instrument.
This function must always be performed prior to instrument
relocation or repair.
1. From the Main Screen,
using the arrow keys,
select “Setup” and
press the “Enter” key.
2. From the “Settings”
screen, select “Main-
tenance” and press the
“Enter” key.
3. Using the arrow keys,
select “Setup.”
4. Using the arrow keys,
select “Prepare to Ship.”
Press the “Enter” key.
5. Ensure that all tubing
is properly connected.
Using the arrow keys,
select “Yes.” Press the
“Enter” key.
6. Remove any fi lters and/
or cups installed in the
instrument turntable.
Press the “Enter” key to
select “OK.”
7. Disconnect the iTAG®
Solution 1 tubing from
the bottle stirrer.
8. Remove the Solution 3
tubing from the bottle
stirrer.
9. Empty the Solution 3
from the bottle and rinse
the bottle thoroughly.
10. Fill the Solution 3 bottle
with water, and attach
the quick disconnect to
the iTAG® Solution 1
port of the bottle stirrer.
11. Press the “Enter” key to
select “OK.” The instru-
ment uses the water to
wash the iTAG® Solu-
tion 1 from the inside of
the instrument.
This will prepare the unit for
shipping. Ensure all fl uid lines are
connected to their proper locations.
Do you wish to continue?
Information
Yes No
 Loading...