Maintenance Manual (960-945) 4-44
Replacement Procedures
4.30.2 Installing the Camera module
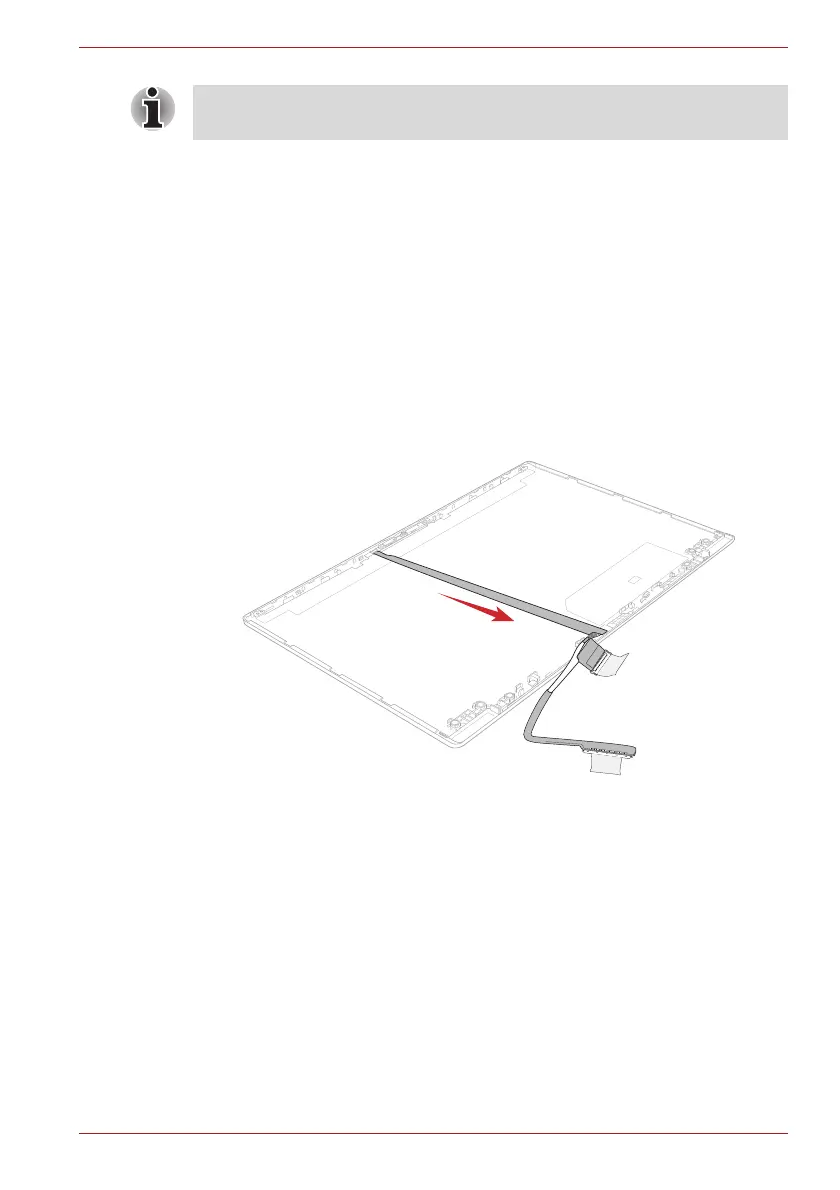
To install the camera module, follow the steps below and refer to Figure 4-
48 to Figure 4-52.
1. Peel off two protection sheets from the LCD cover.
2. Peel off the protection sheet from a new camera module and stick the
new camera module to the LCD cover.
3. Stick two pieces of GASKET on the new camera module.
4. Connect the camera FPC to the connector on the camera module.
5. Peel off the separators on the camera FPC and stick the FPC to the
LCD cover in place.
Figure 4-51 Installing the Camera module (1)
6. Stick the SQUARE CUSHION LCD to the LCD cover.
Do not reuse the removed camera module. Be sure to use new camera
module.
 Loading...