Job Assembly
147
Copy
3
Note •You can also press the <C (Clear)> or <Clear All> button on the control panel to perform the same
operation.
Last Original
Select this button to end scanning documents.
Next Original
Select this button when you have more documents to copy. This button is always selected
when the Combine Original Sets feature is used.
Start
After loading the next document, select this button to scan the next document.
Note •You can also press the <Start> button on the control panel to perform the same operation.
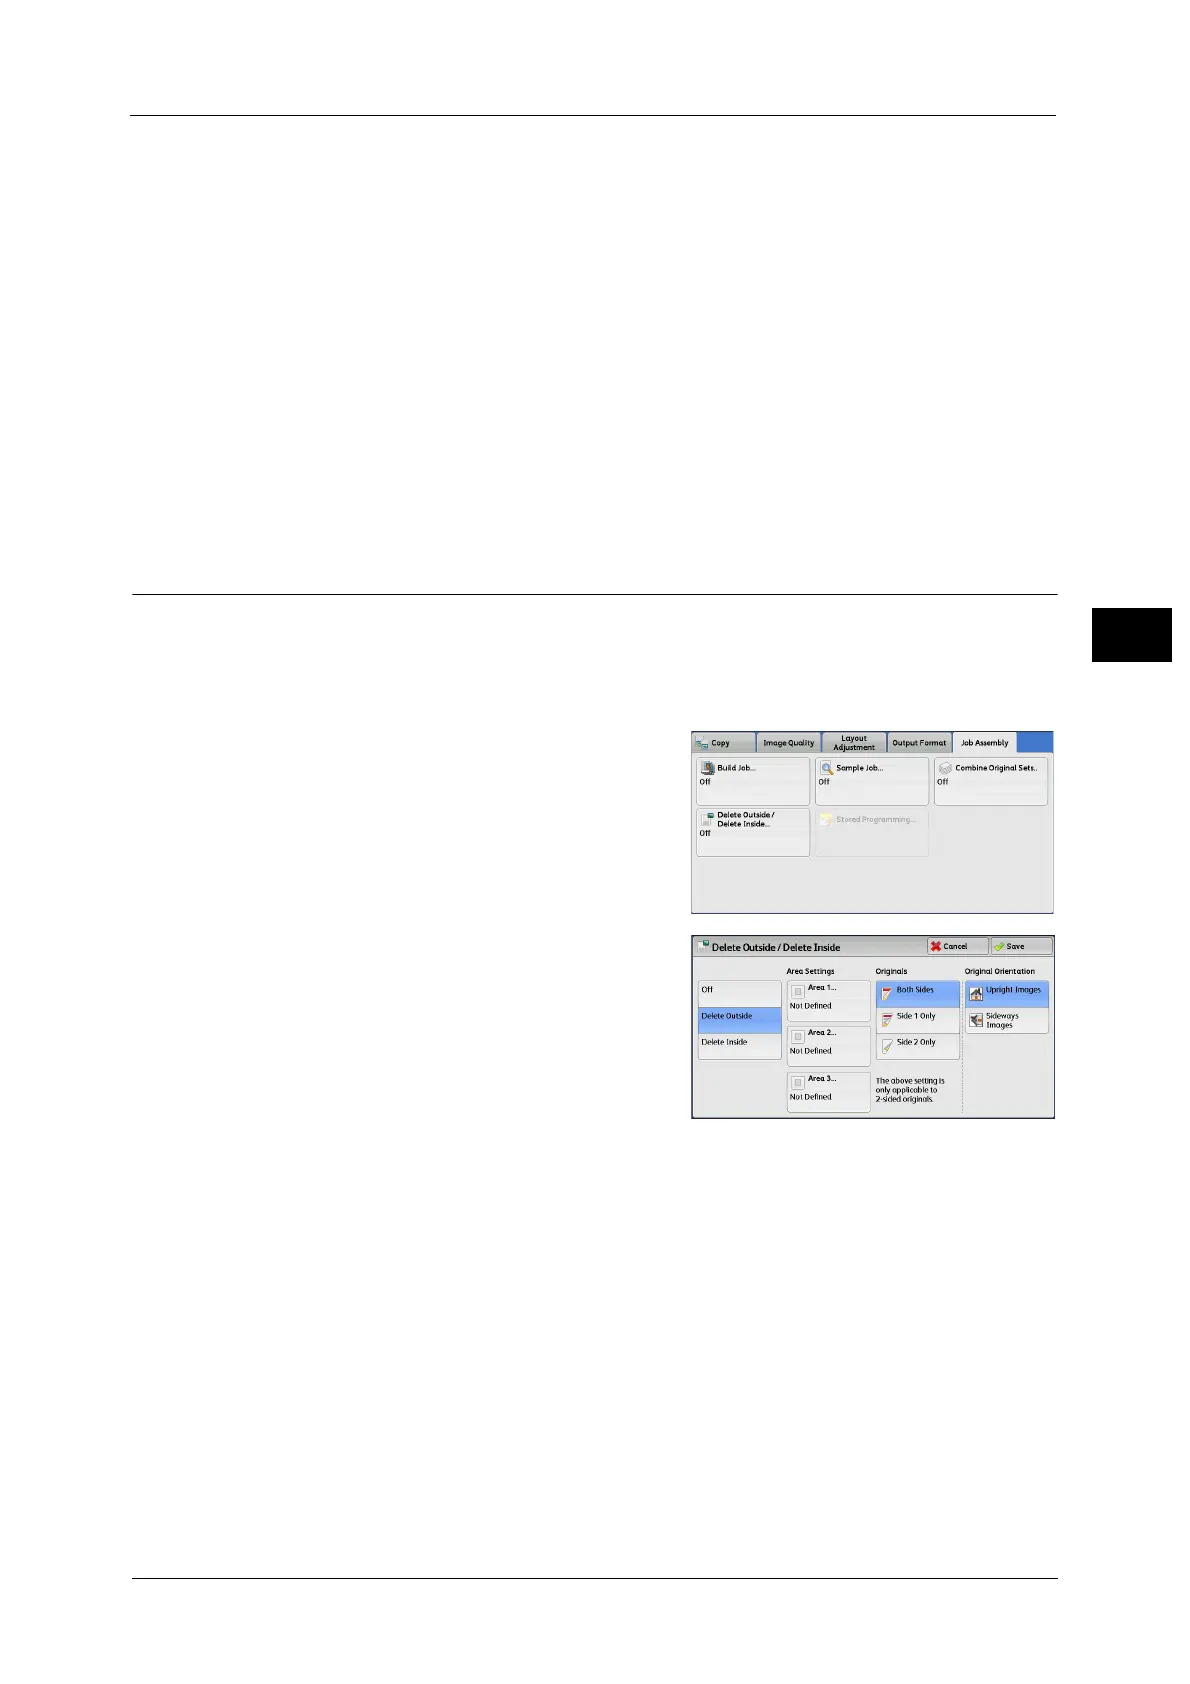
Delete Outside/Delete Inside
(Deleting Outside or Inside of the Selected Area)
This feature allows you specify the areas to be deleted from a document image. Up to three
areas can be specified.
Important • When you use this feature, please be sure to set the original size. For more information, refer to
"Original Orientation (Specifying the Orientation of Loaded Documents)" (P.121).
1 Select [Delete Outside/Delete Inside].
2 Select any option.
Off
No area is deleted.
Delete Outside
Deletes the outside of the selected area.
Delete Inside
Deletes the inside of the selected area.
Area Settings
Displays the [Delete Outside/Delete Inside - Area 1 (Area 2 or Area 3)] screen. You can
specify up to three areas.
Refer to "[Delete Outside/Delete Inside - Area 1 (Area 2 or Area 3)] Screen" (P.148).
Originals
When the original document is a 2-sided document, specify from which side the specified
area is to be deleted.
Both Sides
Applies the settings to both sides of the document.

 Loading...