Scan to PC
279
Scan
5
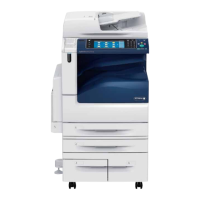
6 Select [Name], enter a name using the
keyboard displayed on the screen, and then
select [Save].
For information on how to enter characters, refer to "Entering
Text" (P.79).
7 When you change the index, select [Index], select a new character from the keyboard
displayed on the screen, and then select [Save].
You can register a single alphanumeric index character for use as a keyword to search with
the Address Book.
For information on how to enter characters, refer to "Entering Text" (P.79).
8 When you change the address number, select [Change], select a number from the list, and
then select [Save].
9 Select [Next].
Note •To return to the previous screen, select [Back].
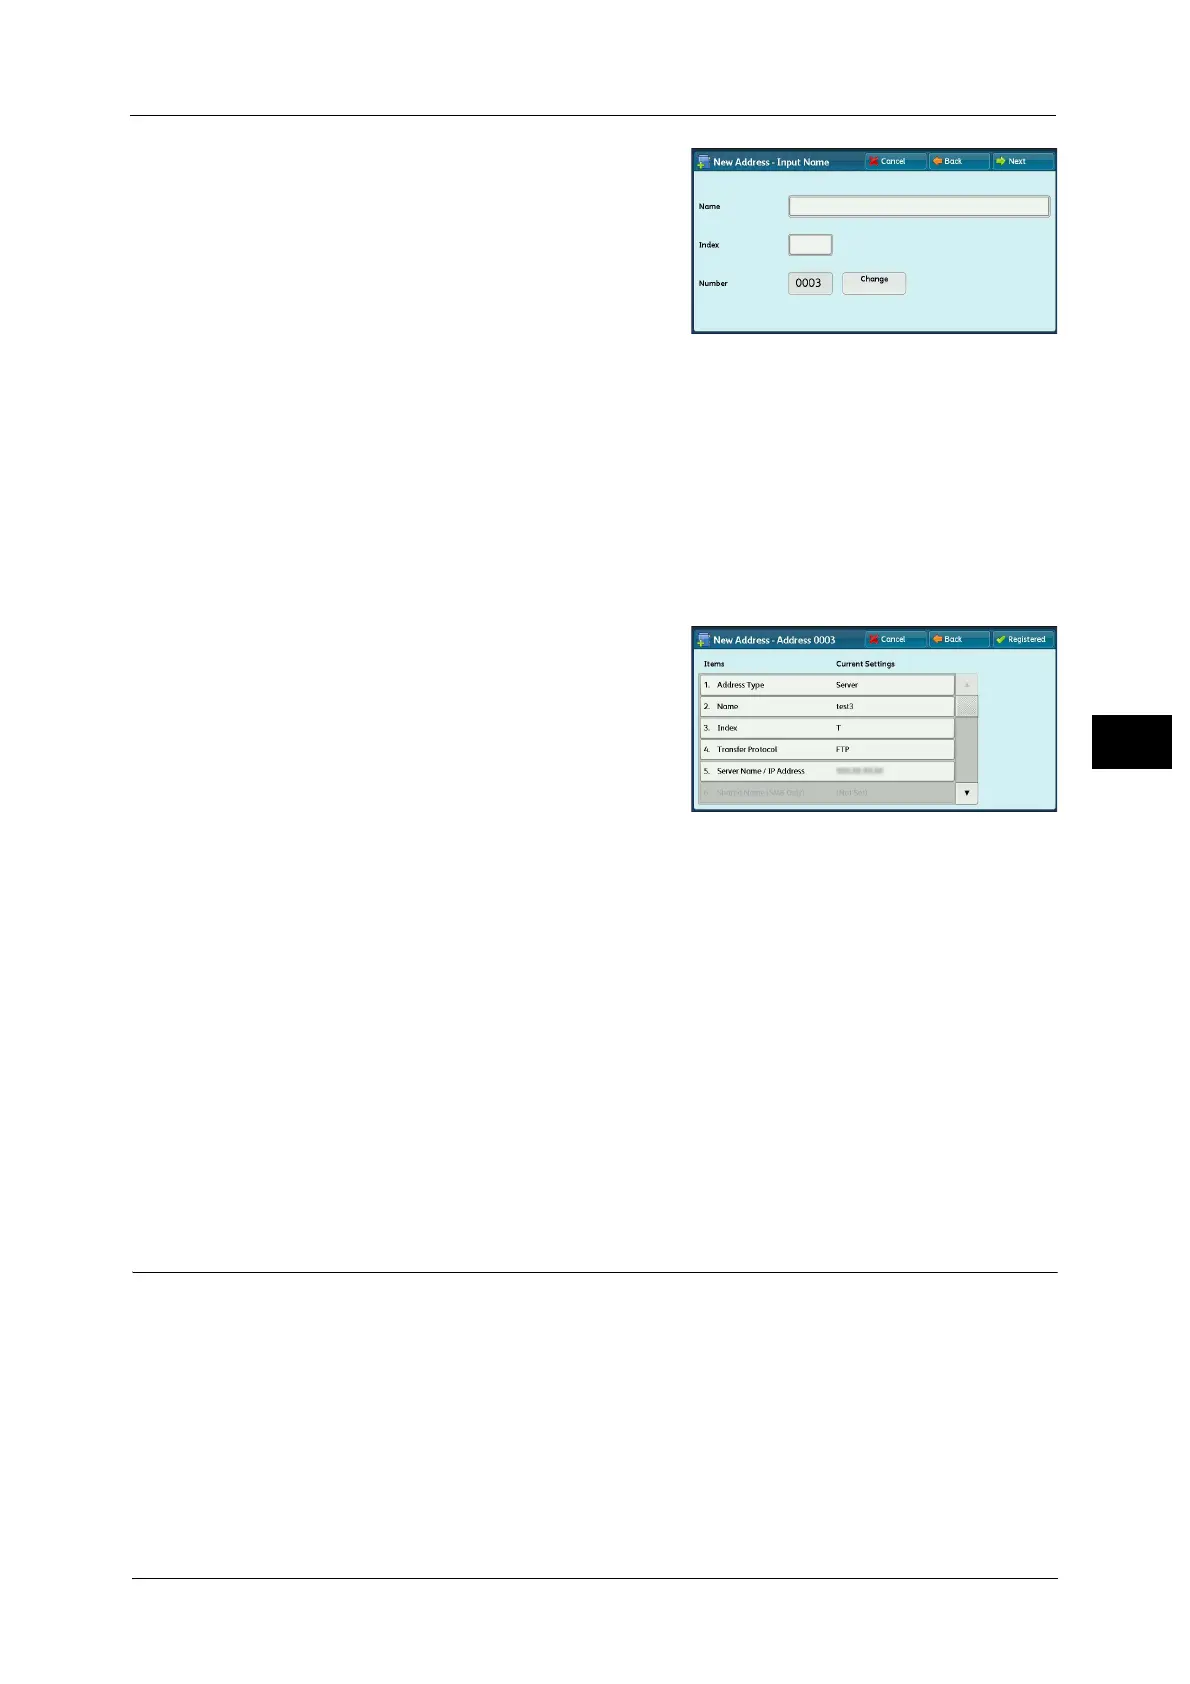
10 Select an item to set and set.
The following items appear:
Address Type
Name
Index
Transfer Protocol
Server Name / IP address
Shared Name (SMB Only)
Save in
User Name
Password
Port Number
Note •To delete the input data and return to the [Server Address Book] screen, select [Cancel].
For more information on the setting items, refer to "5 Tools" > "Setup" > "Add Address Book Entry" in the Administrator
Guide.
11 When the settings are completed, select [Registered].
Note •To return to the previous screen, select [Back].
Browse (Specifying a Destination PC by Browsing Your Network)
This feature displays a hierarchy consisting of server names and folders. You can specify a
save destination by tracing the hierarchy.

 Loading...